606
ADOBE PHOTOSHOP CS2
User Guide
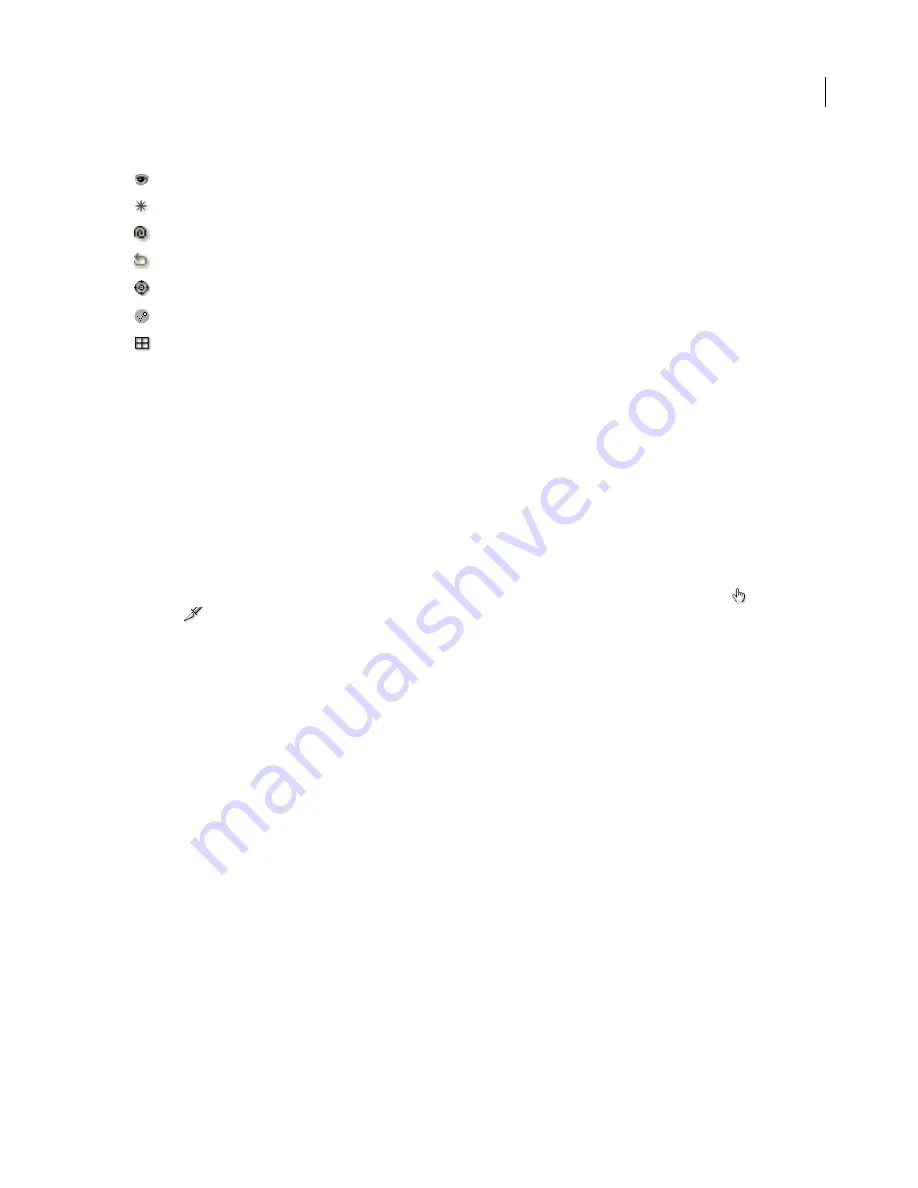
In addition to the slice badge icons, the following icons can appear in the Web Content palette.
Slice visibility
Slice has an active rollover state
Targets slice state for remote rollover
State has associated remote slice
State has associated animation
State has associated animation
Slice is a nested table
See also
“Viewing slices” on page 575
To use the Web Content palette (ImageReady)
❖
Do any of the following:
•
To display the Web Content palette, choose Window > Web Content. A check mark indicates that the palette is
visible.
•
To access commands for working with rollovers, click the triangle in the upper right corner of the palette to display
the palette menu.
•
To display slices and image maps in the Web Content palette, click the triangle next to the Image Maps
and
Slices
sections in the palette. An option in the Palette Options area of the Web Content palette menu toggles
the display of slice badges, which are small icons on each slice that display the slice’s current properties.
•
To display animation frames in the Web Content palette, choose Palette Options from the Web Content palette
menu. Select or deselect Include Animation Frames, and click OK.
•
To change the size of rollover thumbnails, choose Palette Options from the Web Content palette menu, and select
a thumbnail size. For sizes other than None, select Object Bounds or Entire Document to determine the contents
of thumbnails.
•
To expand and collapse states, slices, and image maps, click the triangle to the left of an item in the Web Content
palette. Alt-click (Windows) or Option-click (Mac OS) expands or contracts all options.
Creating a rollover (ImageReady)
Use the following general workflow to create a set of rollover buttons. You can make rollovers using layer-based slices
or layer-based image maps.
1. Create the content for the Normal state.
If you are creating a rollover button, start by creating the button as you want it to look when the page is first loaded
in a web browser. Make sure to put each button in a set of rollover buttons in a separate layer so that you can create
a layer-based slice or image map.
If you plan to completely replace the contents of the Normal state (as opposed to modifying the layer’s style), create
contents for other states in other layers.


