


284
ADOBE PHOTOSHOP CS2
User Guide
Original image, and preview of out-of-gamut colors with green chosen for the gamut warning color
Adjusting images with Levels, Curves, and Exposure
About the Levels dialog box
The Levels dialog box lets you correct the tonal range and color balance of an image by adjusting intensity levels of
image shadows, midtones, and highlights. The Levels histogram is a visual guide for adjusting the image key tones.
For more information on how to read a histogram, see “About histograms” on page 275.
You can save settings made in the Levels dialog box for use on another image. See “To save and reapply settings in a
dialog box” on page 282.
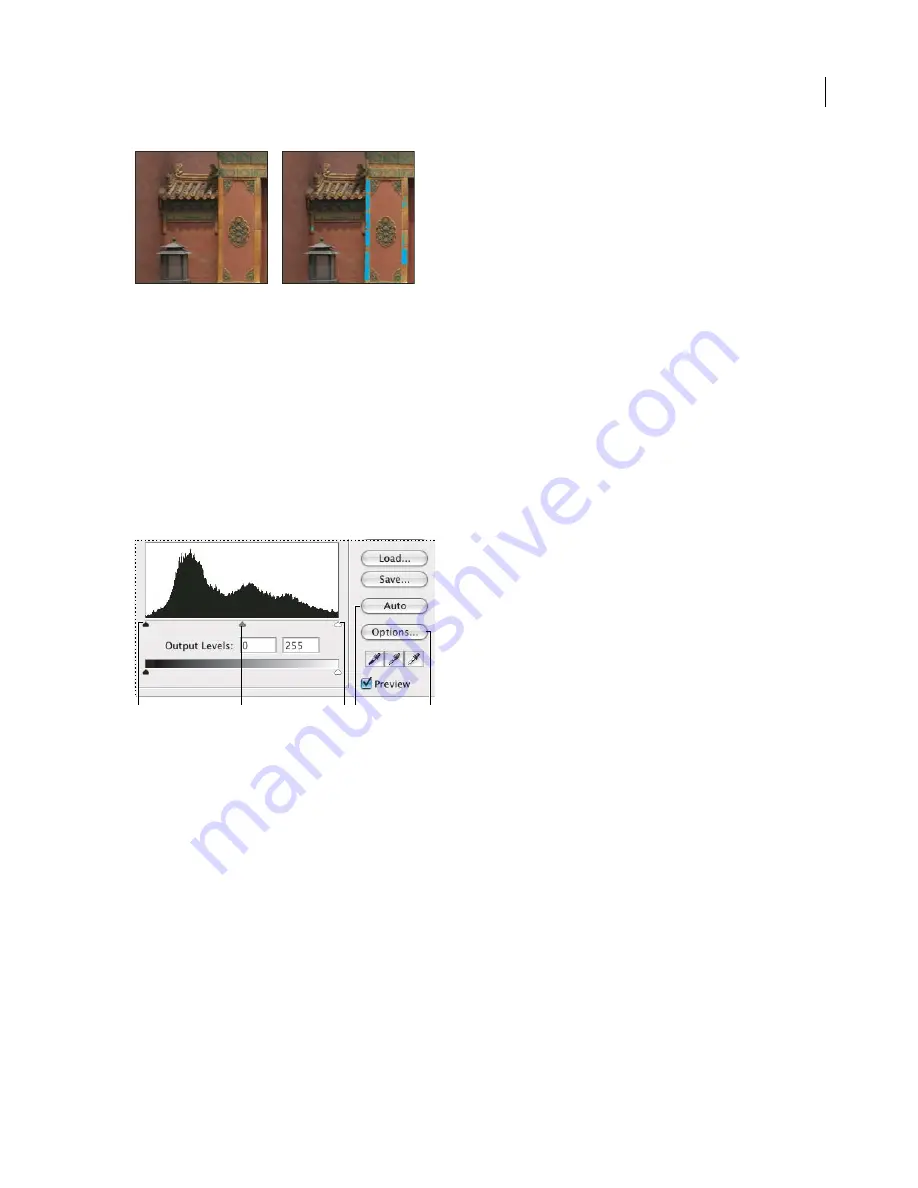
A
B
C D
E
Levels dialog box
A.
Apply Auto Color Correction
B.
Open Auto Color Correction Options dialog box
C.
Shadows
D.
Midtones
E.
Highlights
Using Levels to set highlights, shadows, and midtones
The outer two Input Levels sliders map the black point and white point to the settings of the Output sliders. By
default, the Output sliders are at level 0, where the pixels are completely black, and level 255, where the pixels are
completely white. So, in the default position for the Output sliders, moving the black input slider maps the pixel value
to level 0, and moving the white point slider maps the pixel value to level 255. The remaining levels are redistributed
between levels 0 and 255. This redistribution increases the tonal range of the image, in effect increasing the overall
contrast of the image.
Note:
When shadows are clipped, the pixels are completely black, with no detail. When highlights are clipped, the pixels
are completely white, with no detail.
The middle Input slider adjusts the gamma in the image. It moves the midtone (level 128) and changes the intensity
values of the middle range of gray tones without dramatically altering the highlights and shadows.


