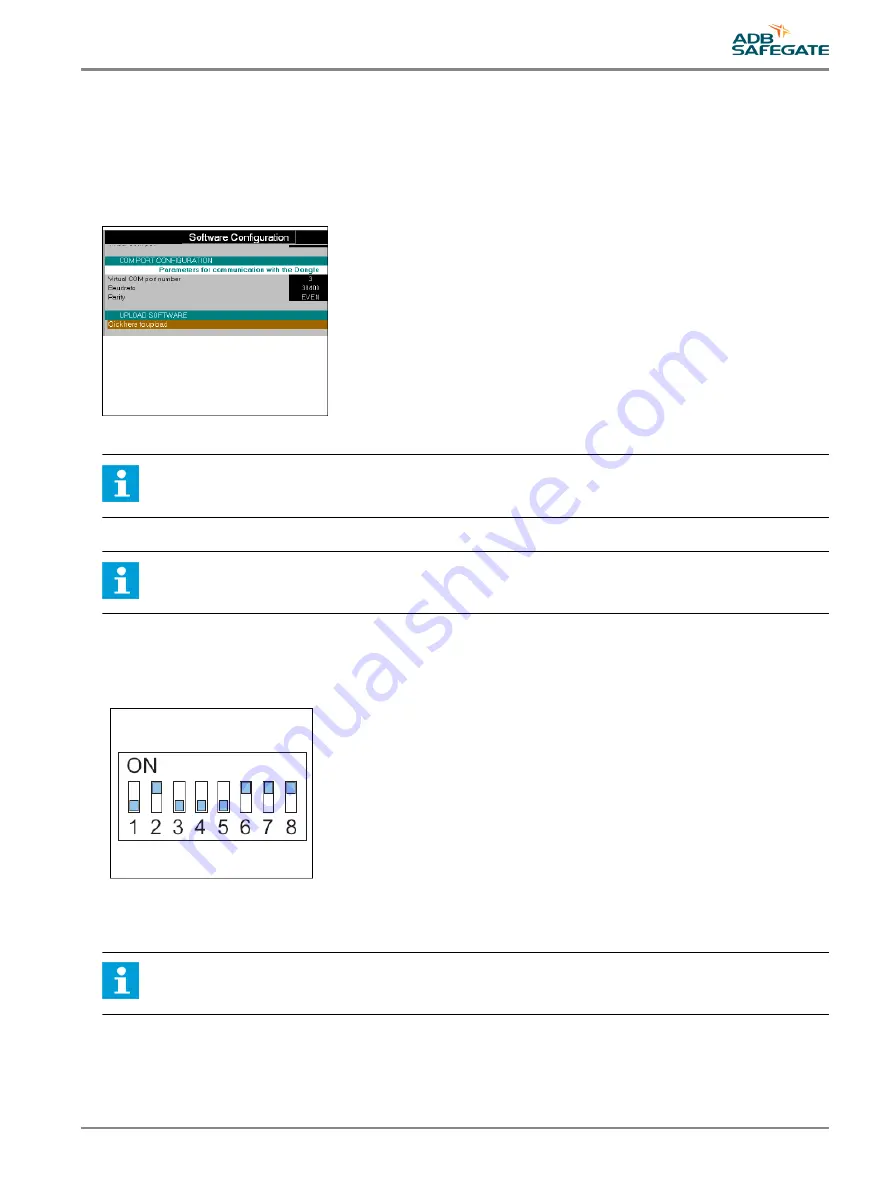
6. Save the installation files of the new firmware to the PC.
7. Open the configuration software tool.
8. Go to menu Configuration > Upload software .
9. Select Click here to upload. You can now see the available software versions on the PC.
10. Select and confirm LM (LMC). The software is now uploads.
11. Wait until the firmware is successfully uploaded.
Reset LMC
Note
Only reset the LMC after a new firmware upgrade, to store the new factory default settings.
12. Set the dip-switch SW4.
Note
SW4/2 forces to initialize the E²PROM setting to default factory setting.
13. Switch OFF the equipment cabinet, where the LMC is installed.
14. Leave the cabinet OFF for approximately 10 seconds.
15. Switch ON the cabinet, where the LMC is installed.
Finish
16. Set the dip-switch SW4.
Note
Make sure SW4/2 is OFF before any new power cycle to prevent to restore to the factory settings.
17. Configure the flashing system. See §
UM-4019_AM02-620e, Rev. 3.0, 2020/05/12
67
Copyright
©
ADB Safegate, All Rights Reserved
Summary of Contents for FCU-1-in-1
Page 2: ......
Page 8: ...Flashing System Maintenance TABLE OF CONTENTS viii Copyright ADB Safegate All Rights Reserved ...
Page 18: ...Flashing System Maintenance Safety 8 Copyright ADB Safegate All Rights Reserved ...
Page 28: ...Flashing System Maintenance Introduction 18 Copyright ADB Safegate All Rights Reserved ...
Page 42: ...Flashing System Maintenance Commissioning 32 Copyright ADB Safegate All Rights Reserved ...
Page 64: ...Flashing System Maintenance Maintenance 54 Copyright ADB Safegate All Rights Reserved ...
Page 106: ...Flashing System Maintenance Technical data 96 Copyright ADB Safegate All Rights Reserved ...
Page 110: ......


