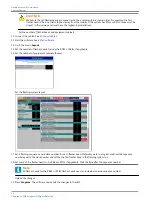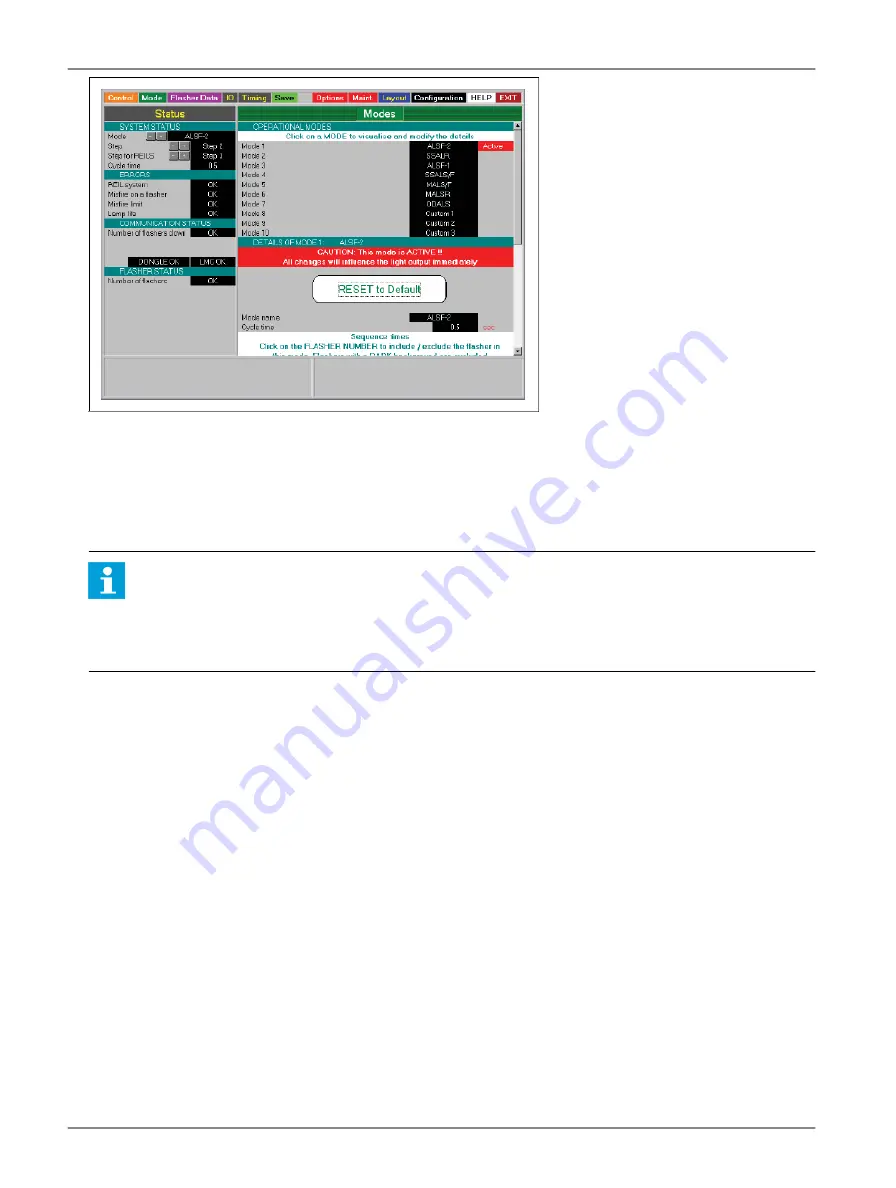
25. Open the configuration software tool.
26. Switch the equipment ON. Use the fused input switch.
27. Select the menu Modes .
28. In the System status window, press the ‘+’ button until the required mode is active.
29. If necessary, modify the available modes. Click a mode field to show the details in the section Details of mode .
Note
•
Normally you do not have to change the individual settings in different modes.
•
For an RTIL or REIL: make sure that these sequence times are set to equal numbers to make sure they flash
simultaneously.
These flashing modes are available:
•
ASLF-1;
•
ASLF-2;
•
SSALR;
•
SSALS;
•
MALSR;
•
MALSF;
•
ODALS;
•
Custom: any of the above modes can be changed (user defined).
Only if you need to change the standard setting of a mode:
30. Check and change if necessary the cycle time for each mode.
31. Define which flashers are included in the selected mode.
32. Check if the correct number of flashers is active. The box of an active flasher is black.
33. Check if the correct number of flashers is inactive. The box of an inactive flasher is grey.
34. To switch the flasher between active (black) and inactive (grey), click the flasher name.
35. Check the correct sequence time in ms.
Flashing System Maintenance
Commissioning
26
Copyright
©
ADB Safegate, All Rights Reserved
Summary of Contents for FCU-1-in-1
Page 2: ......
Page 8: ...Flashing System Maintenance TABLE OF CONTENTS viii Copyright ADB Safegate All Rights Reserved ...
Page 18: ...Flashing System Maintenance Safety 8 Copyright ADB Safegate All Rights Reserved ...
Page 28: ...Flashing System Maintenance Introduction 18 Copyright ADB Safegate All Rights Reserved ...
Page 42: ...Flashing System Maintenance Commissioning 32 Copyright ADB Safegate All Rights Reserved ...
Page 64: ...Flashing System Maintenance Maintenance 54 Copyright ADB Safegate All Rights Reserved ...
Page 106: ...Flashing System Maintenance Technical data 96 Copyright ADB Safegate All Rights Reserved ...
Page 110: ......

