Disks and Units
Chapter 4 Storage Configuration and Expansion
75
3
Release the latch on the new disk drive and open its handle. The handle must be
open for you to insert the disk drive all the way into its bay. Insert the new disk
drive into the empty drive bay, pushing it all the way forward before you close
the handle.
4
Close the font panel.
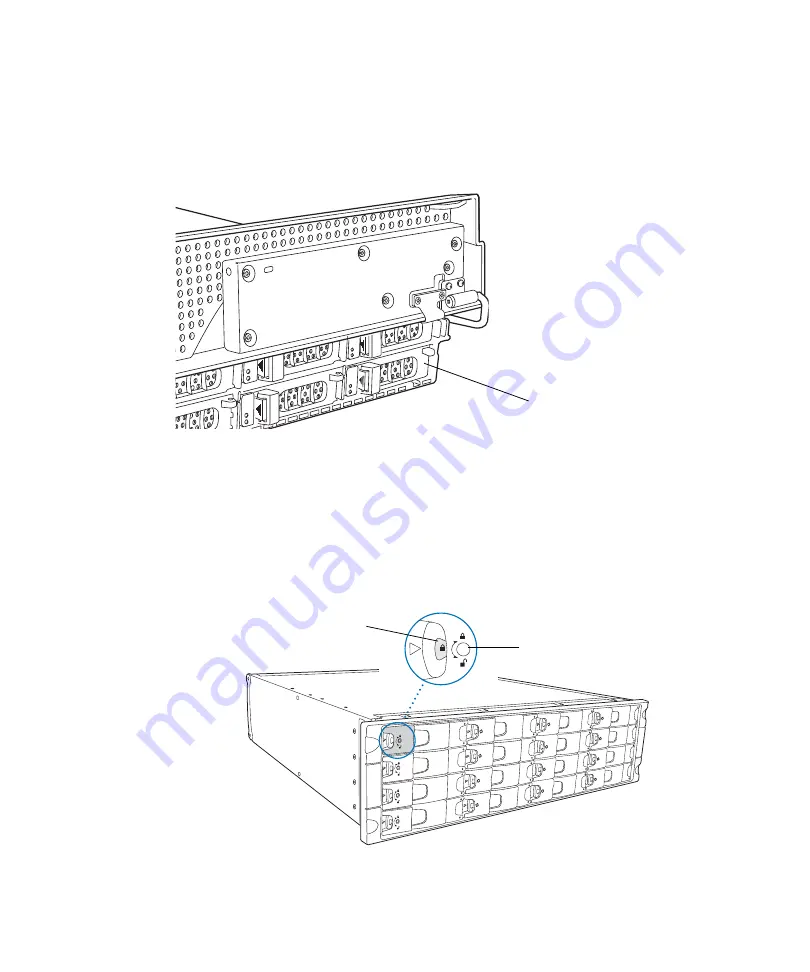
Replacing a Disk Drive on an SD30SA
When the status LED is green and the fault LED is amber, the drive has failed or is
not working properly.
1
Using the Torx driver (T-10) provided, unlock the disk drive by turning the lock
screw counterclockwise until the red padlock icon in the lock indicator is no
longer visible.
2
To release the handle, press the latch. The handle springs forward.
Latch
Lock Indicator
Locking Screw
Summary of Contents for 5325301507 - Snap Server 4400 NAS
Page 2: ......
Page 12: ...xii SnapServer Administrator Guide ...
Page 16: ...xvi SnapServer Administrator Guide ...
Page 58: ...Print Server 42 SnapServer Administrator Guide ...
Page 64: ...NIS Domain 48 SnapServer Administrator Guide ...
Page 110: ...Configuring VSS VDS for iSCSI Disks 94 SnapServer Administrator Guide ...
Page 154: ...Log View 138 SnapServer Administrator Guide ...
Page 228: ...Phone Home Support 212 SnapServer Administrator Guide ...


