Illustration
Action
xx1900001667
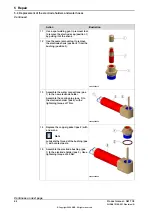
Remove the four screws (pos. 1) and the
two pressure washers (pos. 2).
3
xx2200000336
Remove the two screws (pos. 1) and the
square pressure washer (position 2)
connecting the leaf shunt to the second-
ary leader.
4
Remove the two screws (pos. 3) and the
square pressure washer (pos. 4).
5
The leaf shunts and cooling block can
now be removed.
6
Replace the leaf shunts.
7
xx2000002667
xx2000002668
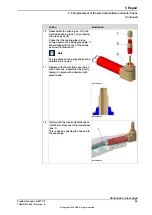
Clean the contact surfaces of the leaf
shunts and cooling block with a clean
cloth.
Lubricate the contact surfaces with con-
tact paste.
Spread the paste evenly over the entire
contact surfaces using a brush.
8
Continues on next page
88
Product manual - GWT C9
3HAA010198-001 Revision: A
© Copyright 2022 ABB. All rights reserved.
5 Repair
5.5 Replacement of the leaf shunts
Continued
Summary of Contents for GWT C9
Page 1: ...ROBOTICS Product manual GWT C9 ...
Page 62: ...This page is intentionally left blank ...
Page 124: ...This page is intentionally left blank ...
Page 126: ......
Page 127: ......


