


Chapter 6 Monitor
NVG2053 User’s Guide
76
The log wraps around and deletes the old entries after it fills.
Figure 22
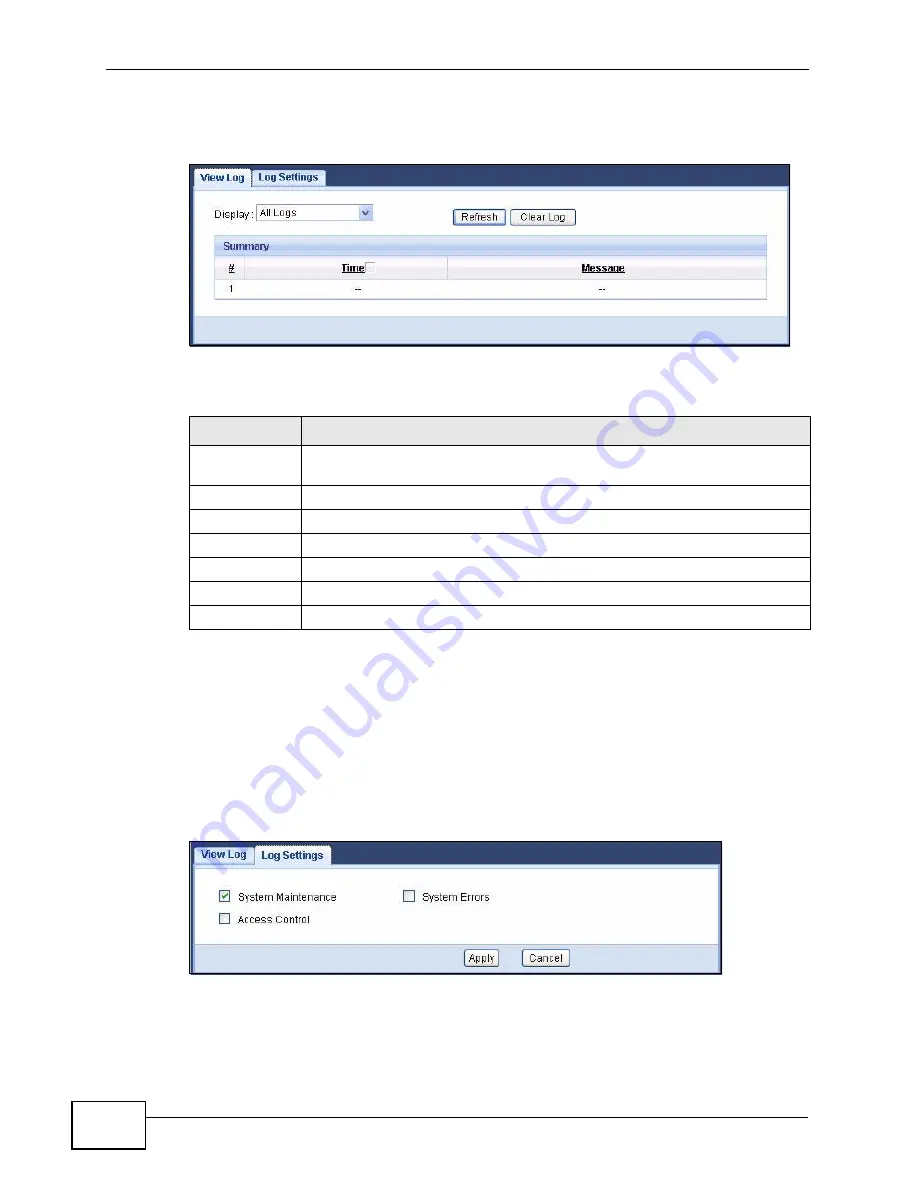
Monitor > Log > View Log
The following table describes the fields in this screen.
6.3 The Log Settings Screen
Use the Log Settings screen to choose which categories of events and/or alerts
the NVG2053 is to log and then display the logs. To change your NVG2053’s log
settings, click Monitor > Log > Log Settings. The screen appears as shown.
Figure 23
Monitor > Log > Log Settings
Table 14
Monitor > Log > View Log
LABEL
DESCRIPTION
Display
Select a category of logs to view. Select All Logs to view logs from all of
the log categories that you selected in the Log Settings screen.
Refresh
Click Refresh to renew the log screen.
Clear Log
Click Clear Log to delete all the logs.
Summary
The logs display in the table.
#
This field is a sequential value and is not associated with a specific entry.
Time
This field displays the time the log was recorded.
Message
This field states the reason for the log.
Содержание NVG2053
Страница 2: ......
Страница 8: ...Safety Warnings NVG2053 User s Guide 8...
Страница 10: ...Contents Overview NVG2053 User s Guide 10...
Страница 18: ...Table of Contents NVG2053 User s Guide 18...
Страница 19: ...19 PART I User s Guide...
Страница 20: ...20...
Страница 26: ...Chapter 1 Getting to Know Your NVG2053 NVG2053 User s Guide 26...
Страница 67: ...67 PART II Technical Reference...
Страница 68: ...68...
Страница 74: ...Chapter 5 Status Screens NVG2053 User s Guide 74...
Страница 80: ...Chapter 6 Monitor NVG2053 User s Guide 80...
Страница 130: ...Chapter 10 DHCP Server NVG2053 User s Guide 130...
Страница 144: ...Chapter 12 Network Address Translation NAT NVG2053 User s Guide 144...
Страница 150: ...Chapter 14 Static Route NVG2053 User s Guide 150...
Страница 166: ...Chapter 16 Firewall NVG2053 User s Guide 166...
Страница 200: ...Chapter 18 USB Service NVG2053 User s Guide 200...


