© 2016 ZOLL Data Systems, Inc. All rights reserved.
78
CONFIDENTIAL TRADE SECRETS – DO NOT DISCLOSE.
Z
O
L
L
D
o
c
u
m
e
n
t
a
t
i
o
n
DVM-250/250+ CONFIGURATION MANAGER / CAMERA SETUP
Prior to being able test or utilize the DVM-250/250+ system, the devices must be configured using Digital Ally’s
“Configuration Manager” software. Just as some setup work in ZOLL Online needs to be completed before the RS-
4000 will function, the same holds true for the Digital Ally system. DVM-250/250+ configurations must be setup
using the Configuration Manager software for the device to properly function. This section of the document will
guide the Installer though a basic setup of the Configuration Manager leading to the creation of a fully operational,
integrated, Road Safety / Digital Ally system.
CONFIGURATION MANAGER INSTALLATION
1.
Download the latest version of the “DVM-250 Configuration Manager” from Digital Ally. Visit
and click on the “customer portal” button at the top right portion of the
page.
2.
Sign up for an account if you have not already.
3.
Once logged in, you will be able to download the latest software and documentation.
4.
After downloading the ZIP file, unzip the file and run the “ViewerSetup.exe” and it will guide you through
the installation.
5.
For assistance with setting up a Digital Ally account or any questions about accessing or downloading
content from their customer portal, please contact Digital Ally support 800-440-4947.
LAUNCHING THE CONFIGURATION MANAGER & THE FILE TAB
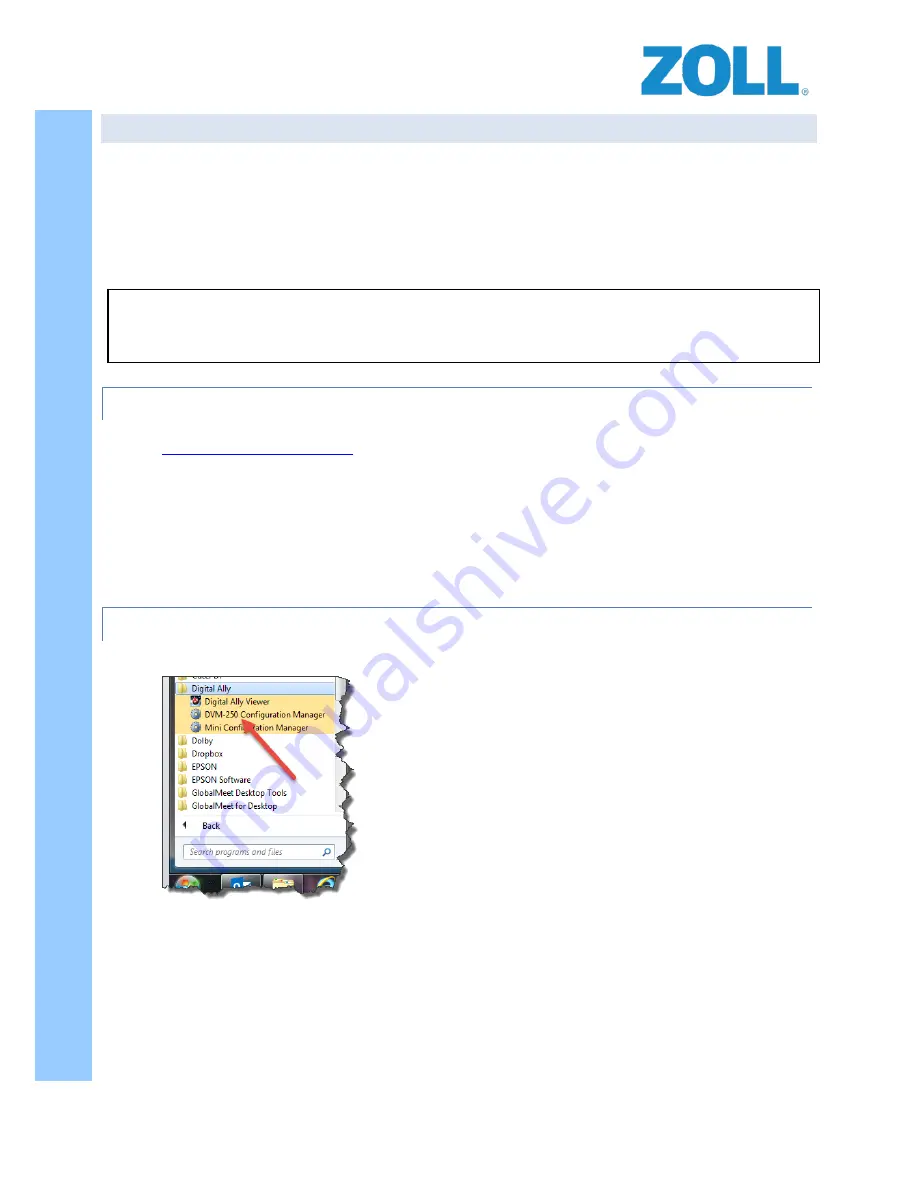
1.
From your desktop or Start / All Programs / Digital Ally, run the “DMV-250 Configuration Manager”.
NOTE:
The instructions provided here for the DVM-250/250+ Configuration Manager are only a sub-set of the
full documentation available from Digital Ally. Please obtain the latest version of the full documentation from
their website for additional information on these and other configuration settings in the software.


