45
Atlas Bio Series Access Control Panels Installation Guide
Copyright©2020 ZKTeco USA. All rights reserved.
Step 1: Initial Setup
Follow the instructions under “
” and "
", above, for each
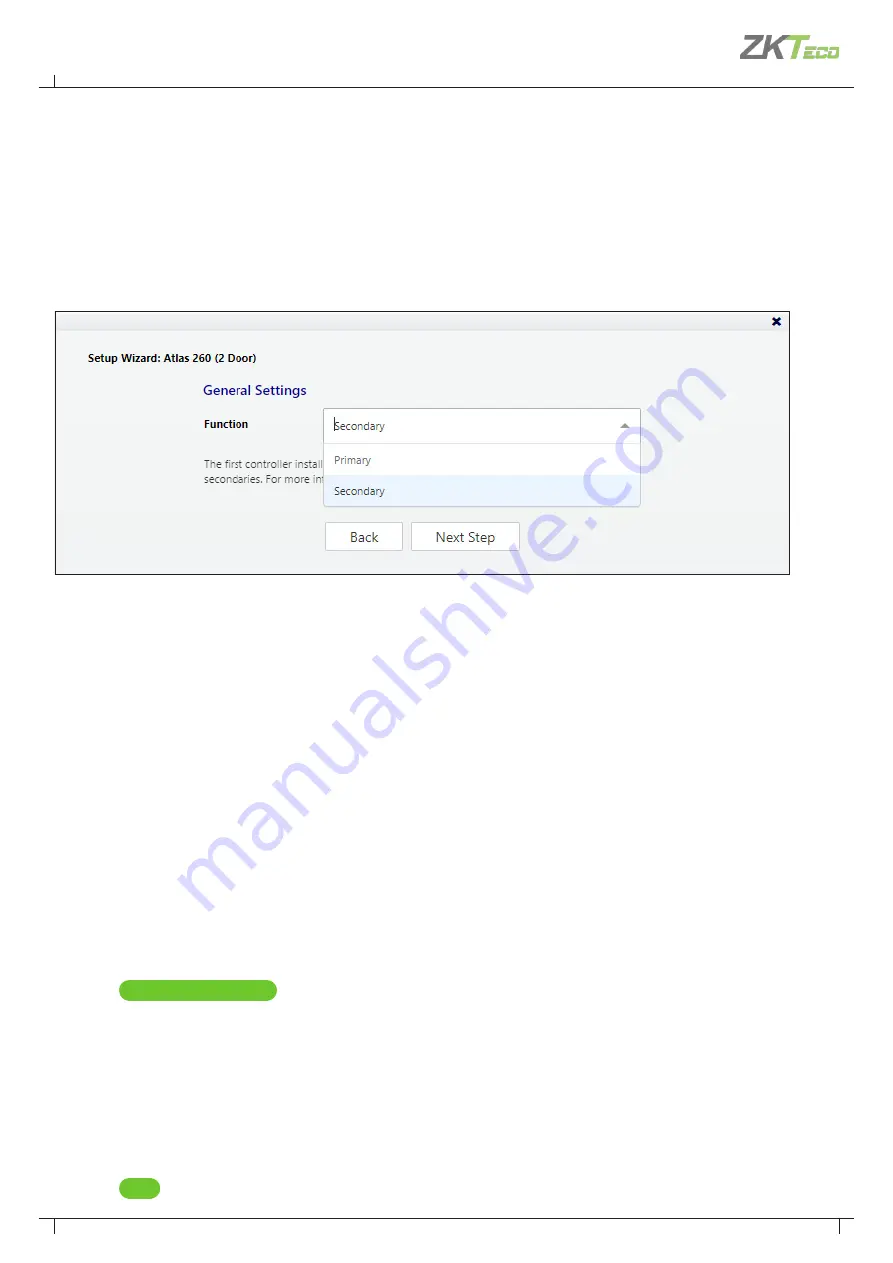
controller. You need to select '
Secondary
' under
Function
option in the
General Settings
while running the
setup wizard as shown in the image below. This will configure the controller to connect to the network.
Step 2: Adding the Controller in the Web Management Application
Secondary controllers can be automatically found and added by the Web Management Application. This is
called “
Discovery
”.
There are two important criteria to discover the secondary controllers.
•
When using Discovery, you should connect and discover controllers one at a time. This is the only way you
can differentiate them.
•
Discovery only works if all controllers are networked on the same subnet. If you have a simple network, this
will almost always be true. In a larger corporate environment, you might need to add secondary controllers
manually. See “
Special Considerations for Complex Networks
” below.
To discover secondary controllers:
1.
Log in to the Web Management Application (on the primary controller).
2.
Go to “
Config
Hardware
”.
3.
Click
Discover Controllers
on the menu bar.
4.
In a few seconds, a form will display all discovered controllers.
5.
Click the link to add a controller. The create controller screen will appear.
a. Select “
Configuration
” (See “
”, above.)
b. Enter a “
Name
” and select “
Custom Door Names
” to name the doors.
c. Do not change other settings.
6.
Click
Save
on the menu bar.
9. Adding Secondary Controller


