10
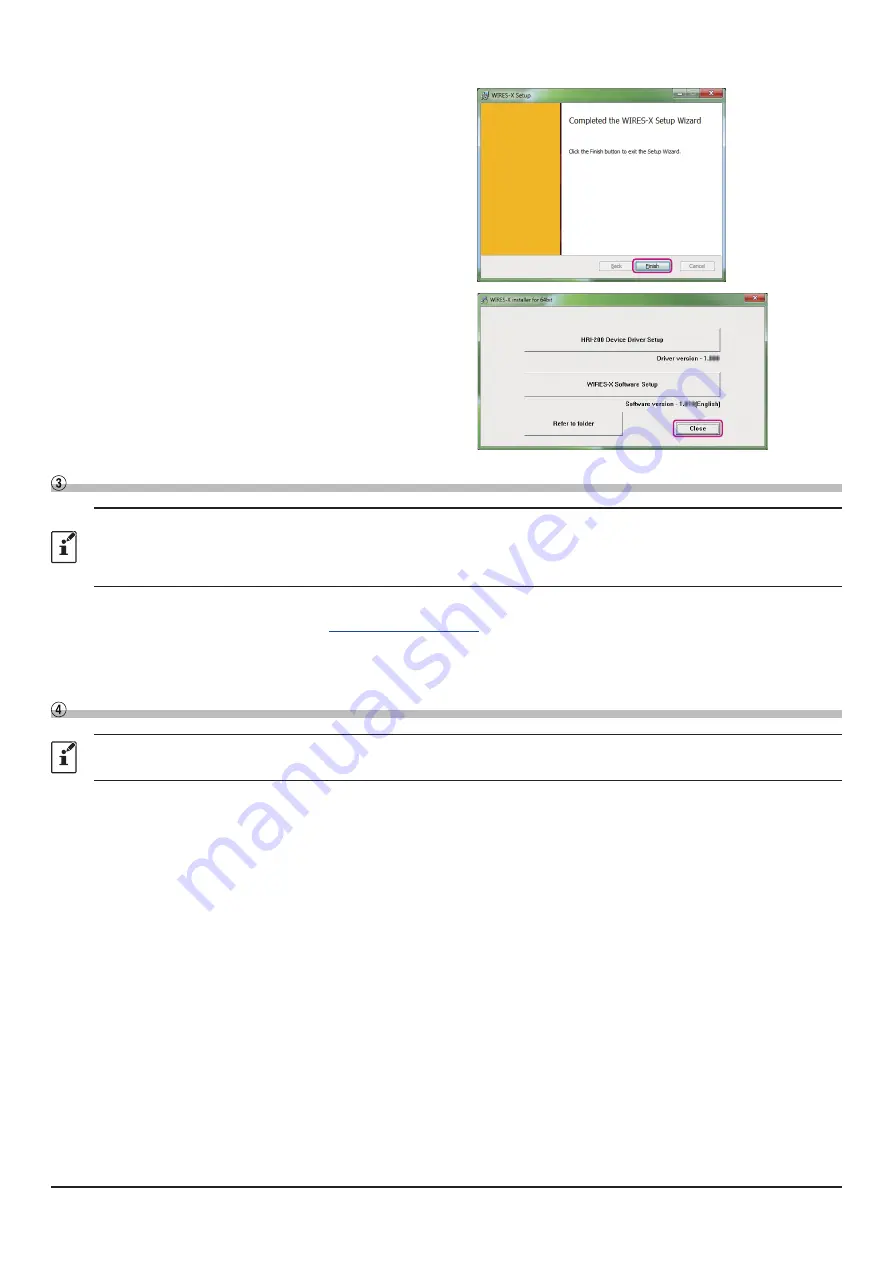
8. Click [
Finish
].
When WIRES-X software installation has been
completed properly, the [
Wires-X
] icon will appear on the
Windows desktop.
9. Click [
Close
] in the “
WIRES-X installer
” windows
Installation of the WIRES-X software is complete.
Install the USB driver for the PC connection cable
This procedure is not necessary if the USB driver of the SCU-19*
1
or the SCU-20*
2
is already installed on the PC to be
used.
*1(The SCU-19 is included in the SCU-39 kit.)
*2(The SCU-20 is included in the SCU-40 kit. FTM-400XD/D and FTM-100D include the SCU-20.)
1. Download the SCU-19 USB driver for FT5D/FT3D/FT2D or the SCU-20 USB driver for FTM-400XD/D, FTM-300D
and FTM-100D from YAESU website (
http://www.yaesu.com/
).
2. Unzip the downloaded file and copy all the files to the desired folder.
3. Refer to the “
Driver Installation Manual
” PDF file in the folder and install the USB driver on the PC.
Update the firmware of the transceiver
This procedure is not necessary if the firmware of the transceiver used for the Portable Digital Node station is the latest
version already posted on YAESU website.
1. To check the firmware version of the transceiver, use the following procedure:
FT5DR/DE
(1) Press and hold the [
F
MENU
] key to display “SETUP MENU”, then touch [
DISPLAY
].
(2) Rotate the
DIAL
knob, then touch [
10 SOFTWARE VERSION
].
The firmware version of “Main” and “Sub”, “DSP” will be displayed.
FT3DR/DE
(1) Press and hold the [
DISP
] key to display “SETUP MENU”, then touch [
DISPLAY
].
(2) Rotate the
DIAL
knob, then touch [
9 SOFTWARE VERSION
].
The firmware version of “Main” and “Sub”, “DSP” will be displayed.
FT2DR/DE
(1) Press and hold the [
DISP
] key to display “SETUP MENU”, then touch [
DISPLAY
].
(2) Rotate the
DIAL
knob, then touch [
11 SOFTWARE VERSION
].
The firmware version of “Main” and “Sub”, “DSP” will be displayed.


