


18
Preparation
Preparing an Internet Environment
In case you cannot open ports using the WIRES-X software on the router with the UPnP function, open ports from the router setup
screen.
●
When using a router without the UPnP function
In advance, in the “NAT” or “Port mapping” setting on the router, set the address in “Setting an IP address on the PC” (page 15)
as the LAN address and register the following 6 ports:
46100, 46110, 46112, 46114, 46120 and 46122 (UDP ports)
For the detailed procedure, refer to the instruction manual supplied with your device.
●
When using a router with the UPnP function
1
On the router setup screen, make sure that the UPnP function is enabled on the router
Tip
For details, refer to the instruction manual supplied with the router.
2
On the Windows desktop, double-click the
[Wires-X]
icon
The WIRES-X software starts.
Tip
The software can also be started by clicking the Windows Start button, then “Wires-X”.
Then, the Internet security alert will appear depending on the settings of Windows and the firewall software (refer to “Setting the
Internet access security” (page 20) for details).
3
Click
[Allow access]
Tip
Depending on the OS or firewall software, click [Unblock] instead.
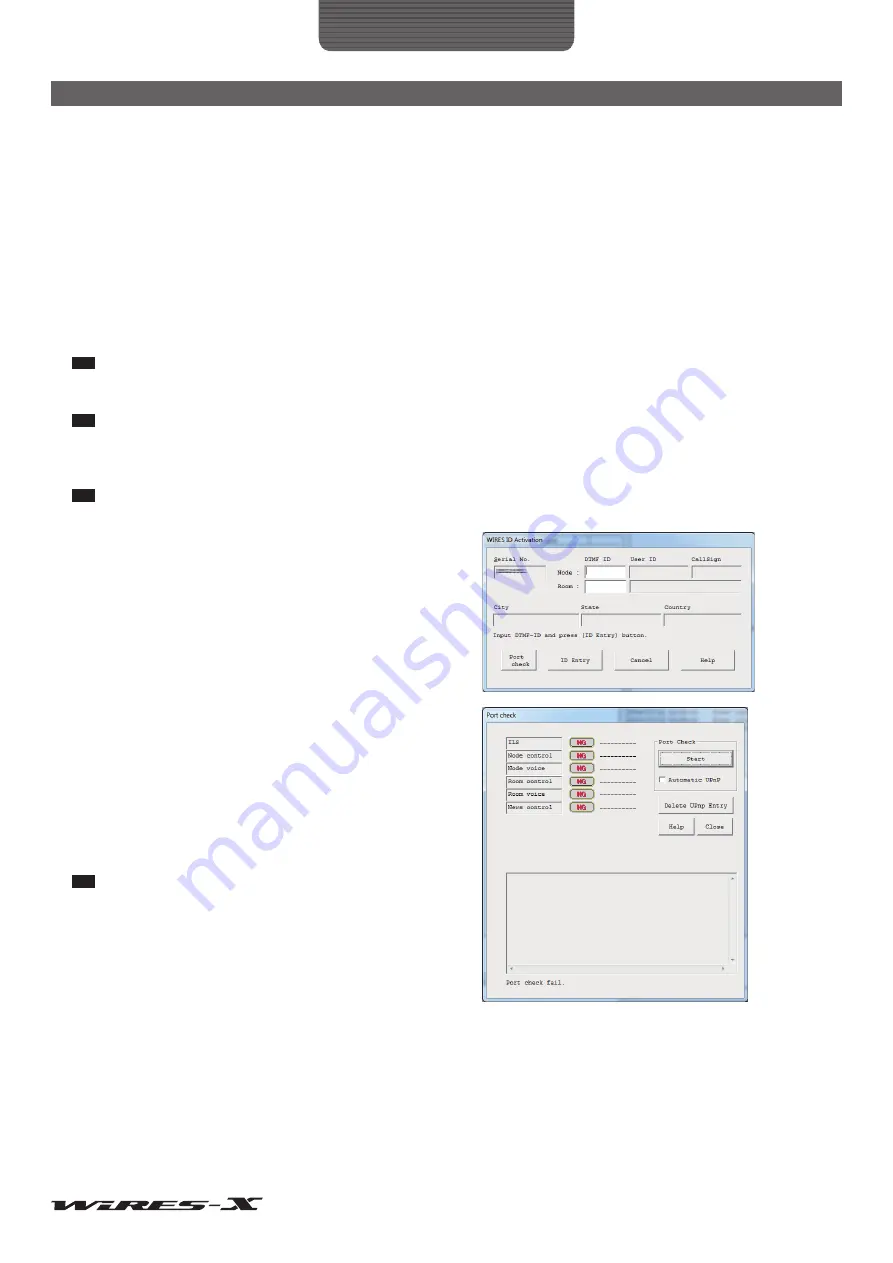
The “WIRES ID Activation” window will appear.
4
Click
[Port check]
The “Port check” window will appear.
5
Put a check-mark in the “Automatic UPnP” in the “Port Check”
area
6
Click
[Start]
in the “Port Check” area
The communication status will be checked for each of the 6
ports.
When checking is complete, the “OK” or “NG” will appear on the
right side of each port name.
If there is one or more “NG” messages, registrations of the 6
ports will start.
Tip
While checking, the operational status of the WIRES-X software
(such as registering) will appear in the bottom half of the “Port check”
window.


