


7-12
Maintenance and repair
Platen Replacement
Platen rollers are like tires on a car, in that they wear with use. After
continued normal use, it may be necessary to replace the printhead platen
rollers. After prolonged use, one or more rollers may develop flat areas
which will affect print quality. The following procedures explain how to
remove and replace the platen rollers.
1
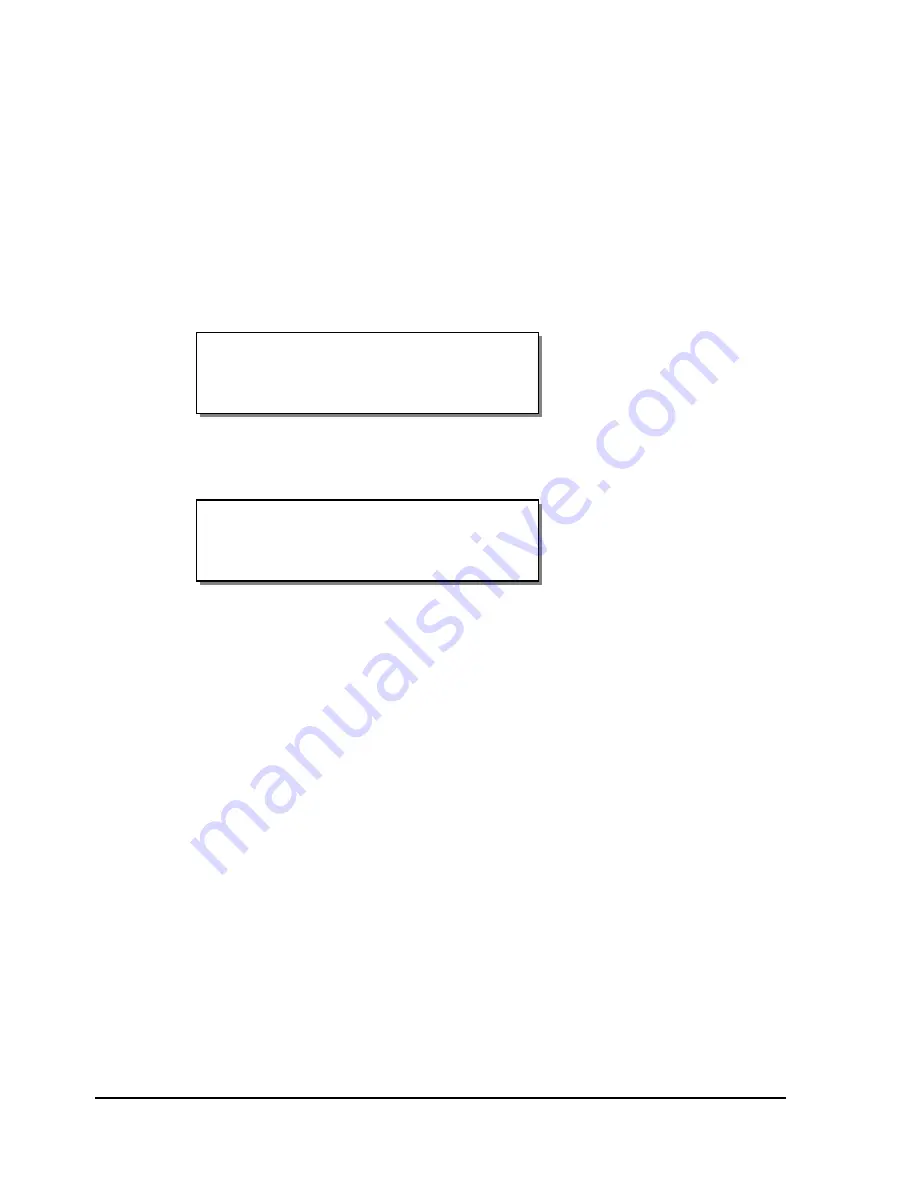
While the printer is on, lift the printhead above the platen roller that will
be replaced. The following message will display.
Press the SELECT button. The indicated print station will be disabled
and the following message will display.
2
Turn the printer off and unplug the AC power cord. Lift the printer’s
side cover.
3
Remove any label stock that may be positioned over the platen roller.
4
Remove the two outside screws from the shaft end plate at the outer end
of the platen shaft on the frame plate.
5
Reach under the printer to loosen the collar on the outside end of the
platen roller by turning the black lever counterclockwise.
Head x Disabled
Head x up
SELECT to disable
Содержание QLS-8100XE
Страница 2: ......
Страница 14: ...1 4 Quick start ...
Страница 19: ...QLS 8100 Xe 2 5 Side view ...
Страница 46: ...3 14 Loading media and calibration ...
Страница 149: ...QLS 8100 Xe A 1 Appendix A Physical Data ...
Страница 153: ...QLS 8100 Xe B 1 Appendix B Specifications ...
Страница 156: ...B 4 Specifications ...
Страница 157: ...QLS 8100 Xe C 1 Appendix C Replacement Parts ...
Страница 160: ...C 4 Replacement parts ...
Страница 161: ...QLS 8100 Xe D 1 Appendix D Color QuickLabel 99 Pro setup ...
Страница 166: ...D 6 Color QuickLabel 99 Pro setup ...
Страница 167: ...QLS 8100 Xe E 1 Appendix E Windows Printer Driver Setup ...
Страница 175: ...QLS 8100 Xe F 1 Appendix F Format error codes ...
Страница 180: ...F 6 Format error codes ...
Страница 181: ...QLS 8100 Xe G 1 Appendix G Menu Structure ...
Страница 182: ...G 2 Menu Structure ...


