9
Note:
Level the Wall Frame at this time carefully to prevent sound leaks.
1. With the door in position and all frame members clamped together, square the frame by measuring
diagonally from corner to corner. Both dimensions must be equal. Make any necessary adjustments.
2. Using the 24-inch box level, start at the inside of the Door and level each Wall Frame working in a
clockwise direction.
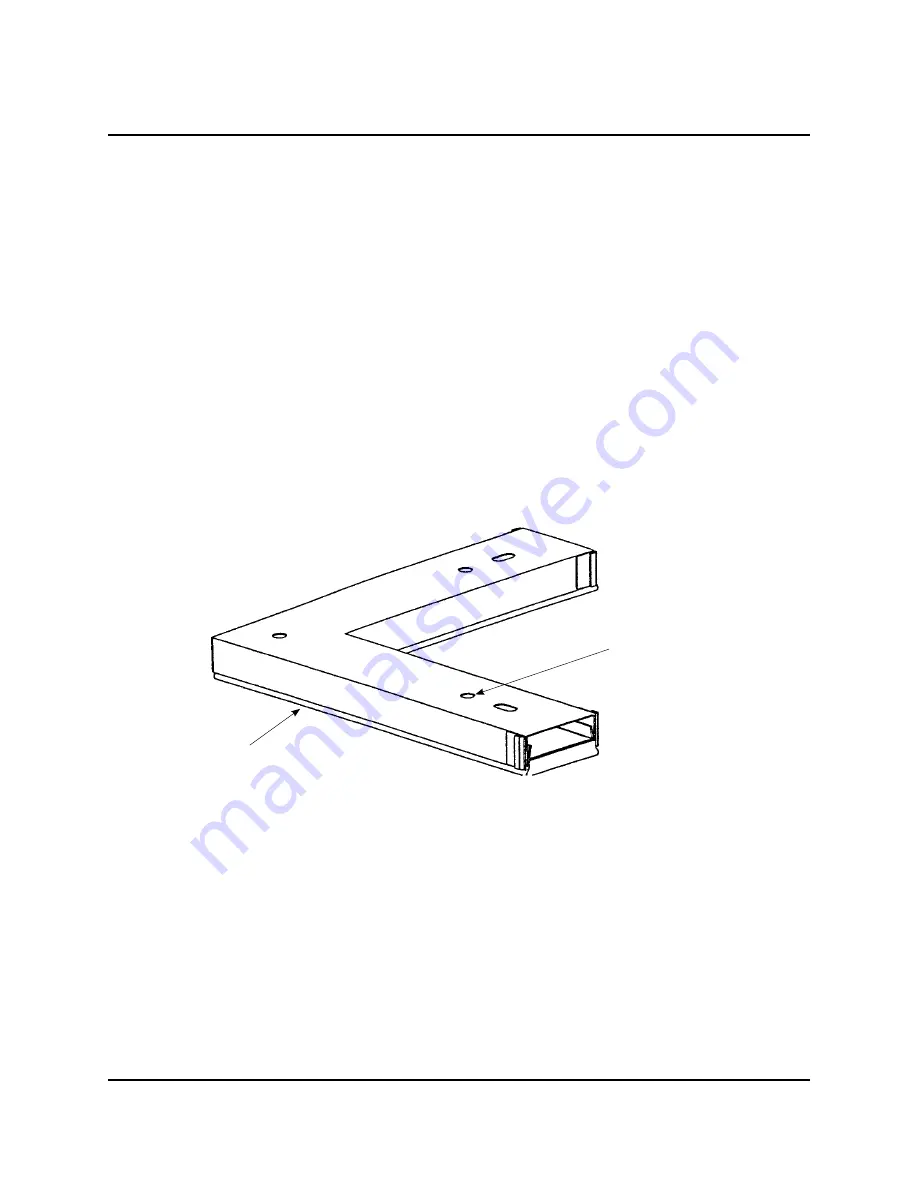
a. Leveling Screws are in the center of the frame covers (refer to the illustration below).
b. Turn each Leveling Screw clockwise to lift the Wall Frame and counterclockwise to lower the
Wall Frame until the entire Frame is level.
Note:
Each Leveling Screw must contact the Wall Frame Pad Assembly.
c. The rubber pad under the frame compresses slightly under the weight of the module panels.
Note:
If the room you are installing has a Wenger floor, it is suggested that it be installed now.
This allows additional room to assemble the floor. However, the floor may be assembled in the
completed module or removed (it is completely independent from the rest of the unit).
Trim molding is supplied with the floor kit and applied when the module is finished.
level the wall frame
iNSTallaTiON
CONTiNuEd
Wall Frame
Leveling Screw
Содержание V-Ready
Страница 36: ...This page is intentionally blank 36...


