


55
4D. Tutorial: How to Setup a Print and Cut using IColor CustomCUT – Contour Cut
This tutorial will walk you through the basic steps to print and cut a label using the trace image/contour
cut feature found in IColor CustomCUT.
4D1. Choosing a Label Size (Page Layout)
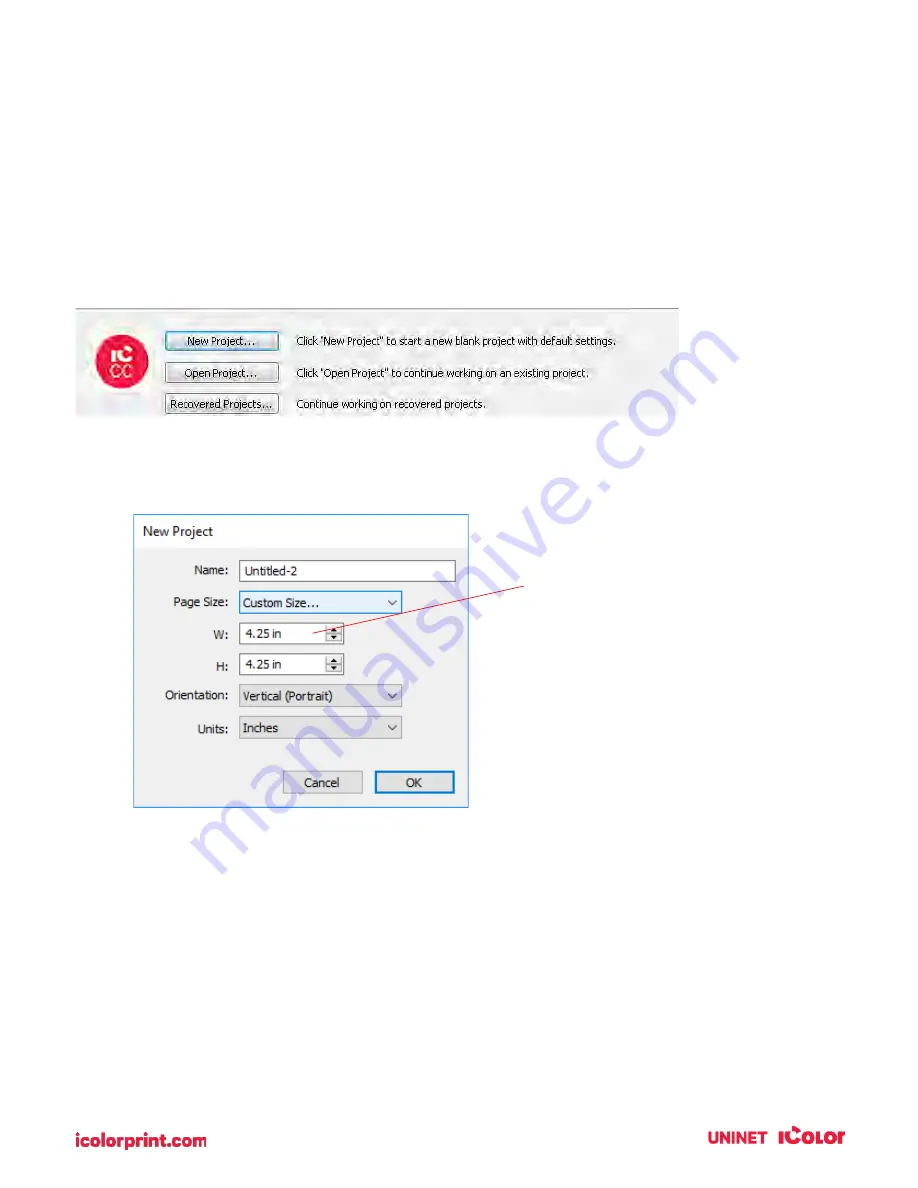
After you activate your software you will be prompted to open or create a new project.
1.
Choose New Project…
2.
Set your page size. Since all die-cutting media is 4.25” wide the standard maximum width is
automatically set to 4.25”. In this example, we have set the size to 4.25” x 4.25” to accommodate
approximately a 4” x 4” label.
TIP! Set your page larger than the
label size to be cut. This will allow you
to create a bleed around the label so
that you always cut inside your print
and get perfect cut every time.
Содержание IColor 250
Страница 1: ......
Страница 52: ...51 2 Browse to the file you would like to use and choose Open ...
Страница 59: ...58 8 Center the image horizontally and vertically to the page ...
Страница 73: ...72 2 Select Blank Template Click Next 3 Select IColor 250 Label Click Next ...
Страница 104: ...103 Printing from Preview Click on the Preview dropdown menu and choose Printer Features ...
Страница 114: ...113 4 Prepare items needed for the procedure 5 Soak the paper towels in water for 5 seconds ...


