48
Ulead Photo Explorer User Guide
Burning slideshow discs
After composing your slideshow, you can burn slideshow discs using your disc burner in either of
these formats: Photo Explorer slideshow CD (for PC viewing), or slideshow disc of VCD, SVCD or
DVD format (for TV viewing).
For PC viewing
The CD that is created for PC playback will contain the Photo Explorer slideshow project file
(*.UES) and the image, video and sound files that are used in the slideshow. You can choose to
create an auto-executable CD that will automatically run the slideshow when it is inserted into the
CD-ROM drive. A slideshow player (Uesviewer.exe) will be included on the CD.
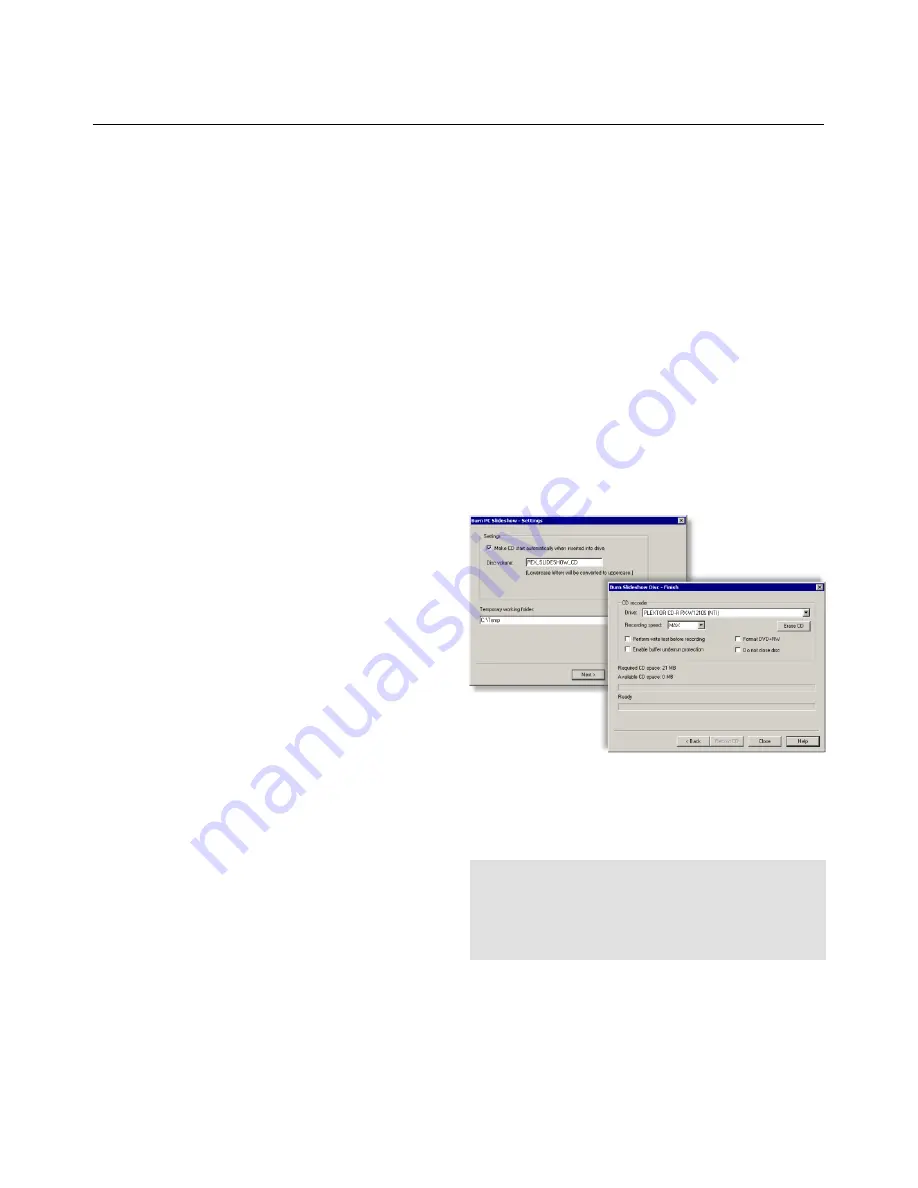
To burn Photo Explorer slideshow on CD:
1. In the storyboard toolbar, click
Burn PC Slideshow
.
2. To create an auto-executable CD, make sure the
Make CD start automatically when inserted into
drive
option is selected.
3. Specify the
Disc volume
to record on disc.
4. Select a
Temporary working folder
where to save
files on the hard disk before burning them to CD.
5. Click
Next
.
6. Select the CD burner and recording speed to use for
burning the CD.
7. Finally, click
Record CD
to start burning the CD.
For TV viewing
To burn a slideshow disc of VCD, SVCD or
DVD format (depending on the output format
that is available in your Ulead Photo Explorer
program version), click
Burn TV Slideshow
in
the storyboard toolbar. Follow the on-screen
instructions or refer to the program's online help
for details on how to complete the burning
process.
Tip:
To burn a Photo Explorer slideshow (*.UES) or
media files that are selected in the Browse Pane and
make them into a slideshow disc, select
Tools: Burn PC
Slideshow
or
Tools: Burn TV Slideshow
, depending on
your desired output format.
Содержание PHOTO EXPLORER VERSION 8.0
Страница 1: ...User Guide Ulead Systems Inc October 2002 ...

