


66 VIDEOSTUDIO USER GUIDE
Tip:
To maintain the highest possible quality and keep render times to a minimum, it is best to create your video using
the same properties as when they were captured. Thus, you will need to check your captured clip’s properties from
time to time when choosing Video save options. To do this, right-click the clip and select
Properties
. You can also
select a video clip and click
Properties
in the
Options Panel
.
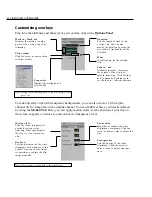
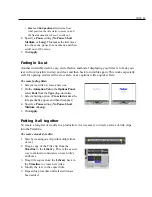
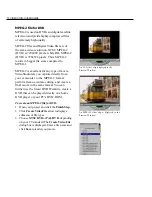
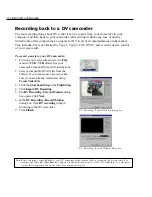
Video Save Options
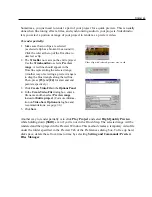
In the Finish Step, you can apply a different format and new set of attributes when saving a
movie file. Click Finish: Create Video File-Custom to display the Create Video File dialog
box. Here, select Options. This will display the Video Save Options dialog box where you
can set your preferences.
When selecting an option, always remember to watch out for possible incompatibility prob-
lems. Available options depend on your file format. The following can help you choose options
and set values for files in AVI format.
Note:
You can also click
Help
for further information in the
Video Save Options
dialog box.
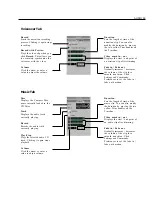
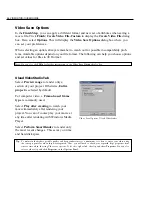
Video Save Options: Ulead VideoStudio
Ulead VideoStudio Tab
Select Preview range to render only a
section of your project. Otherwise, Entire
project is selected by default.
For computer video, a Frame-based frame
type is commonly used.
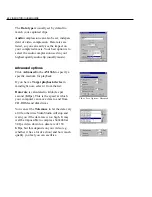
Select Play after creating to watch your
movie immediately after rendering your
project. You can of course play your movie at
any time after rendering with Windows Media
Player.
Select Perform SmartRender to render only
the most recent changes. This saves you time
and hard disk space.