


Use key (
7)
to navigate to the next menu to the right, e.g.
[OUT]
Likewise, key (
8)
takes you in the opposite direction (left).
Editing the [IN] Menu:
After high-lighting the [IN] menu enter the desired menu with key (
10)
to get the sub-
menu screen below:
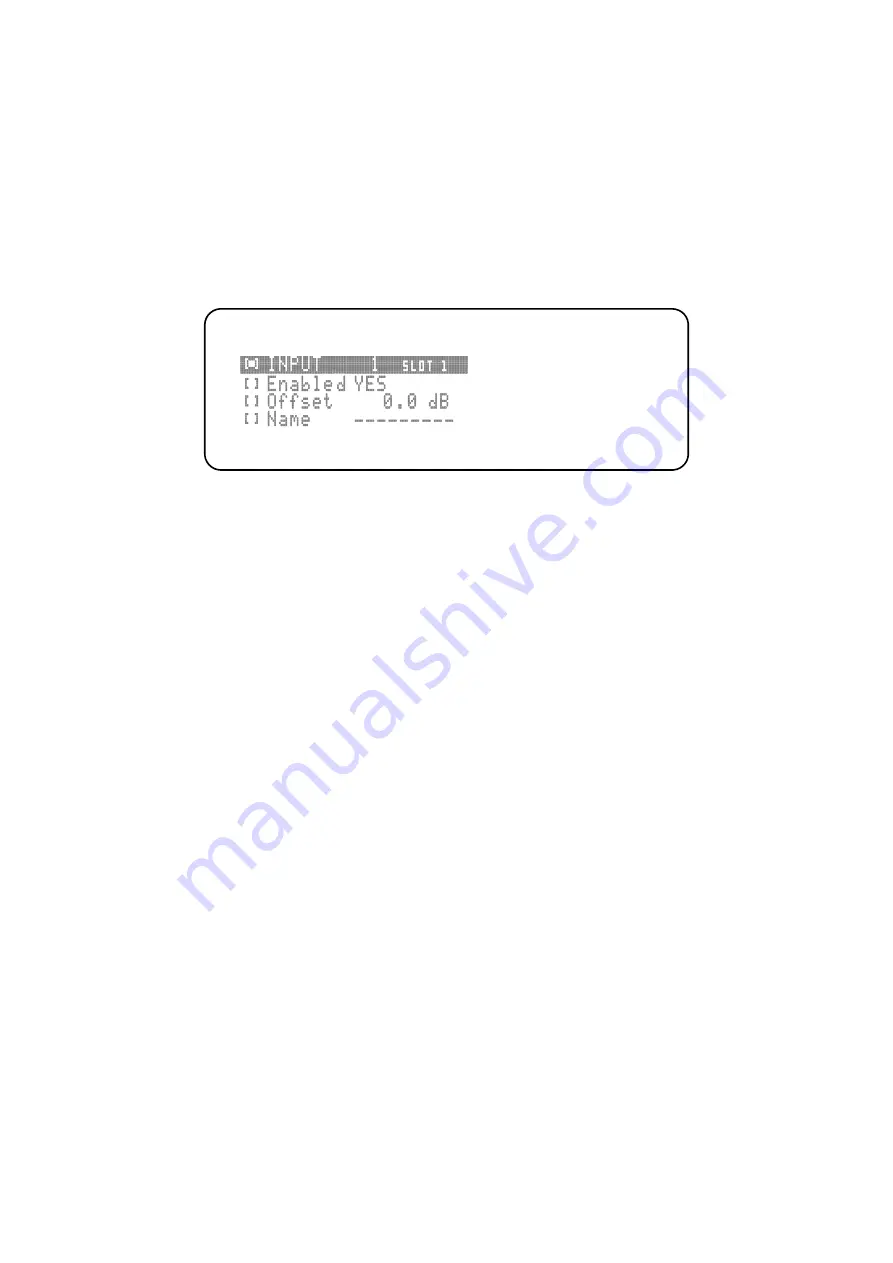
Now you are in the [IN] sub-menu, where you can edit the following settings:
1. Input selection
[
■] INPUT 1
SLOT 1
2. Activate or de-activate input
[
] Enabled YES
3. Adjust input trim
[
] Offset 0.0 dB
4. Name input
[
] Name - - - - - - - - -
[
■]
INPUT 1
SLOT 1
Use the first line to select the input to be edited with keys (
7)
and (
8).
This line also
shows in which slot the selected module is installed so that you can assign the input
exactly. Use button (
10)
to navigate to the next item.
[
■] Enabled
YES
Key (
7)
disables the selected input. Display:
[
■] Enabled NO
Key (
8)
enables the selected input. Display:
[
■] Enabled YES
[
■] Enabled
NO
This function is useful if you do not use an input. When you toggle between
inputs the disabled input is skipped.
Press key (
10)
to select the next item.
[
■]
Offset 0.0 dB
This sub-menu allows the level setting of individual inputs to match the level of other
sources to compensate for differences in playback volume when changing inputs.
Note that levels can only be reduced - choose as a benchmark the weakest source
and adjust for louder source devices in this menu. Maximum attenuation is -12dB,
which should be sufficient in most cases.


