e-STUDIO162/162D/151/151D TEST COMMAND, TROUBLE CODES 10 - 23
46
32
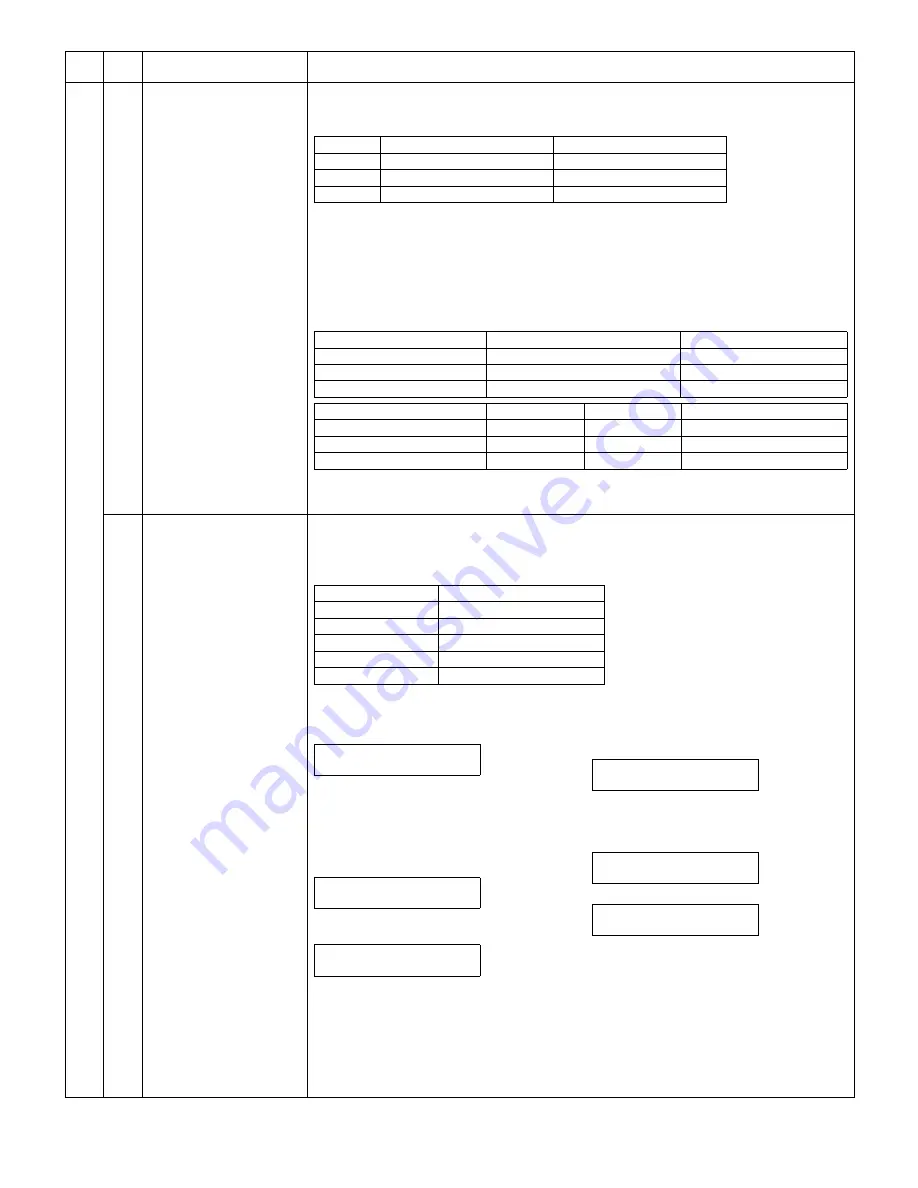
Copier color reproduction
setting (COLOR
REAPPEAR)
[Function]
Used to set color reproduction in each mode. Colors easy to be copied and colors difficult to be copied
can be switched.
∗
This setting has virtually no effect on black-and-white documents.
When this test command is executed, warm-up and shading are performed and the current set value
is displayed. (Default: 0)
Press [START] key to make a copy under the set conditions . At that time, color components are
changed for used in copying.
To change the mode, press [
←
/
→
] key. The code number of the selected mode is dip0slayed on the
LCD.
[Operation]
The operation is similar to test command 46-01.
39
FAX mode sharpness
adjustment (Executable only
when the FAX is installed.)
[Function]
When [START] key is pressed, scan is started with the entered sharpness adjustment value, and the
data of the selected mode stored on the FAX side is changed to the entered value.
[Operation]
Main
code
Sub
code
Contents
Details of function/operation
Set value
Colors easy to be copied
Colors difficult to be copied
0
Purple, Blue, Red
Yellow, Green, Water blue
1
Water blue, Green, Blue
Purple, Red, Yellow
2
Yellow, Red, Green
Blue, Water blue, Purple
Specification component
Setting No
Remark
Green
0
Default
Red
1
Blue
2
Mode
Display item
Default setting
LED
AE mode (including TS)
AE
0
COPY mode lamp
TEXT mode (including TS)
TEXT
0
PRINT mode lamp
PHOTO mode
PHOTO
0
SCAN mode lamp
Sharpness adjustment value data table
When initializing each data: 1
Mode
Sharpness adjustment value
1: STD
2: FINE
3: S-FINE
4: FINE/PHOTO
5: S-FINE/PHOTO
1) Initial display
2) [
←
/
→
] or after 2sec
Every time when [
→
] key is pressed, the
second line is changed in the sequence of
No. 1
→
2
→
3
→
4
→
5
→
1.
When [
←
] key is pressed, the sequence is
reversed.
3) Select the arrow key 1-5, and the LED of
[START] key is lighted.
("ZZZZ" is the mode selected among STD,
FINE, S-FINE, FINE/PHOTO, and S-FINE/
PHOTO.)
("X" is the corresponding sharpness adjustment
value of the selected mode stored on the FAX
side.)
∗
[CLEAR] key: Returns to “2)” display.
4) Enter a one-digit value (0-2) as the sharp-
ness adjustment value with [10KEY].
("Y" is the entered sharpness adjustment value.)
∗
[CLEAR] key: Returns to “2)” display.
5) Scan start (self print)
6) Print start (self print)
After completion of printing, returns to “4)”
display.
SHARPNESS SETTING
PRESS
←
,
→
SHARPNESS SET (1-5)
1:STD
SHARPNESS SETTING
ZZZZ(0-2) X
SHARPNESS SETTING
ZZZZ(0-2) Y
SHARPNESS SETTING
SCAN Y
SHARPNESS SETTING
PRINT Y
e-STUDIO162_151.book 23
ページ
2004年12月2日 木曜日 午後9時37分
Содержание e-studio 151
Страница 156: ...e STUDIO162 162D 151 151D CIRCUIT DIAGRAM 14 30 6 7 8 9 10 11 12 6 7 8 9 10 11 12 A B C D E F G H 1 1 ...
Страница 157: ...e STUDIO162 162D 151 151D CIRCUIT DIAGRAM 14 31 A 1 2 3 4 5 6 B C D E F G H 1 2 3 4 5 6 POWER SUPPLY 220V 240V ...
Страница 158: ...e STUDIO162 162D 151 151D CIRCUIT DIAGRAM 14 32 6 7 8 9 10 11 12 6 7 8 9 10 11 12 A B C D E F G H 1 1 ...
Страница 170: ...Memo ...
Страница 171: ...Memo ...
Страница 172: ...Memo ...
Страница 176: ...2 17 2 HIGASHIGOTANDA SHINAGAWA KU TOKYO 141 8664 JAPAN ...


