58
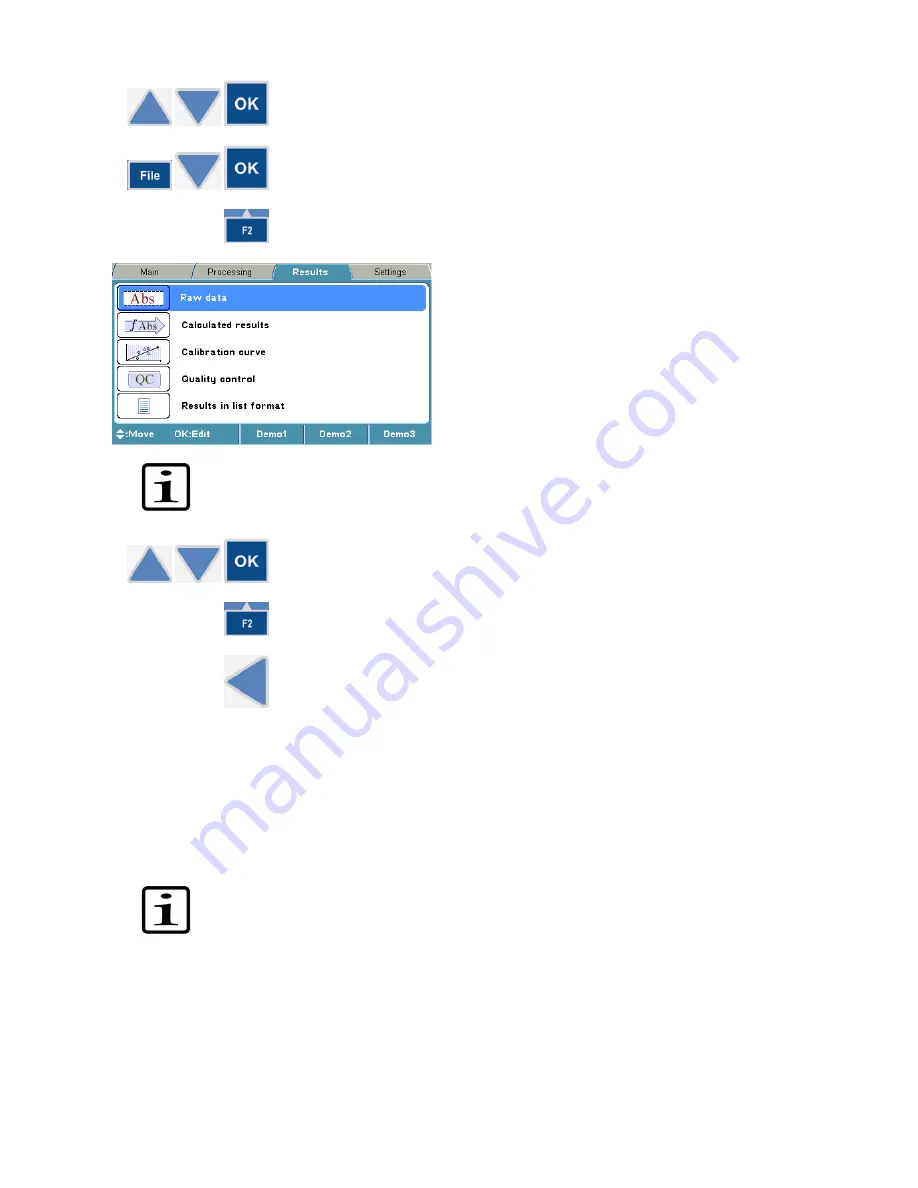
2. Select another data view using the
Up
and
Down
arrow keys, and press
the
OK
button.
3. Press the
FILE
key in the data view to print or export a data view. Select
Export As Text
or
using the
Down
arrow key if necessary, and then
press the
OK
button.
4. Press the
F2
key to close the data view.
Note!
It is possible to select which information to be exported or printed by pressing the
FILE
key
. Refer to Chapter 9: “Exporting and Importing”.
5. To view another row from the
Results
menu using the
Up
and
Down
arrow keys, and press the
OK
button. To view different data views or to
print, refer to Steps 2-4.
6. Press the
F2
key to close the data view.
7. Press the
Left
arrow key to return to the
Main
menu.
Chapter 9: Printing, Exporting or Importing
It is possible to export and import the stored protocols to or from an instrument to another of the same
type.
When exporting a protocol, it is also possible to include measurement data in the exported file. This
feature can be used as a backup for the measurement data.
Note!
It is highly recommended to take a database backup before deleting runs. Taking a
backup is the responsibility of the user.
It is only possible to import measurement data to the same instrument as it was generated from.
Before running the imported protocol, check that the filter and filter position to be used are correct.
The calculated results or stored protocols can be printed after the measurement using the
FILE
key.
The printout is sent to the external printer according to the general settings of the instrument. The
printed data can be selected.
The report to be printed can be defined by
FILE/Print/Define Report
in the main level of
Results
.
Each active data table can also be defined by using
FILE/Print
.


