54
TARGET FEED MASTER RF
TARGET FEED MASTER RF rev.09
5.8.6 Bin Settings
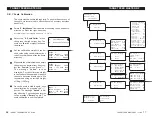
This section describes how to customize the bin settings for your
particular application. Up to 6 bins can be used.
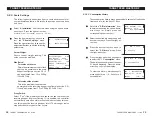
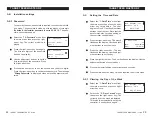
Select "
9. Installation
" from the main menu using the up and down-
arrow keys. Press the right-arrow key.
Accessible from the installer mode only (s. 5.8.1).
Press the down-arrow key to select
the "
5. Bin Settings
" menu then press
the right-arrow key.
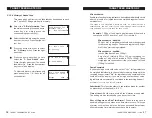
Use the up and down-arrow keys to
select the desired bin then press the
right-arrow key. The following
parameters are displayed :
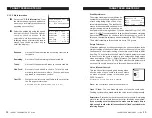
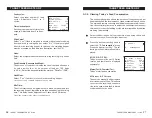
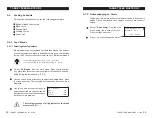
Max Fill Time (Empty bin alarm):
This is the maximum allowable time
to fill the feed scale hopper. An alarm
is set off whenever the filling time ex-
ceeds this delay. This type of alarm
usually occurs when a bin is empty.
The maximum fill time can be adjusted
from 0 to 30 minutes.
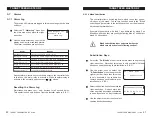
Re-order point:
This is the bins' minimum allowable amount of feed. An alarm is
set off whenever the amount of feed into a bin decreases below
the re-order point. The Re-order point can be adjusted from 1kg
(or 1lbs) to 2000 tons. The system continues running even though
the re-order point alarm is active. Use the adjustment buttons to
set the re-order point to the desired value.
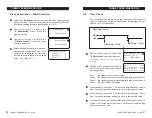
Alarm if empty:
Select "Yes" if you want an alarm to be set off when the bin is
empty. When this type of alarm is active, the system stops oper-
ating except if a backup bin is selected (see below).
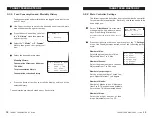
9. Installation
5. Bin Settings
9.5.1 Bin 1 Settings
Max fill time: 15
Re-order point: 100
Alarm if empty: No
Backup bin: 3
19
TARGET FEED MASTER RF
TARGET FEED MASTER RF rev.09
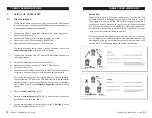
6. Set the scale settings in the "
2.Scale Settings"
menu from the
installation menu (s. 5.8.3).
7. Set the drop settings in the "
3. Drop Settings"
menu from the
installation menu (s. 5.8.4).
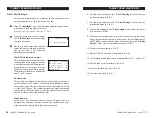
8. Set the bin settings in the "
5. Bin Settings"
menu from the instal-
lation menu (s. 5.8.6).
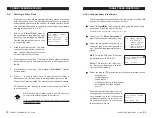
9. Make the relay assignment: it is recommended to map the relays
using the template at the end of the manual. Set the ID number of
each TRB box and assign the relays of each output in the "
4. Relay
Assign
." menu from the installation menu (s. 5.8.5).
10. Calibrate the feed scale (s. 5.8.7).
11. Adjust Time Clock cycles (if applicable) (s. 5.6).
12. Create blends and blend curves (if applicable) (s.5.5.1 and 5.5.2).
13. Set the feed cycle parameters (s.5.5.4)
14. Activate the feeding days (s.5.5.3).
15. Start the new flock (s.5.2).


