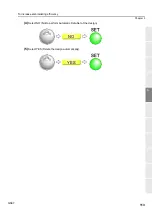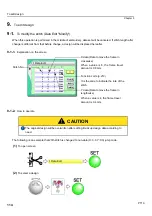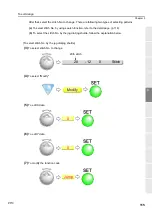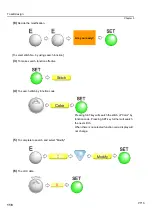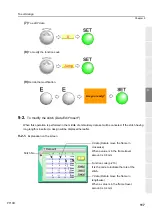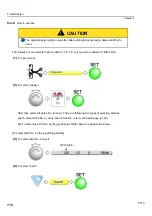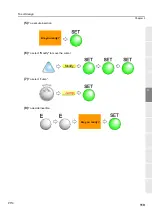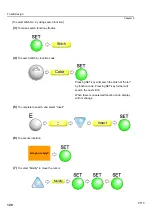
To adjust finishing of sewing
107
1
2
3
4
5
6
7
8
9
10
11
Chapter 5
QS07
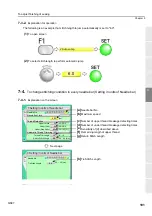
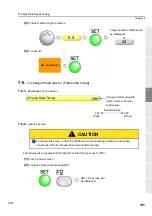
7-7-2.
How to operate
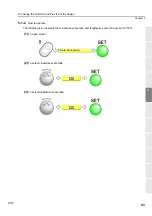
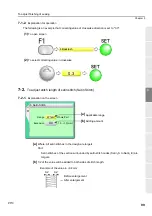
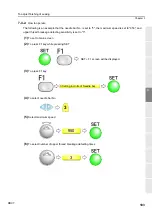
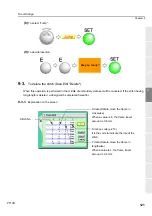
The following is an example that remaining length of upper thread is set to "B" after start sewing.
(1)
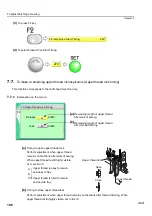
To open screen
(2)
To select remaining length of upper thread after start of sewing
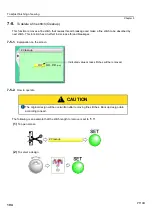
7-8.
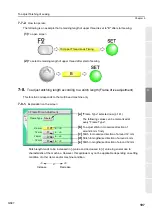
To adjust stitching length according to a stitch length (Frame drive adjustment)
This function corresponds to the multi-head machine only.
7-8-1.
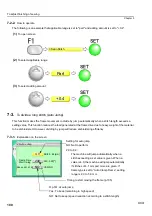
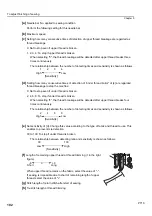
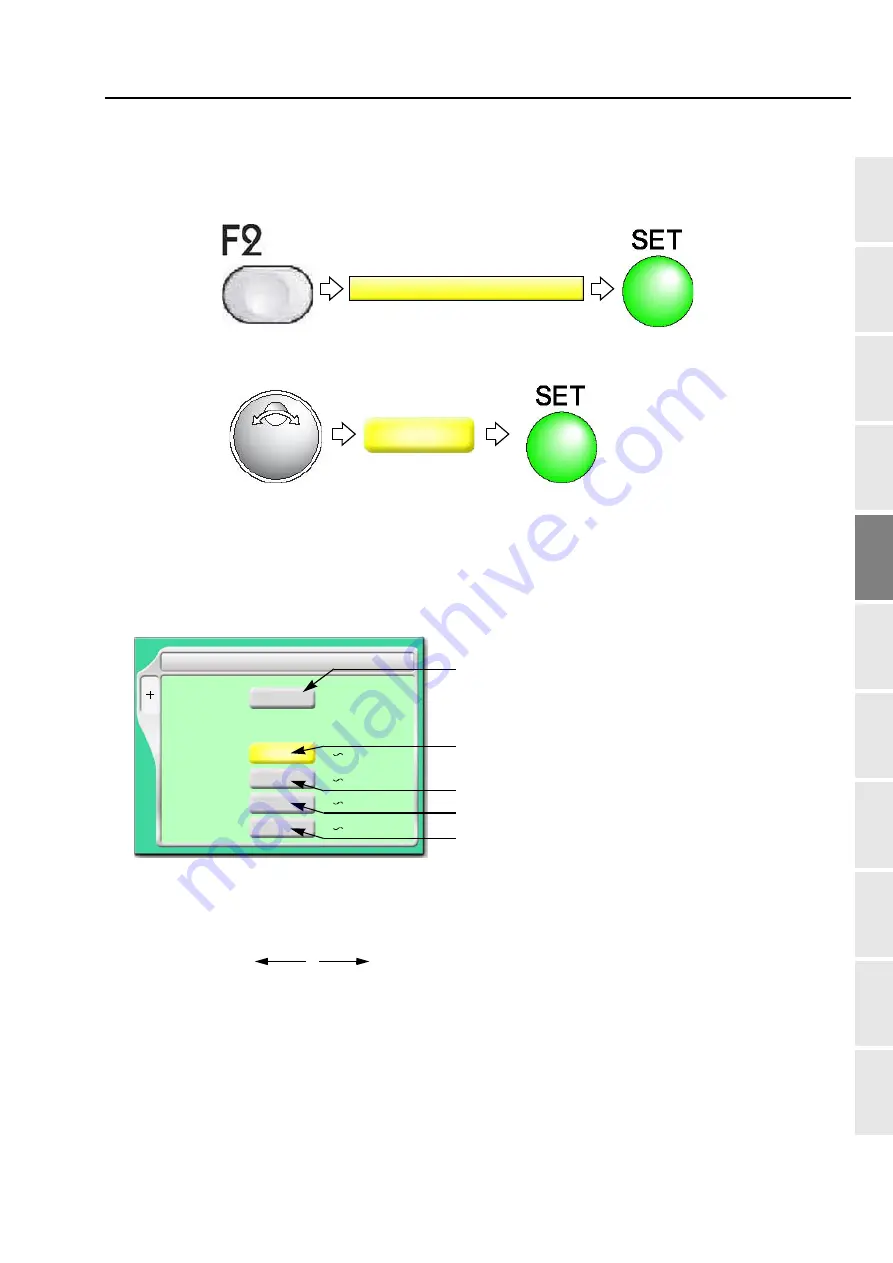
Explanation on the screen
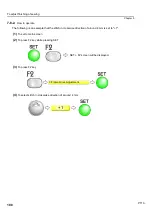
Stitch length tends to be increased in [-] value and decreased in [+] value in general due to
characteristic of the machine. However, this aptitude may not be applicable depending on setting
condition of other items and/or machine condition.
10 Upper Thread Lock Timing
B
0
3 Frame Drive Adjustment
Frame Type Tubular
X 4mm
12mm
Y 4mm
12mm
0
0
0
-3 +3
-3 +3
-3 +3
-3 +3
Set
F2
[a]
"Frame Type" selected now (p.141).
The following values can be memorized at
every "Frame Type".
[b]
[c]
[d]
[e]
To adjust stitch in crosswise direction of
around 4 mm finely
Stitch in crosswise direction of around 12 mm
Stitch in lengthwise direction of around 4 mm
Stitch in lengthwise direction of around 12 mm
-3
+3
0
Increase
Decrease
Содержание TEMX-C Series
Страница 13: ...To search from the menu key ...
Страница 25: ...Inspection before starting work 12 Chapter 1 ...
Страница 39: ...How to use each part 26 Chapter 2 ...
Страница 40: ... E 1 2 3 4 5 6 7 8 9 10 11 27 PT10 Chapter 3 Screen 1 Screen display 28 2 Message display 31 ...
Страница 104: ...To stop the machine 91 1 2 3 4 5 6 7 8 9 10 11 Chapter 5 PT10 4 To make Frame Limit Setting effective YES ...
Страница 147: ...Other functions that must be remembered 134 Chapter 5 ...
Страница 171: ...To move the frame to the position registered 158 Chapter 6 ...
Страница 189: ...Design stored in USB memory 176 Chapter 7 ...
Страница 204: ...Functions concerning optional device 191 1 2 3 4 5 6 7 8 9 10 11 Chapter 8 4 To use air compressor YES RR07 ...

