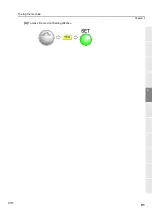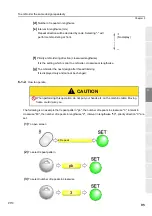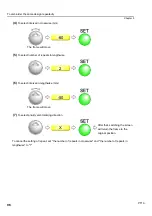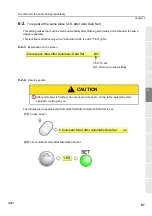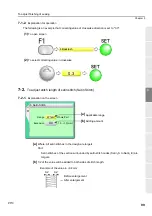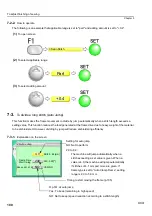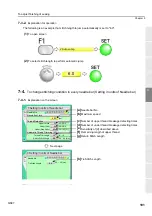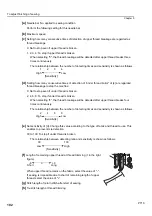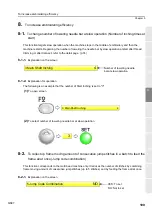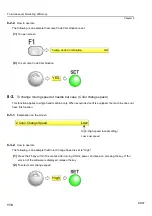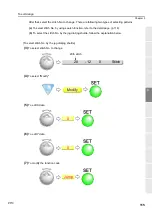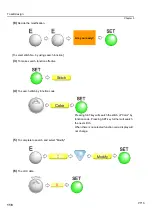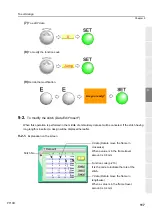
To adjust finishing of sewing
105
1
2
3
4
5
6
7
8
9
10
11
Chapter 5
PT10
(3)
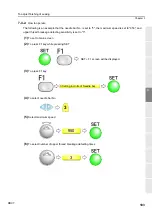
To select stitch length to remove
(4)
To execute
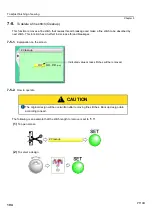
7-6.
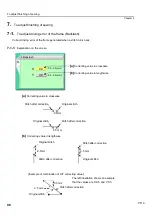
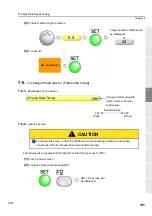
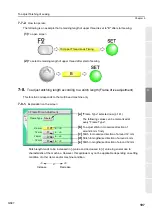
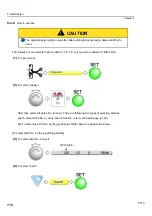
To change thread tension (Frame start timing)
7-6-1.
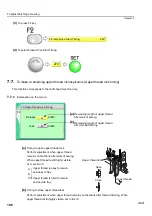
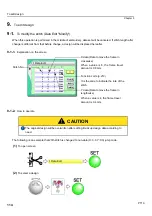
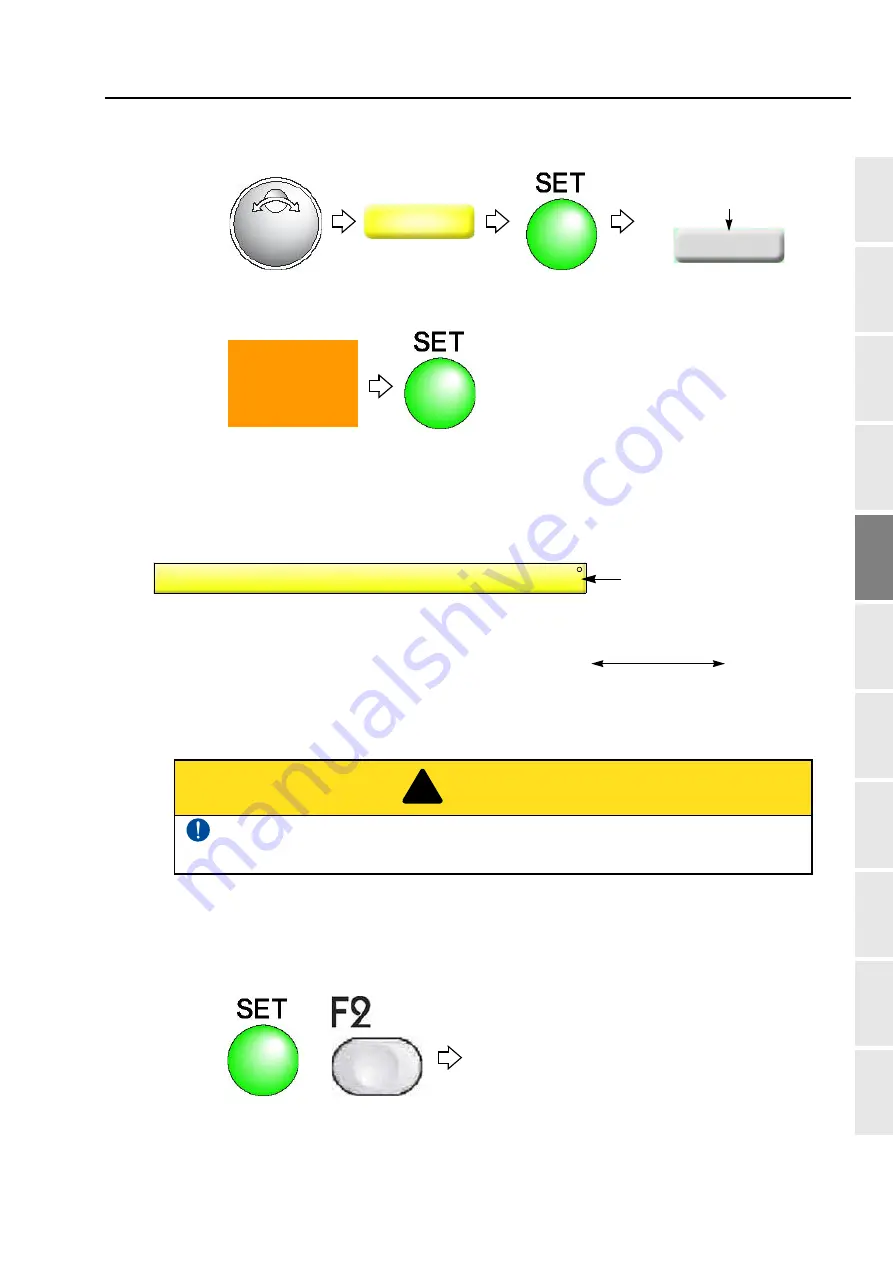
Explanation on the screen
7-6-2.
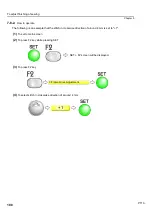
How to operate
The following is an example that Frame Drive Start Timing is set to "270".
(1)
To set to main screen
(2)
To press F2 key while pressing SET
To change this value, consult the distributor. Some operating condition could cause
occurrence of fault in thread trimming and affect sewing.
0.5
24
Target number of stitches will
be displayed.
Are you ready?
280
Timing to start moving the
frame (Value is of main
shaft angle)
230
Thread tension
Weak
280
Strong
2 Frame Start Timing
!
CAUTION
SET + F2 screen will
be displayed.
Содержание TEMX-C Series
Страница 13: ...To search from the menu key ...
Страница 25: ...Inspection before starting work 12 Chapter 1 ...
Страница 39: ...How to use each part 26 Chapter 2 ...
Страница 40: ... E 1 2 3 4 5 6 7 8 9 10 11 27 PT10 Chapter 3 Screen 1 Screen display 28 2 Message display 31 ...
Страница 104: ...To stop the machine 91 1 2 3 4 5 6 7 8 9 10 11 Chapter 5 PT10 4 To make Frame Limit Setting effective YES ...
Страница 147: ...Other functions that must be remembered 134 Chapter 5 ...
Страница 171: ...To move the frame to the position registered 158 Chapter 6 ...
Страница 189: ...Design stored in USB memory 176 Chapter 7 ...
Страница 204: ...Functions concerning optional device 191 1 2 3 4 5 6 7 8 9 10 11 Chapter 8 4 To use air compressor YES RR07 ...

