


Page 72
Using the
e
KEY Application
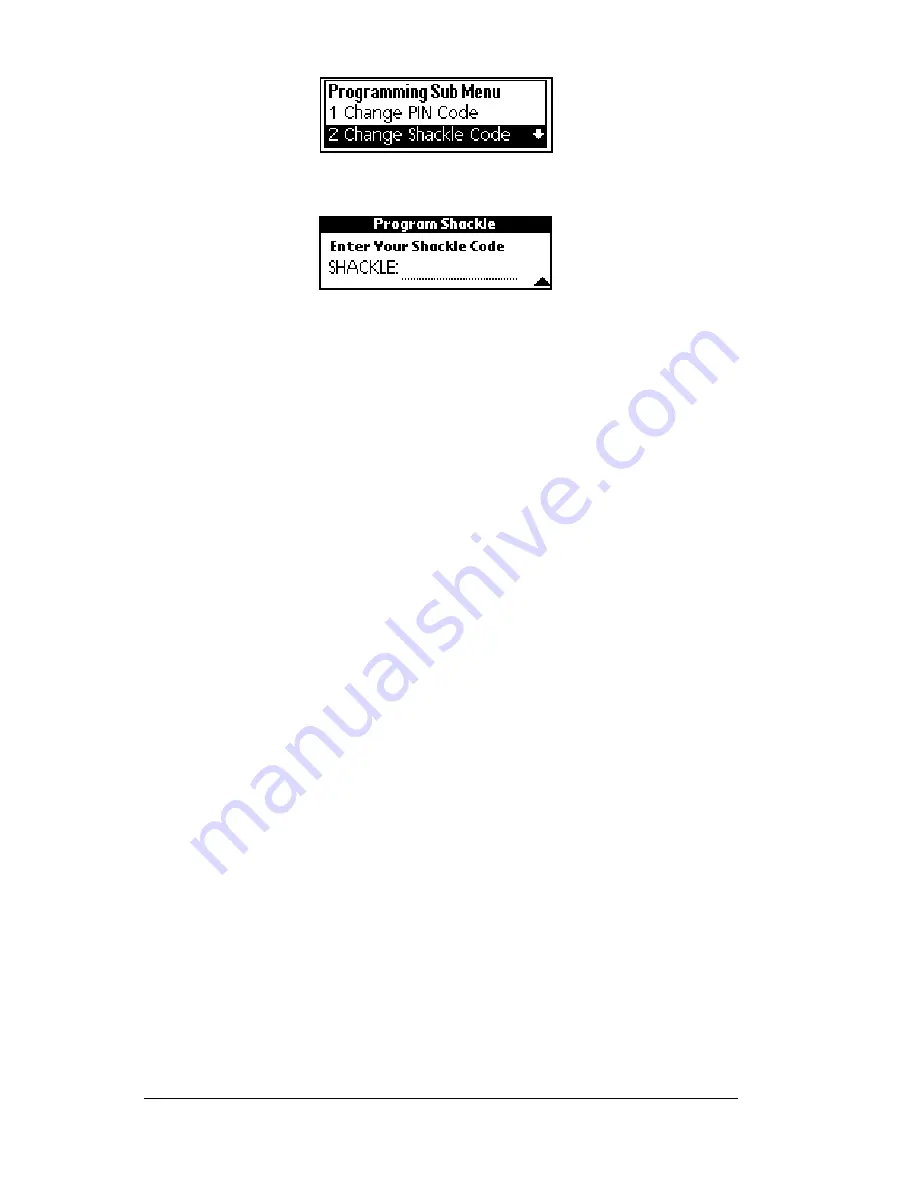
6. Press
enter
.
7. Enter the current shackle code when prompted.
8. Enter the new shackle code when prompted.
9. Re-enter your new shackle code when prompted.
10. Insert the back of your eKEY into the KeyBox so that it fits snugly
into the KeyBox receptacle. The gold contacts on the eKEY must
match the contacts on the KeyBox. An
Operation Successful
message appears in the display screen if the new shackle code is
changed successfully. If you receive an error message see Appendix
A: Error Codes for help in determining how to correct the error.
Important!
You can use your new shackle code right away, however
you must eSYNC before the new shackle code is recorded
in KIMnet.
Changing access hours in a KeyBox
Access hours, established by your Association/Board/MLS, are
programmed into each KeyBox when the KeyBox is manufactured.
Contact your Association/Board/MLS to determine the timed access
hours programmed into your KeyBox.
Access hours are set at Standard Time (ST). If your area participates in
Daylight Savings Time (DST), it is important to remember that access
hours are one hour later during DST than the pre-set access hours for
the KeyBox. For example, if KeyBoxes are programmed to open
between 8
AM
and 9
PM
(ST) during DST, the actual access hours are 9
AM
to 10
PM
.
You can change your KeyBox to allow access during the programmed
times (timed access) or to allow access 24 hours a day. You can also
change the programmed access hours.
Note
: If you change the programmed access hours, be sure to record
the change in the KeyBox Inventory function in the eDATA
Содержание eKey
Страница 1: ...eKEY HANDBOOK ...
Страница 7: ...Page 2 About this Book ...
Страница 27: ...Page 22 Introducing the SUPRA System Components ...
Страница 37: ...Page 32 Getting Started 5 Tap Delete 6 Tap Yes 7 Tap Done ...
Страница 44: ...Chapter 3 Page 39 New memo cursor Tap New Write in Graffiti area ...
Страница 53: ...Page 48 Entering Data in Your SUPRA Handheld Computer ...
Страница 87: ...Page 82 Using the eKEY Application screen displays the settings for the KeyBox ...
Страница 110: ...Chapter 6 Page 105 6 Tap Done to return to the first screen of the Roster list ...
Страница 114: ...Chapter 6 Page 109 2 Tap the KeyBox you want to delete 3 Tap the Delete button ...
Страница 137: ...Page 132 Using KIMweb ...
Страница 151: ...Page 146 Using KIMvoice ...
Страница 161: ...Page 156 Troubleshooting ...
Страница 169: ...Page 164 Error Codes ...
Страница 171: ...Page 166 Special Instructions for Brokers ...
Страница 179: ...Page 174 FCC Statements ...


