Page 52
Using the
e
SYNC Application
To perform a manual
e
SYNC:
1. Press the
ON
button.
2. Open the eKEY shell front and place the eKEY on the eSYNC
Cradle.
3. Tap the main menu icon
if the main application screen is not
activated.
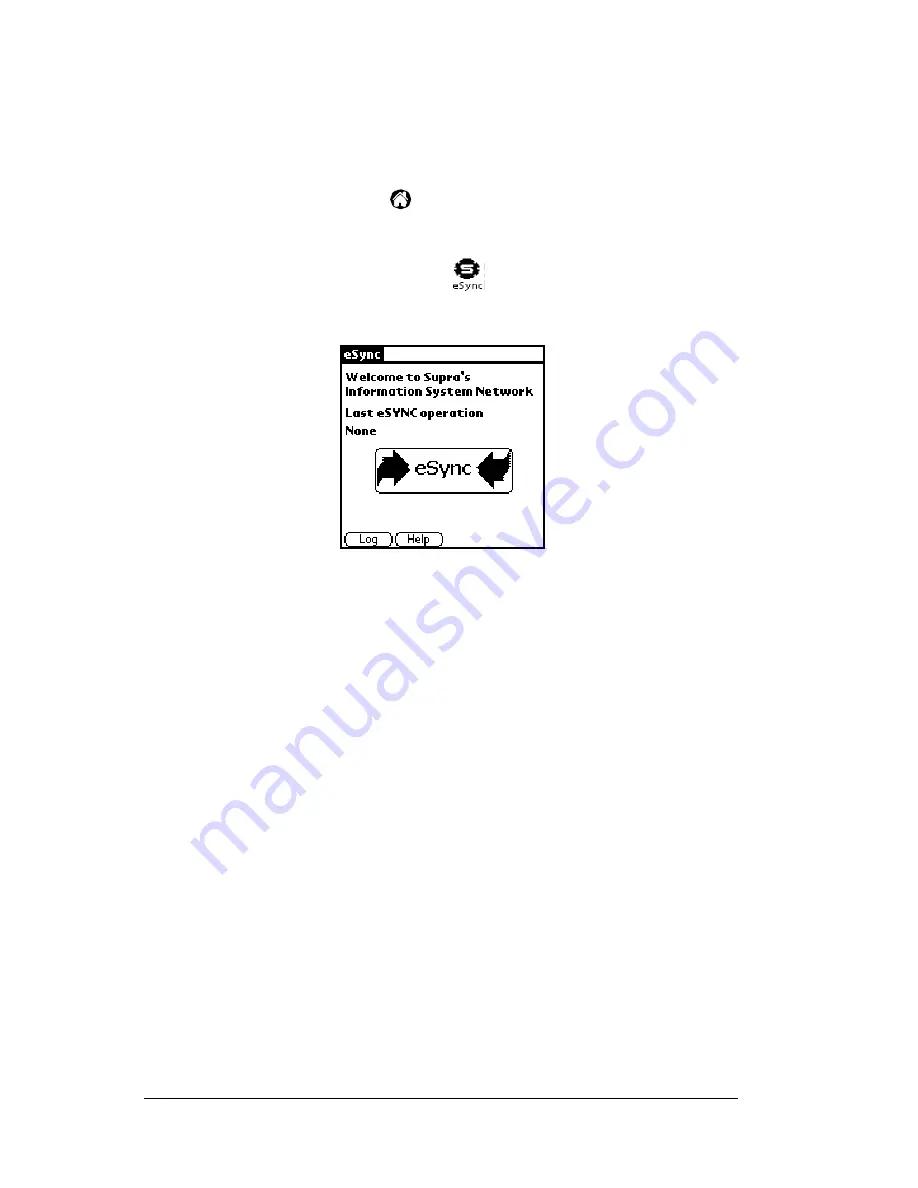
4. Tap the eSYNC application icon
. The Welcome screen is
displayed.
5. Tap the word eSYNC which appears between the two arrows on
the screen. The red light on the front of the Cradle illuminates and
the eSYNC operation begins. As eSYNC begins, the screen displays
the status of the operation.
Note:
A red light illuminates on the eSYNC Cradle indicating the
Cradle is communicating with KIMnet.
A green light indicates the eKEY is connected to the Cradle or
is in the process of being re-charged.
Important
! Do not remove the eKEY from the eSYNC Cradle when the red
light is illuminated. When the green light illuminates, the
eSYNC operation is complete. You may remove the eKEY
from the Cradle however you may not use the Key until the
information received during eSYNC is processed.
Offline listing and roster data processing
Data is delivered during eSYNC and is sorted after disconnecting from
KIMnet. Information processing is finished when the message
Key
Update Status: Updated
appears. The duration of both eSYNC and
information processing is determined by the amount of data
transmitted. The entire processing time can last up to 15 minutes.
Содержание eKey
Страница 1: ...eKEY HANDBOOK ...
Страница 7: ...Page 2 About this Book ...
Страница 27: ...Page 22 Introducing the SUPRA System Components ...
Страница 37: ...Page 32 Getting Started 5 Tap Delete 6 Tap Yes 7 Tap Done ...
Страница 44: ...Chapter 3 Page 39 New memo cursor Tap New Write in Graffiti area ...
Страница 53: ...Page 48 Entering Data in Your SUPRA Handheld Computer ...
Страница 87: ...Page 82 Using the eKEY Application screen displays the settings for the KeyBox ...
Страница 110: ...Chapter 6 Page 105 6 Tap Done to return to the first screen of the Roster list ...
Страница 114: ...Chapter 6 Page 109 2 Tap the KeyBox you want to delete 3 Tap the Delete button ...
Страница 137: ...Page 132 Using KIMweb ...
Страница 151: ...Page 146 Using KIMvoice ...
Страница 161: ...Page 156 Troubleshooting ...
Страница 169: ...Page 164 Error Codes ...
Страница 171: ...Page 166 Special Instructions for Brokers ...
Страница 179: ...Page 174 FCC Statements ...


