Preparing the Library
35
3.
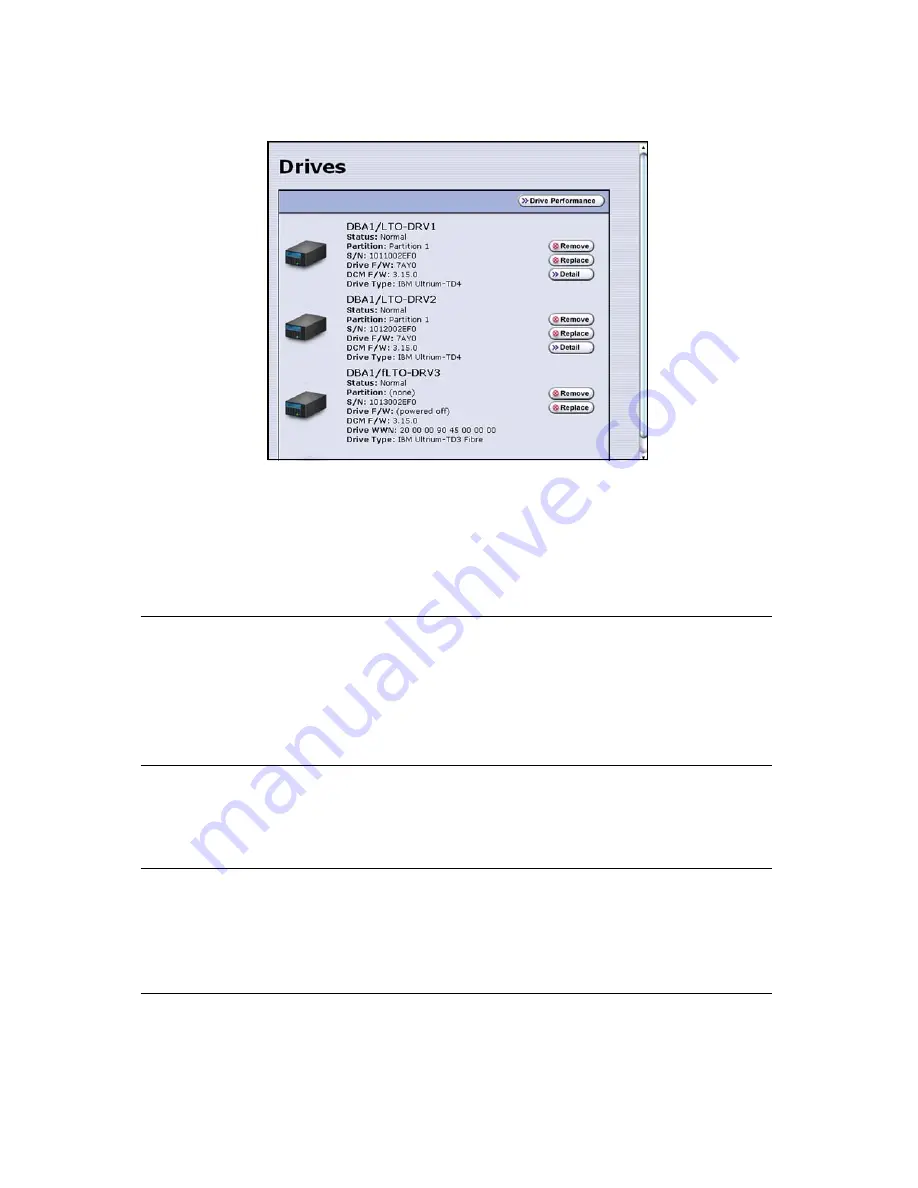
Select
Configuration > Drives
. The Drives screen displays.
4.
Based on the drive identifier you determined in
Identifying the Malfunctioning
Drive
on page 33, select
Replace
for the drive that you want to replace.
A Feedback Required screen prompts you to confirm that you want to replace the
drive.
Caution:
Do not select
Remove
. This option permanently removes the
drive from the partition. When the replacement drive is
installed, it will not be assigned to the partition from which the
malfunctioning drive was removed.
If you select
Remove
and the selected drive is the only drive in
the partition, the partition will be deleted.
5.
Select
OK
.
Another Feedback Required screen indicates that the requested drive has been
successfully shut down.
Note:
Do not respond to the prompt in the Feedback Required screen or
perform any other operations from the user interface (either locally
or remotely) until you complete the replacement procedure.
Responding before you replace the drive will power on and
configure the drive you just powered down.
Figure 4-3
The Drives screen.
Содержание T-Series Spectra T200
Страница 1: ...Spectra T200 T380 Libraries Assisted Self Maintenance Guide PN 91010002 Revision A ...
Страница 10: ...Contents 10 Notes ...
Страница 26: ...Chapter 2 Using a USB Storage Device 26 Notes ...
Страница 30: ...Chapter 3 Replacing the Air Filter 30 Notes ...
Страница 62: ...Chapter 6 Replacing a QIP or Bus Expansion Module 62 Notes ...
Страница 100: ...Chapter 9 Replacing the Transporter 100 Notes ...
Страница 110: ...Index W 110 Notes ...


