19
Installing Your SoundExpression
8. You are then asked if you want to
update your CONFIG.SYS file. Select
“OK”.
9. Lastly, you will need to power down
your system, then restart. Driver
installation is complete for Windows
3.1/DOS users. If you need to
reconfigure the board, type SNDINIT
at the \SOUNDEXP directory to run
configuration. See the next section.
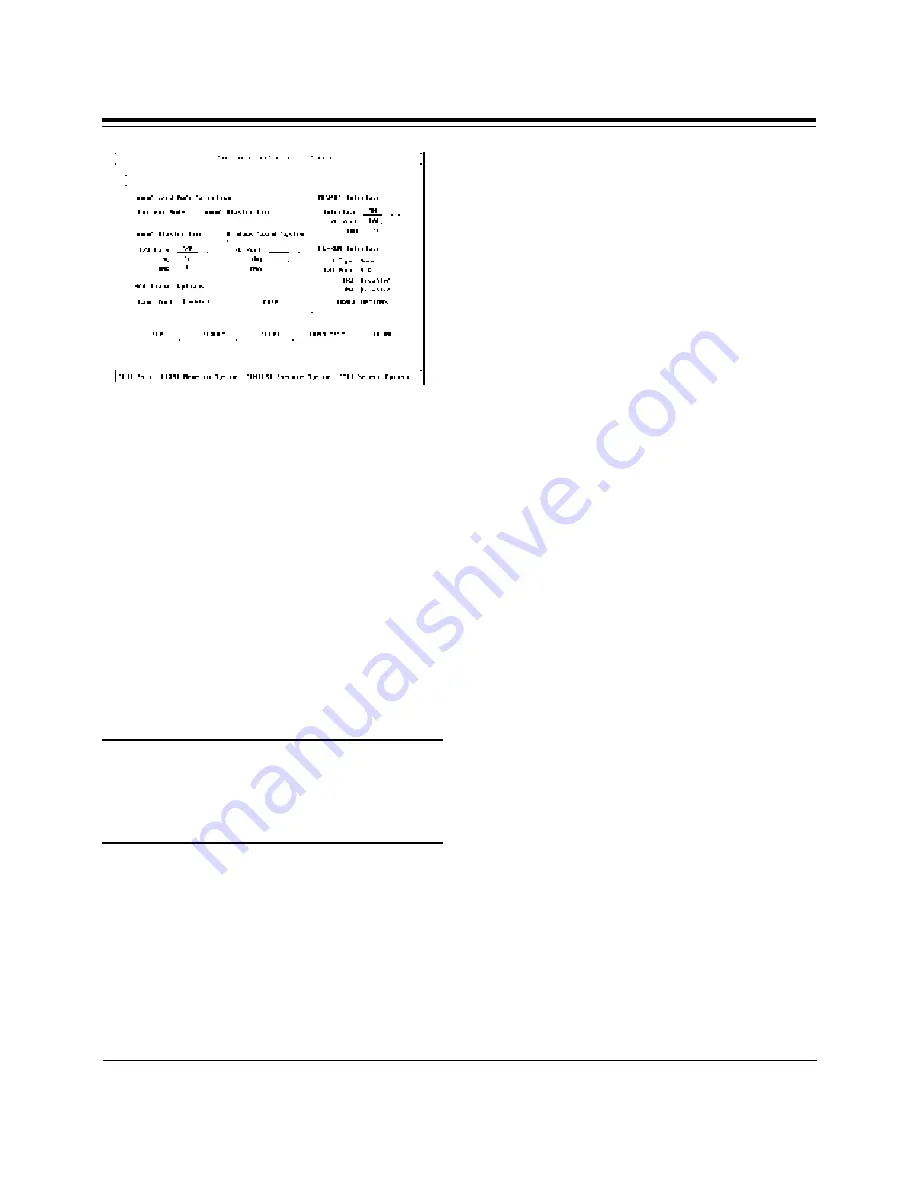
Running the Configuration and
Sound-Test Utility (SNDINIT)
(Windows 3.1/DOS Users only)
NOTE: If you have a Plug and Play
computer, use its Plug and Play
Configuration utility to change settings. You
will not be able to change resource
assignments using SNDINIT.
Button Function Descriptions
A button can be activated by either a
mouse, keyboard [ENTER] or ALT +
button’s hotkey. The following are the
BUTTON names and their function
descriptions:
HELP.
Brings up a help page.
DEFAULT.
Resets the current mode to
Sound Blaster Pro.
ACCEPT.
Accepts the current chosen
options and exits. The program checks for
hardware conflicts. If a conflict exists,
a warning window is displayed. The
program updates the sound configuration
and system files: SOUND16.CFG,
CDROM.CFG, CONFIG.SYS,
AUTOEXEC.BAT, SYSTEM.INI, before
exiting to DOS.
SOUND TEST
. Brings up the Sound Test
Window. The Sound Test Window performs
the following with the chosen hardware
settings:
• 8-Bit Sound Test (Test SB Pro settings)
• 16-Bit Sound Test (Test WSS settings)
• FM Music Test
VOLUME.
Brings up the Volume Control
Window. The Volume Control Window
allows you to adjust the following volume
settings:
•Master Volume
•Voice Volume
• FM Music Volume
• CD Audio Volume
CHANGE OPTIONS
. Brings up the CD-
ROM Configuration Window. The CD-ROM
Configuration Window allows you to
configure your CD-ROM drive for the
following:
• CD-ROM Drive Type
• MSCDEX selection
• I/O Address
• Interrupt
• DMA Channel
Содержание SE14SRS
Страница 1: ...1...
Страница 2: ...2 SoundExpression...
Страница 71: ...71...
Страница 72: ...72 SoundExpression PN 9476 Rev 1 0...


