4. Network: Network Setup and Operations
103
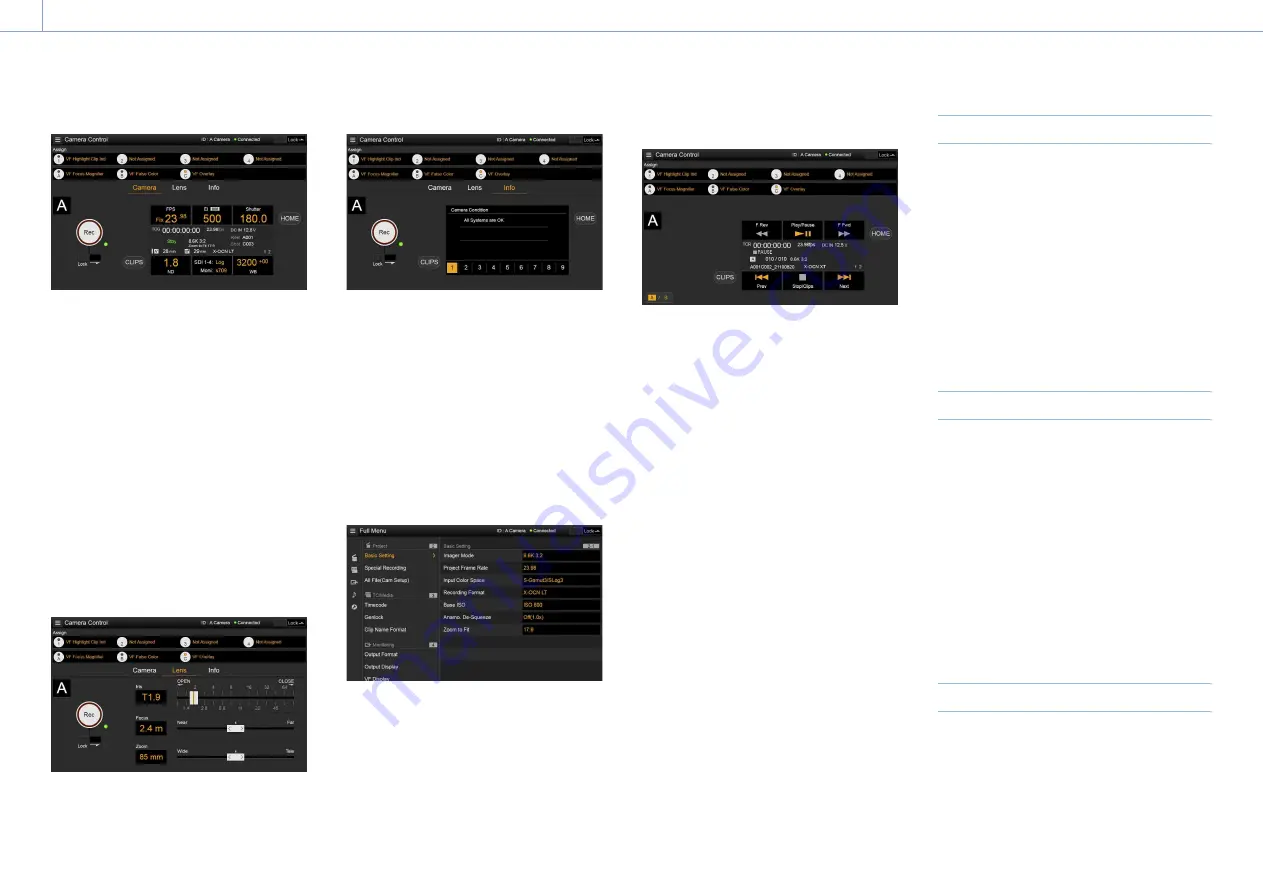
Camera screen
You can configure the same items that are
displayed on the Home screen of the sub
display on the Camera screen.
[Note]
Similarly as for the sub display screen, the EI display
area switches to become the Gain display area and
restrictions apply to the items (page 38) that can be
operated when Technical > Special Configuration > RM/
RCP Paint Control (page 91) is set to On in the full
menu.
• Shooting settings (page 36)
FPS, EI, Shutter, ND, LUT, WB
• Camera status display (page 37)
Operating status, time data, audio level
meter, clip name, recording format,
media status/free space, battery voltage/
remaining battery capacity
Lens screen
Lens controls for zoom, focus, and iris are
displayed on the Lens screen.
Info screen
The Info screen displays the same contents
as the Info category (page 58) of the sub
display menu screen, allowing you to check
the status of the camera, media, and battery.
Full Menu screen
Select Full Menu in the Global Menu to display
the full menu screen in order to configure
items (page 64).
[Note]
Some items may not be configurable from the web
remote control.
OSS (Open Source Software) Information
screen
Select OSS Information in the Global Menu to
display the open source software information.
Playback screen
You can play clips on the playback screen.
Information about the playback clip is also
displayed in the status display area on the
screen.
• Function display (page 94)
F Rev, Play/Pause, F Fwd, Prev, Stop/Clips,
Next
• Playback status display (page 94)
Time data, clip number, frame rate/playback
clip picture size, special recording mode,
audio level meter, playback clip format
(codec), icon (protection), clip name,
playback media, and playback status.
HOME button
Press the HOME button to return to the
Camera screen.
When the camera is in playback mode,
pressing the HOME button returns to the
camera shooting status even when the
playback screen is displayed on the web
remote control screen.
CLIPS button
Press the CLIPS button to return to the
playback screen. (The unit switches to the clip
list screen (page 93).)
Recording
Press the Rec button on the Camera Control
screen to start recording and to display the
REC lamp in red. Click again to stop recording.
The Rec button is enabled when the REC
ACTIVE lamp below and to the right of the Rec
button is green.
To lock the Rec button
Slide the Lock slider below the Rec button to
the right to disable the Rec button operation.
Playback
Press the CLIPS button on the Camera screen
to return to the playback screen in playback
state. (The sub display on the unit displays the
clip list screen (page 93).)
Select the clip you want to play on the
playback screen, and use the playback
controls to play the clip.
To switch between playback media
Press the media select button to switch the
media slot for playback.
Configuring Shooting Settings
You can configure and operate the same items
that are displayed on the Home screen of the
sub display of the unit on the Camera screen.
[Note]
Step Edit operation for Shutter is not supported.


