97
Editing the Case List
C
h
a
p
te
r 5
S
yst
em
Ad
m
in
is
tr
a
to
r Se
tt
in
g
s
For details on using the on-screen keyboard, see
“Using the On-Screen Keyboard” (page 29).
6
Use the
V
,
v
,
B
, and
b
buttons to select [Apply], and
press the ENTER button.
The case is added.
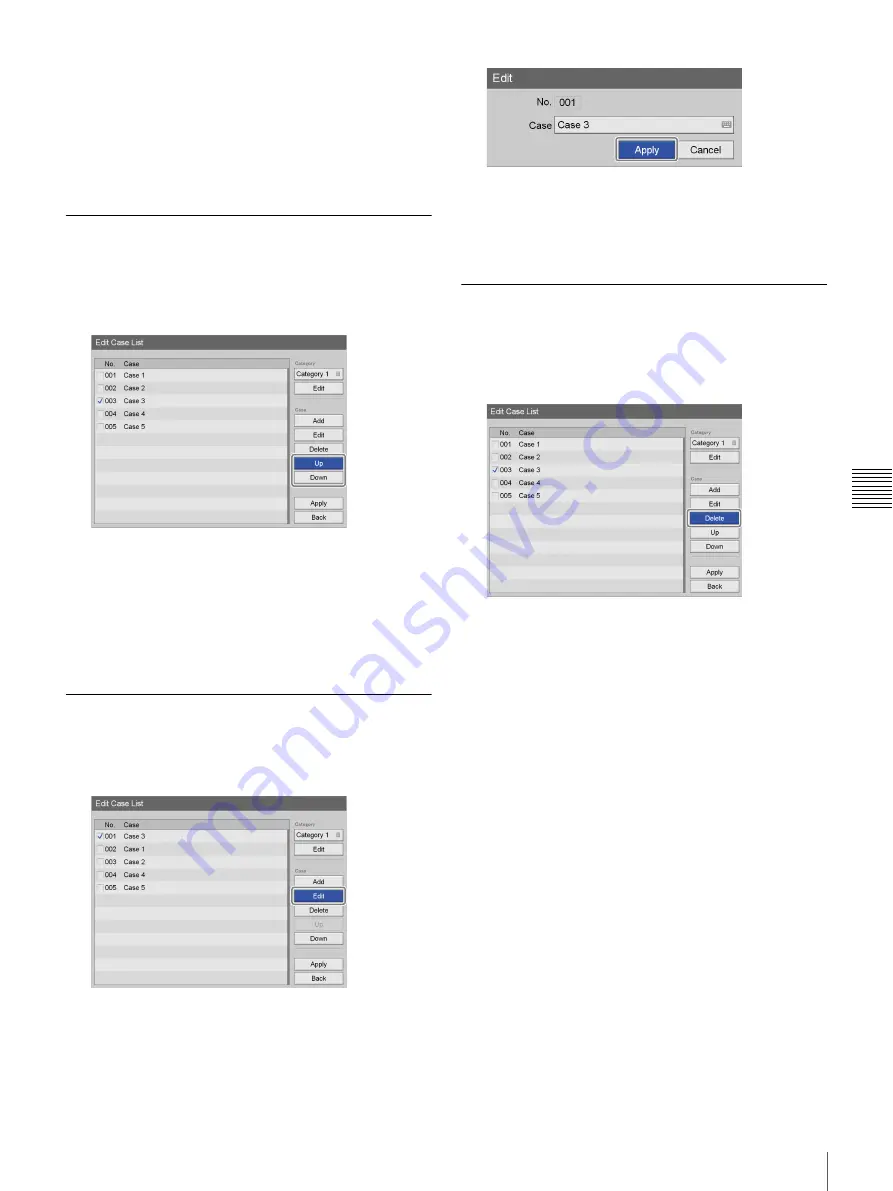
Sorting the Case List
1
Use the
V
and
v
buttons to select a case to reposition,
select [Up] or [Down], and then press the ENTER
button.
The case moves up or down one position at a time.
2
Use the
v
button to select [Apply], and press the
ENTER button.
The configurations are saved, and the [System Admin
Settings] screen appears again.
Editing Case Names
1
Use the
V
and
v
buttons to select a case to rename,
select [Edit], and then press the ENTER button.
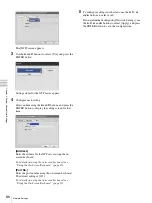
The [Edit] screen appears.
2
Rename the case, select [Apply], and then press the
ENTER button.
3
Use the
v
button to select [Apply], and press the
ENTER button.
The configuration is saved.
Deleting Cases
1
In the [Edit Case List] screen, use the
V
and
v
buttons
to select a case to delete, select [Delete], and then press
the ENTER button.
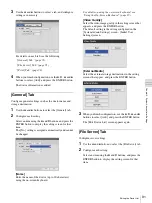
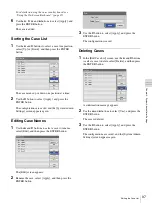
A confirmation message appears.
2
Use the
B
and
b
buttons to select [Yes], and press the
ENTER button.
The case is deleted.
3
Use the
v
button to select [Apply], and press the
ENTER button.
The configurations are saved, and the [System Admin
Settings] screen appears again.


