60
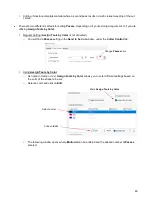
Once your test rectangle is drawing at the correct size, the calibration process is complete.
3.8.2 Scale Calibration Using Inches for Measurement
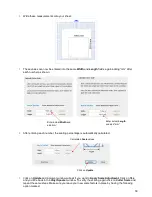
•
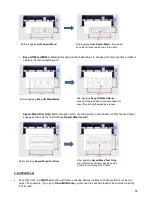
SignMaster has a built-in resolution routine which can be used to easily perform this calibration:
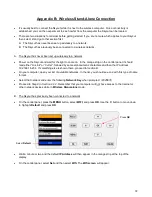
Go to the
Vinyl Spooler
window and select the
Calibration
tab. Click on the
Cutter Scale
icon:
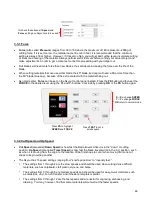
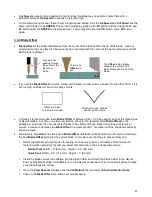
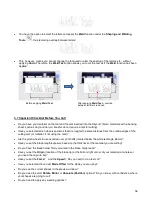
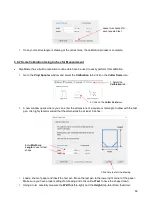
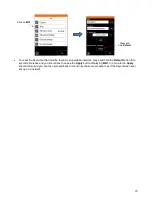
A new window opens where you can enter the dimensions of a square or rectangle to draw with the test
pen. It is highly recommended that the dimensions be at least 8 inches:
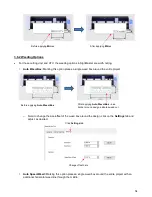
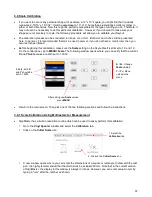
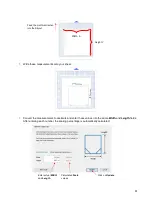
Load a sheet of paper and insert the test pen. Move the test pen to the lower right corner of the paper.
Make sure you have proper settings for drawing and click on
Cut Test
to have the shape drawn.
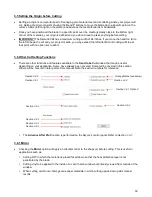
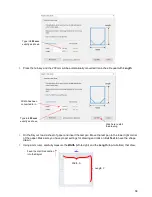
Using a ruler, carefully measure the
Width
(left-to-right) and the
Height
(top-to-bottom) that drew:
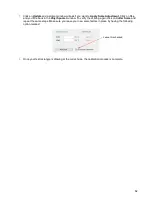
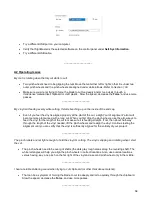
Leave this checked for
each repeated test
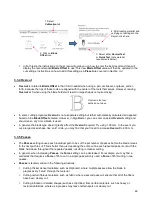
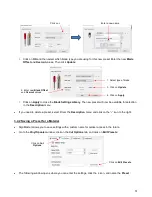
1. Select the
Calibration
tab
2. Click on the
Cutter Scale
icon
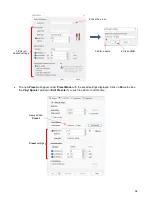
Enter
Width
and
Length
to use for test
shape
Click here to start the drawing
Содержание EV24 with SignMaster Pro
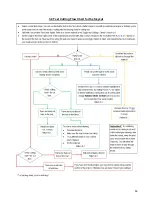
Страница 63: ...63 3 9 Test Cutting Flow Chart for the Skycut...

