44
•
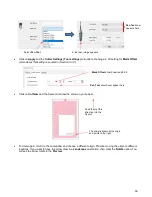
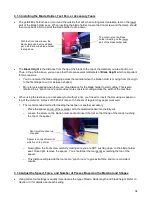
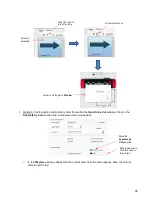
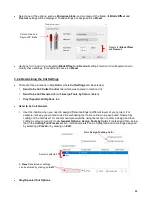
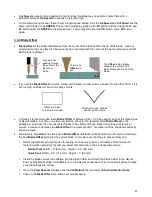
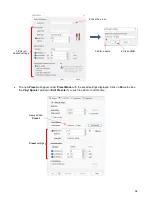
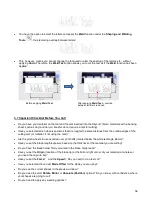
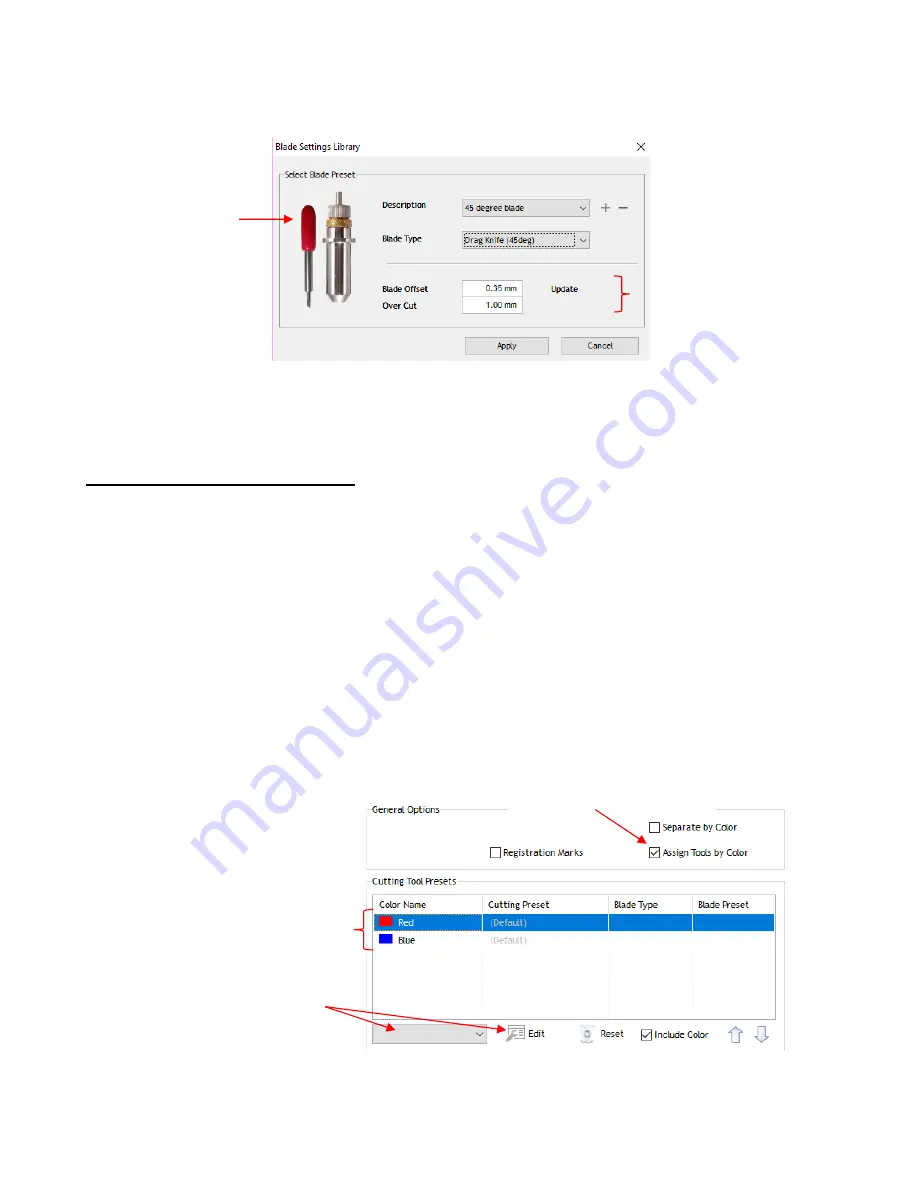
Select one of the options, such as
45 degree blade,
and an image of the blade, its
Blade Offset
and
Overcut
settings will be displayed. These settings are assigned as a
Preset
:
•
Sections 3.3.3
and
3.3.4
will explain
Blade Offset
and
Overcut
settings.
Section 3.4
will explain how to
modify these settings, if needed and save as a
Preset.
3.2.4 Determining the Cut Settings
•
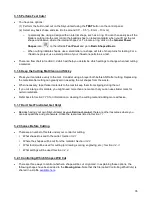
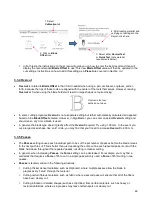
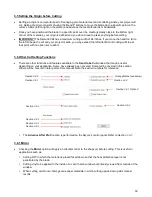
There are three locations in SignMaster where
Cut Settings
can be selected:
Send to be Cut
>
Cutter Control
tab (which was covered in
Section 2.3)
Send to be Cut>General
tab (with
Assign Tools by Color
enabled)
Vinyl Spooler>Cut Options
tab
•
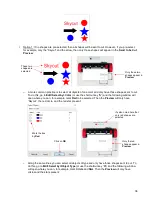
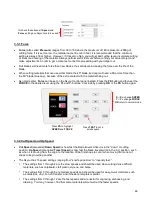
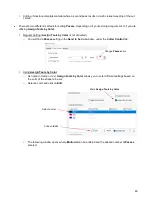
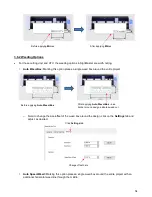
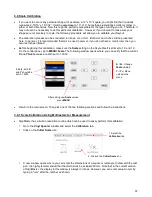
Send to be Cut>General
Use this location when you need to assign different settings to different layers of your project. For
example, let’s say you wanted to use the embossing tool to score lines in a popup card, followed by
cutting out the card itself. Or, another example would be using the test pen to draw a design and then
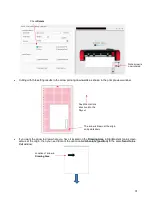
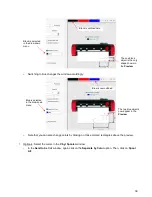
cutting a contour around it. Under
General Options,
Assign Tools by Color
is marked and then, below
that in the
Cutting Tool Presets
section, individual colors can be highlighted and cut settings assigned
by selecting a
Preset
or by clicking on
Edit
:
•
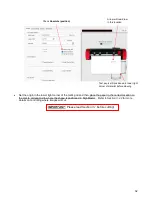
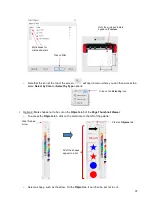
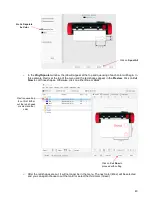
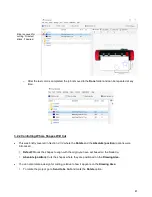
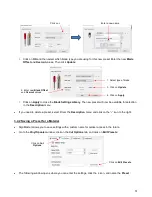
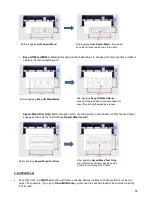
Vinyl Spooler>Cut Options
Color of cap on a
Skycut 45° blade
Presets for
Blade Offset
and
Overcut
Mark
Assign Tools by Color
A color is selected
A
Preset
is selected or settings
can be entered by clicking on
Edit
Содержание EV24 with SignMaster Pro
Страница 63: ...63 3 9 Test Cutting Flow Chart for the Skycut...

