26
•
IMPORTANT
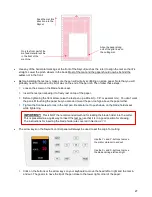
: Once the PLT file has been selected, cutting will begin immediately! Thus, make sure the
media is inserted and aligned in the cutter, the pinch wheels are down, and the blade is positioned at the
desired location for the origin.
•
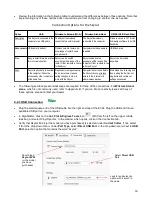
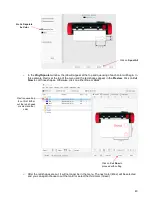
Press the
UDISK
button on the control panel.
The EV24 will browse the contents of the installed USB thumb
drive and display all readable .PLT files. Note that if there are folders on the drive, highlight the folder and
press the
OK
button to display that folder’s contents. Use the
X-
button to exit from a folder.
•
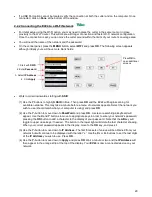
Once you have the desired PLT file highlighted, press
OK
to begin the cut:
2.3 Test Draw Shapes
•
New owners tend to be VERY eager to try out their Skycut
. It’s important to test your cutter to ensure that
data is being sent properly from your computer to the cutter. The following sections will allow you to do
some testing with the pen tool. But note that
the following steps are for DRAWING, not cutting
. Before
inserting the blade holder into your cutter, please read the following
Sections 1.7.4, 1.7.5, 3.1, 3.2,
and
3.3.
2.3.1 Setting up the EV24 for Test Drawing
•
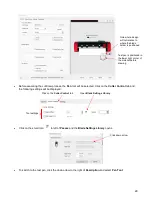
Besides testing the communication, it is also very important to understand where shapes will cut based on
various available options in the software. This is partially addressed in the next few sections; complete
details are covered in
Section 3.2.2.
•
Before setting up a file for testing, if you are new to the software, watch an introductory video to become
familiar with the basics.
•
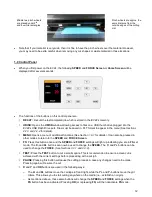
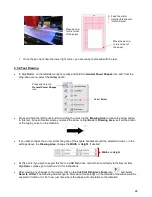
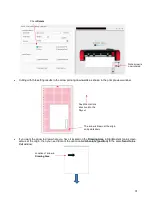
You have two options when using the test pen:
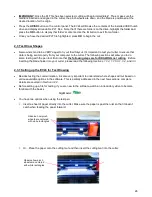
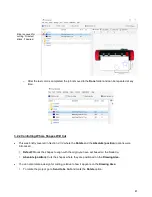
Insert a sheet of paper directly into the cutter. Make sure the paper is past the ruler so that it doesn’t
catch when feeding the paper forward:
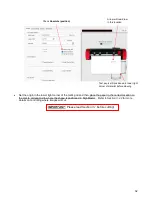
Or…Place the paper onto the cutting mat and then insert the cutting mat into the cutter:
Observe how pinch
wheels are centered
with white rectangles
Observe how pinch
wheels are centered
with white rectangles
Содержание EV24 with SignMaster Pro
Страница 63: ...63 3 9 Test Cutting Flow Chart for the Skycut...

