28
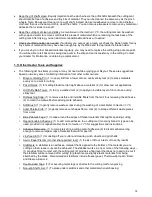
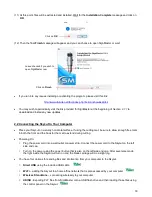
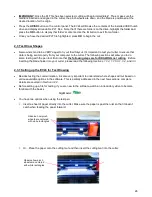
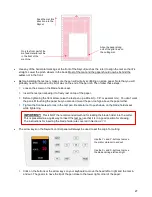
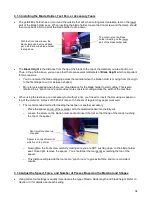
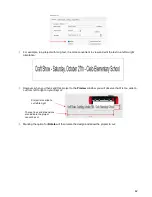
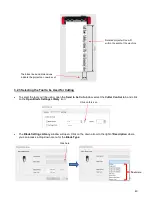
Once the pen tip is near the lower right corner, you are ready to proceed with the test.
2.3.2 Test Drawing
•
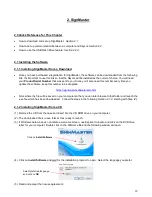
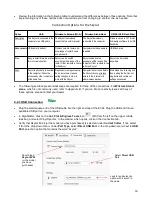
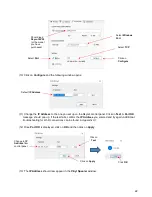
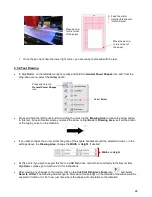
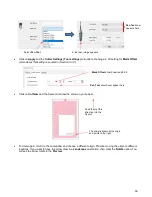
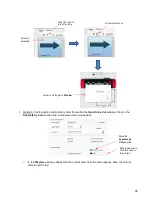
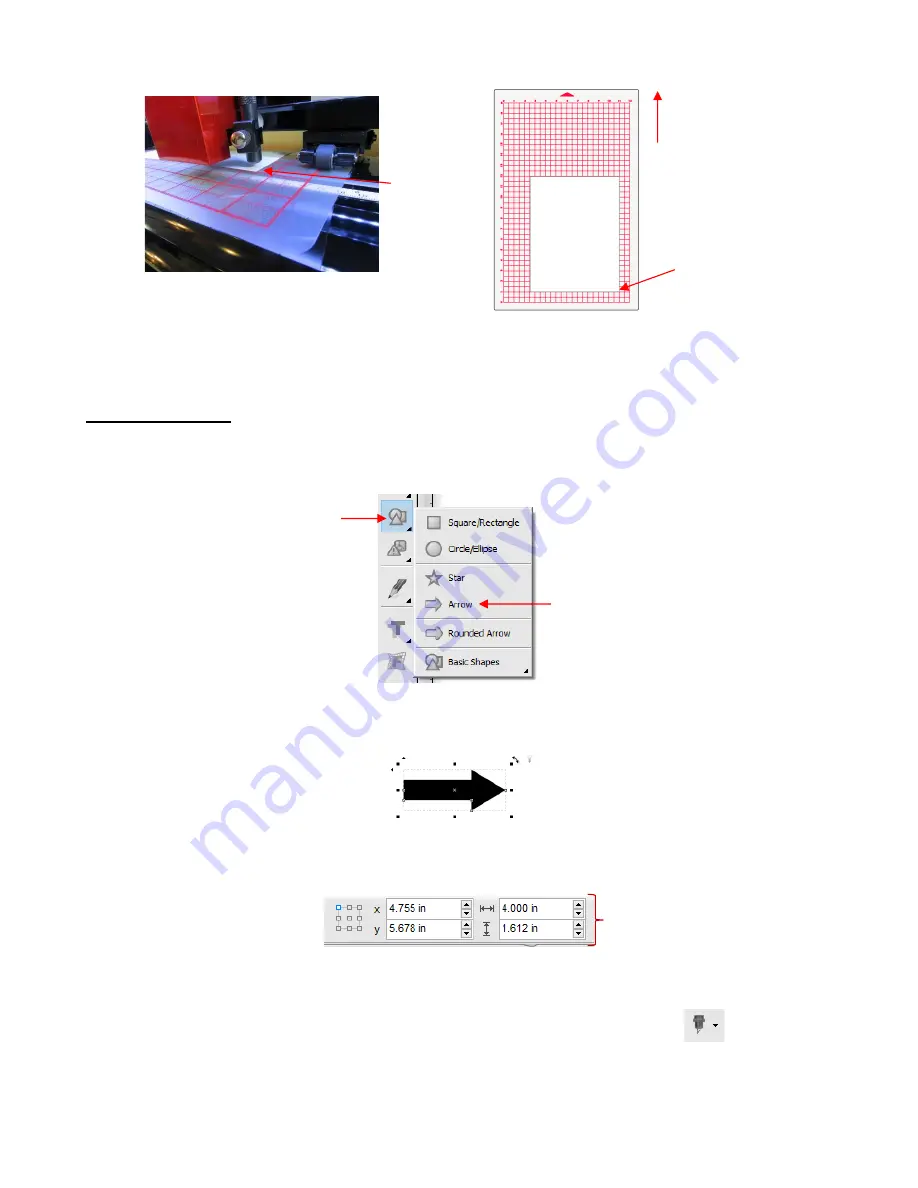
In SignMaster, on the left side tool panel, press and hold the
General Power Shapes
icon and, from the
drop-down menu, select the
Arrow
option:
•
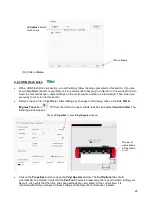
Press and hold the left mouse button and drag the mouse in the
Drawing Area
to create the arrow shape.
In this test, it doesn’t matter where you place the arrow on SignMaster’s
Drawing Area
, as it will be drawn
at the origin you set on the machine.
•
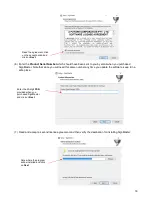
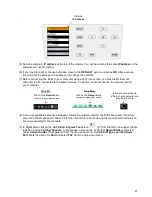
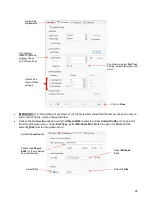
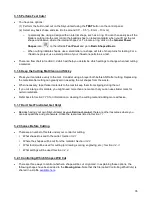
If you wish to resize the arrow, either drag one of the square handles around the selected arrow or, in the
settings above the
Drawing Area
, change the
Width
or
Height
, if desired:
•
At this point, if you plan to export this file to a USB flash drive, rather than cut directly to the Skycut from
SignMaster, please go to
Section 2.2.3
for instructions.
•
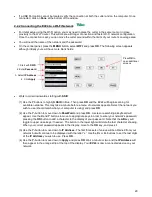
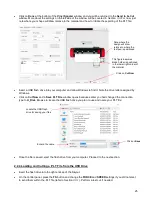
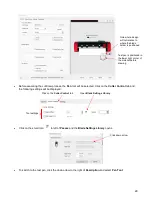
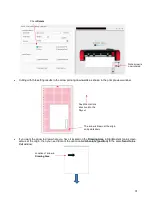
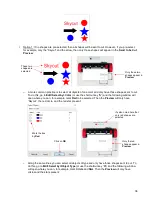
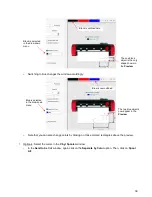
After making any changes to the design, click on the
Cut, Plot & Engrave Tools
icon
and select
Send to Cutter.
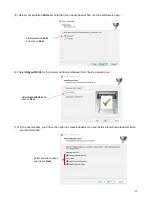
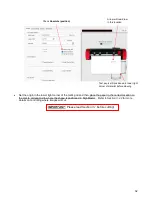
The following window opens. More about the settings on the left side of the window will be
covered in
Section 3.3
. For now, just note where the shape will cut relative to the material:
Press and hold the
General Power Shapes
icon
Select
Arrow
Move pen tip
to this corner
of the paper
Move the pen tip
to this corner of
the paper
Feed the mat or
material this direction
into the Skycut
Width
and
Height
Содержание EV24 with SignMaster Pro
Страница 63: ...63 3 9 Test Cutting Flow Chart for the Skycut...

