62 14 972 D 3507
74
D 3507
.
031.01.07
.
02 11.2010
Appendix
Sirona Dental Systems GmbH
Replacing old units
Installation Instructions HELIODENT
PLUS
4. Only if the old power cable is used: Check whether the minimum
requirement for the power cable (3x1.5 mm
2
(AWG 16)) has been
fulfilled.
5. Only for concealed installation of a remote control or a remote timer:
Check whether a conduit with a ⌀ int. of at least 12mm (1/2“) is
available for cable L6 or L9.
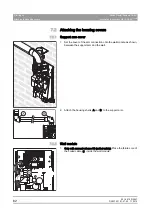
6. "Elongated hole" installation version only: Unscrew the cables from
board DX1 on terminal strips X500 and X501.
7. "Elongated hole" installation version only: Remove fastening screws
A of board DX1 (3x) and take board DX1 off of the wall adapter.
8. "Elongated hole" installation version only: Carefully punch out
opening (G) in the wall adapter with a punch.
empty
CAUTION
Risk of damage
Make sure that board DX1 is not damaged when dismantling it!
Observe ESD protective measures!
Содержание Heliodent plus
Страница 1: ...NNKOMNM ebiflabkqmirp k W b f f HELIODENT PLUS 7mA DC 7mA DC 70kV 60kV S 008...
Страница 2: ......


