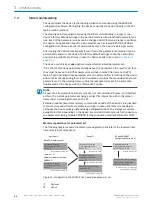
8
Operation
8.1
Operating and status indicators
8.1.1
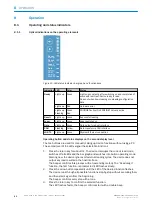
Optical indications on the operating elements
Ready
Result
Laser
Data
CAN
LNK TX
Read Diagn
TeachIn
Auto-Setup
Adjusting
Userdefined
100%
0%
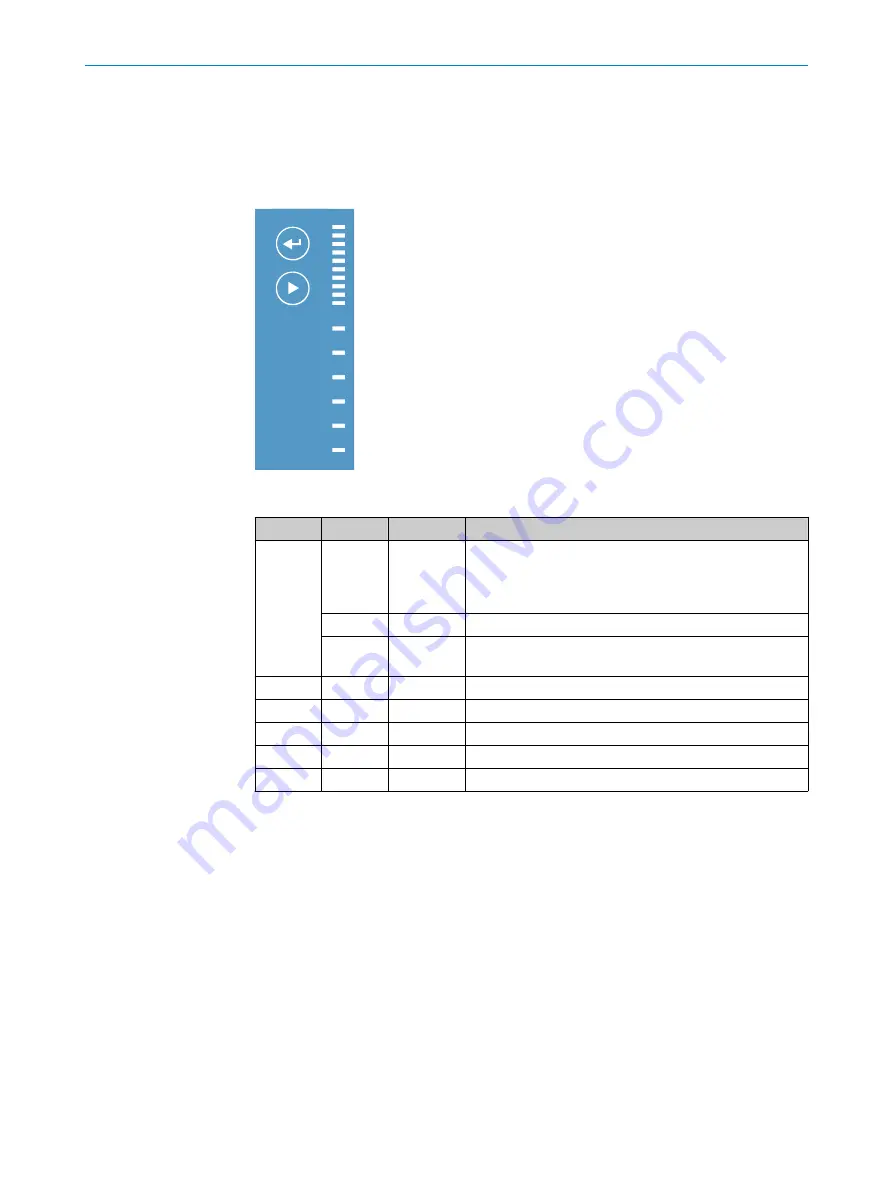
Figure 43: LED status indicator, bar graph and function keys
Indication LED
Color
Status
Ready
Lights up Green
Lights up constantly after switching on and completion of
successful self-test: Device ready to read
Goes out when downloading or uploading configuration
data
Lights up Red
Hardware error
Lights up
Flashing
Green
Red
PROFINET active/No PROFINET network active
Result
Lights up Green
Successful reading
Laser
Lights up Green
Laser switched on
Data
Lights up Green
Data output via host interface
CAN
Flashing
Yellow
Data transfer via CAN interface
LNK TX
Lights up Green
Physical Ethernet connection
Operating button and status displays on the second display level
The two buttons are used for manually calling up device functions without using a PC.
The second level of the LEDs signal the selectable functions.
1.
Press the return key for about 3 s. The device interrupts the current read mode,
switches off all LEDs and the bar graph and switches into button operating mode.
Starting now, the device ignores all external reading cycles. The device does not
output any read results via the host interface.
The beeper confirms this process with an ascending melody. The “Read diagn”
function, the first function, is preselected (LED flashes slowly).
2.
Press the arrow button repeatedly until the LED of the desired function flashes.
The device runs through all possible functions step-by-step without executing them
and then starts again from the beginning.
The beeper confirms every step with a tone.
3.
Press the return key to confirm the selected function.
The LED flashes faster, the beeper confirms start with a double beep.
8
OPERATION
60
O P E R A T I N G I N S T R U C T I O N S | CLV63x, CLV64x, CLV65x
8019588/129Z/2019-02-07 | SICK
Subject to change without notice


