


Page 12
your Firewall program or use the alternate method of finding the IP address by
checking the menus in your router as described in the next section.
Regardless of the method you used to find your camera’s IP address, once
you’ve clicked on the icon or entered the IP address manually into your
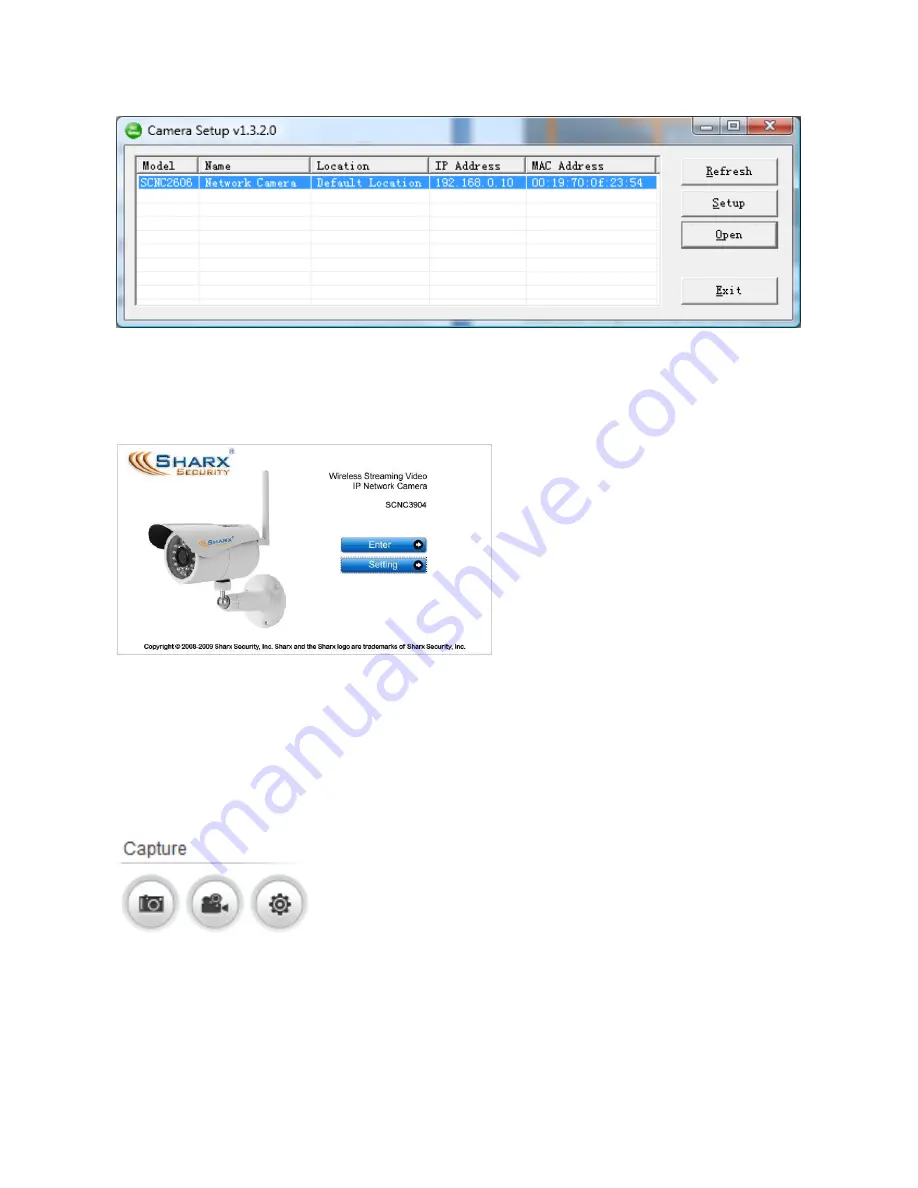
browser (with http://), you get to the main login screen for the camera:
To see video, click on “Enter”,
then username:
admin
and
password:
admin
.
When using the camera for the
first time on a PC with Internet
Explorer, your PC will ask you for
permission to install the viewing
software (called ActiveX).
This ActiveX is needed to display the video stream and control the camera.
Click to OK this at the top of your screen, then again click on OK on the install
menu that will pop up in the middle or bottom of your screen. If you have a
popup blocker like Norton or Google Toolbar you will need to disable it.
Within a few seconds you can then see live video from the camera.
Internet Explorer also has a quick-record option that
you can activate by adding your camera’s IP address
to the “Trusted Sites” list as follows: Go to the IE
“
Internet Options
” menu, then the “
Security
” tab,
then “
Trusted sites
”, and with the checkbox for “
Require server verification
”
unchecked, you’d click on “
Add
”, then “
Close
” and “
OK
”. Then the 3 icons
shown above allow you to save snapshots, record video, or configure options.
To complete the camera setup, it is easier if you close all video windows and
go to the main login screen again, then instead of clicking on
Enter
you would
just click on
Setting
. Now proceed to the section titled Wifi Wireless Setup.
Содержание SCNC3904
Страница 62: ...Page 62...


