


SerVision
Embedded Video Gateway System Guide
Configuring Sensor and Activator Settings
136
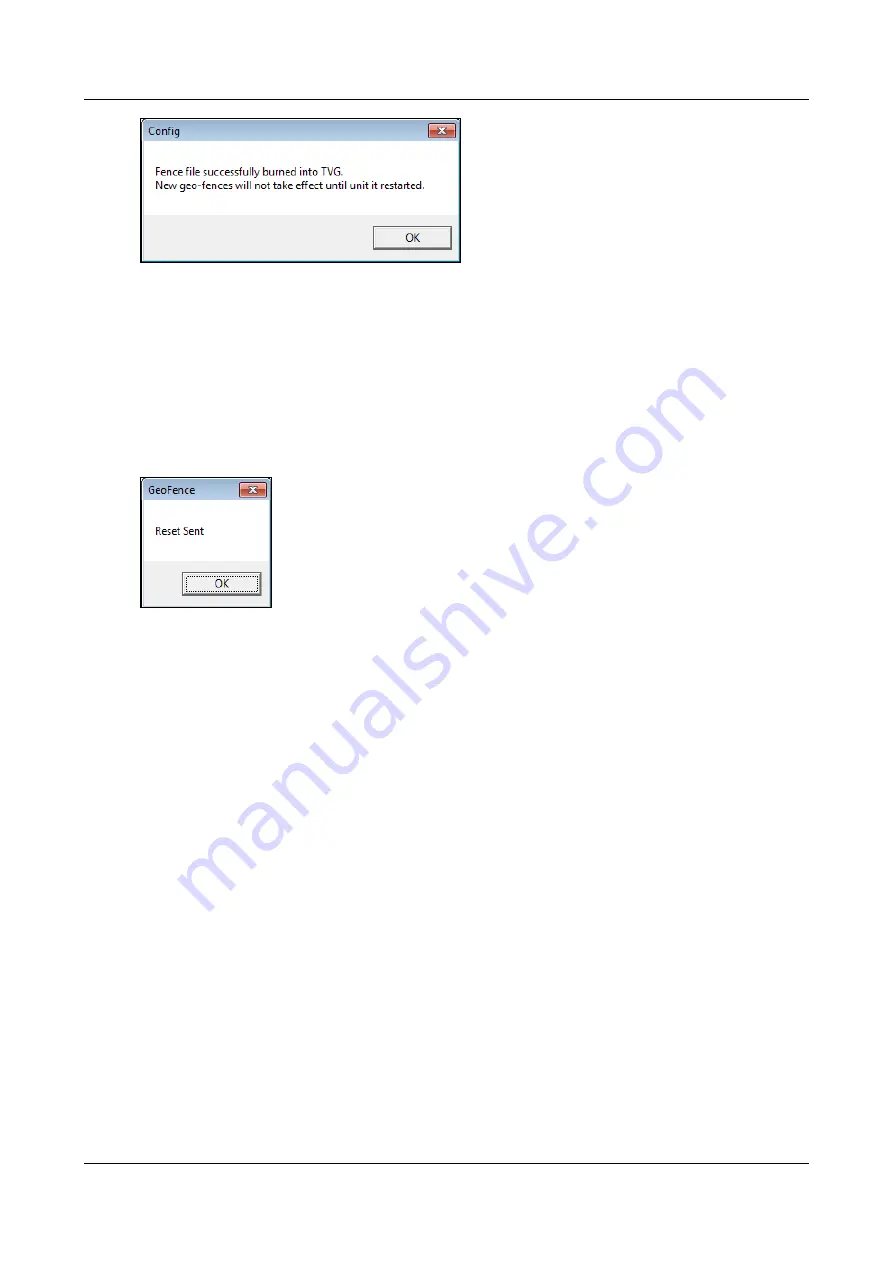
Figure 153: Confirmation message
6. Click
OK
. The message closes.
7. Repeat steps 4-5 for each of the polygons you want to upload to the Video Gateway.
Note:
Each polygon is uploaded to a separate file. To see a list of the geo-fencing files that are currently stored
on the Video Gateway, in the upper left of the window, click
Query files on unit
. For additional information,
8. When you have uploaded all of the polgon files you need, click
Reset System
. The unit restarts, and a
confirmation message appears.
Figure 154: Restart confirmation message
9. Click
OK
.
Note:
The
Remote Route Selection
utility remains open when the unit is restarting. When the unit is
running again, you can continue to configure the geo-fencing without reopening the utility.
Creating an Itinerary
Once you have uploaded a polygon to the Video Gateway, you can activate it as the current geo-fence. If the vehicle
strays from the region the polygon represents, a geo-fence event is triggered.
If you want to include a number of polygons in the geo-fence region, you can create an
itinerary
. An itinerary is a
collection of polygons that together define a single geo-fence area. For example, if your Video Gateway is installed
in a truck that travels between Philadelphia and New York, making stops in Trenton along the way, you could
create an itinerary that includes the Philadelphia, Trenton, and New York regions, as well as the routes the truck
follows to travel between them. If you then activate the itinerary as the current geo-fence, all the areas in the three
regions, as well as those along the routes between them, are merged to create the geo-fence area. Only if the truck is
outside of all of those areas is a geo-fence event triggered.
If you wish, you can create multiple itineraries, and store them on the Video Gateway unit. But only one itinerary
can be active at a time.
To create an itinerary:
1. In the
Remote Route Selection
utility, in the
Create Itinerary
section, under
Name
, enter a name for the
itinerary.
Note:
Do not include any spaces in the name.
2. Under
Polygons in itinerary
, list all of the polygons you want to include in the itinerary. Separate the
polygons with commas, and do not add spaces before or after the commas.


