


SerVision
Embedded Video Gateway System Guide
Configuring Sensor and Activator Settings
137
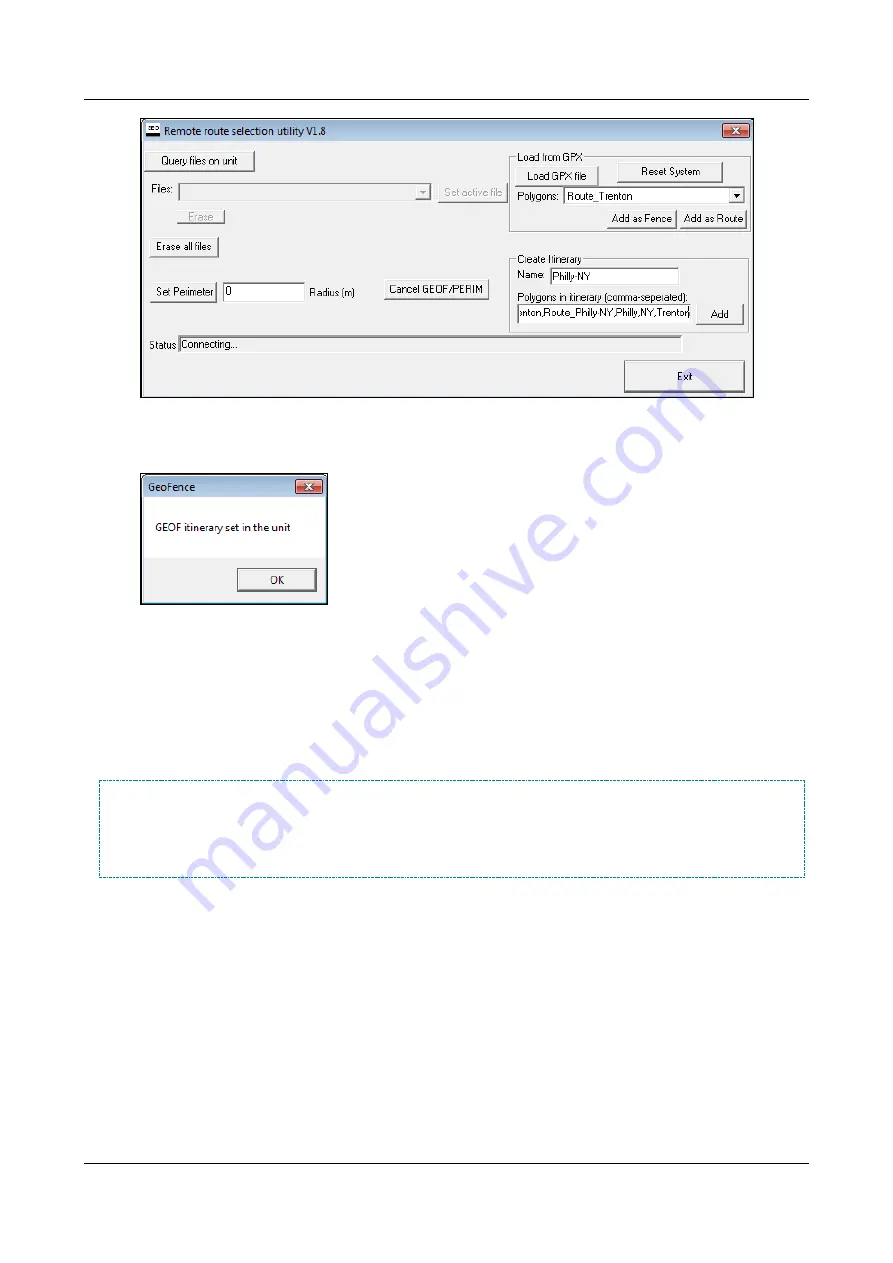
Figure 155: Creating an itinerary
3. Click
Add
. The itinerary is saved on the Video Gateway, and a confirmation message appears.
Figure 156: Confirmation message
Note:
To see the itinerary in the list of geo-fencing files that are on the Video Gateway, in the upper left of the
window, click
Query files on unit
. For additional information, see
Activating a Geo-Fence
Once the polygons and itineraries are uploaded to the unit, you can select one of them to activate. Geo-fence events
will be triggered whenever the vehicle strays from the region defined by the active item.
NOTE:
There is a 30-second grace period before a geo-fence event is triggered. That is, the vehicle must be
outside of the geo-fence for at least 30 uninterrupted seconds for the event to be triggered, and be back
in the geo-fence area for 30 uninterrupted seconds in order for the geo-fence event to end. This grace
period exists in order to ensure that GPS position-skew and minor mismatches between the maps and
the terrain do not cause false alarms.
To activate a fence, route, or itinerary:
1. In the
Remote Route Selection
utility, in the upper left of the window, click
Query files on unit
. A dialog
box opens and displays a list of the files, their types (“R” for route, “F” for fence, and “I” for itinerary), and
the number of GPS points they contain. In addition, if one of the files is active, it appears under
current
.