


SerVision
Embedded Video Gateway System Guide
Configuring Sensor and Activator Settings
143
In the left panel, the icon of the
GF/Perim
sensor indicates the current state:
indicates the sensor is on (i.e.,
the vehicle is outside the fence area) and
indicates the sensor is off (i.e., the vehicle is within the fence
area).
In the GPS map, the icon marking the current location of the vehicle is also color-coded to indicate the current
mode (
, , or ).
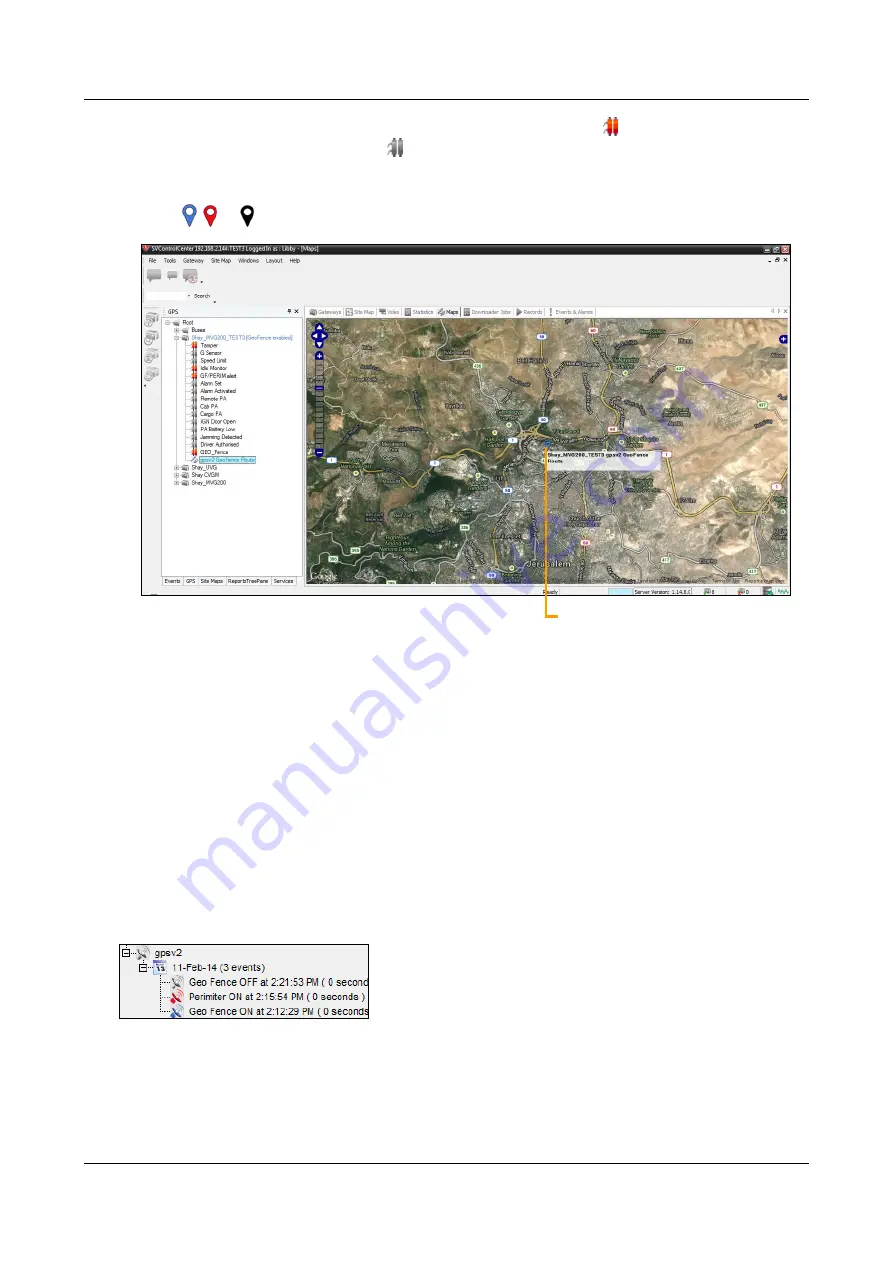
Figure 165: Blue location icon indicating Fence mode is active
Switching Between Geo-Fence Modes
Once you have configured geo-fencing as explained above, you can quickly turn it on or off, or switch from Fence
mode to Perimeter mode, without opening the
Remote Route Selection
utility. You can do this in either
SVMultiClient or SVControlCenter.
When you activate Fence mode in this way, the boundaries of the region are set to the current active file. To find
out which file is active, you can either open the
Remote Route Selection
utility or the
Geo Fence
configuration
screen in the unit's configuration utility (see
Configuring the Geo-Fence Sensor Settings
When you activate Perimeter mode in this way, the limit is set to the last perimeter value that was implemented in
the
Remote Route Selection
, page 139). If no perimeter value was ever
set, a default value of 500 meters is used.
Changing the mode of the geo-fencing is treated as a GPS event. Therefore, every mode change appears under the
GPS sensor when the sensor is expanded.
Figure 166: Geo-fence mode-change events listed under the GPS sensor
To switch the geo-fence mode:
In either SVMultiClient or SVControlCenter, in the left panel, right-click the GPS sensor, and then select the
mode, as follows:
Location icon


