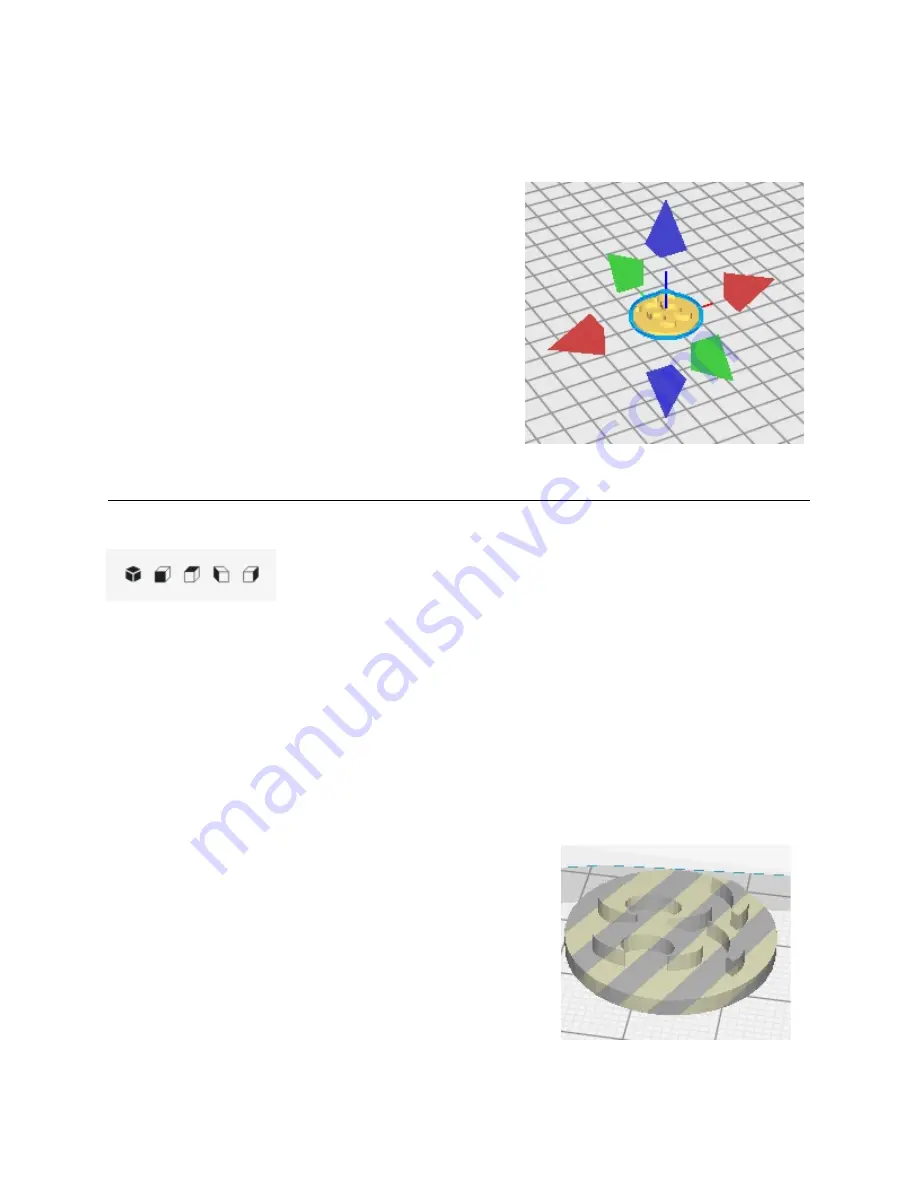
The last adjustment tool we’ll take a look at is
Mirror
. When you select your model and
click the
Mirror
tool, mirror axis control points will appear around the selected model, similar to
those shown on the right.
These control points allow you mirror your model
along the X (red), Y (green) or Z (blue) axes.
View Orientation & Type Controls
In the upper right area of the model view window, you’ll see five block shaped icons, like
those below.
These icons are basically “view presets” and will adjust the view of the
model based on which is clicked. From left to right they are:
Isometric
,
Front
,
Top
,
Left
, and
Right
. Click on each one to see how they affect
the display of your currently loaded model.
In addition to the view presets, you can use your mouse to move your viewpoint. Hold
down your right mouse button and move the mouse around. You’ll notice that the “horizontal”
motion of the mouse controls the rotation of the view and the “vertical” motion of the mouse
controls the tilt of the view. Your mouse wheel controls the zoom. If you hold down your shift
key then right click & move, you’ll see that you can move the build volume around without tilting
or rotating it. This will allow you to visually center your model in the screen when you zoom in.
The
View Type
control allows you to specify how you want to see your model drawn in
the work space. Your choices are
Solid view
,
X-Ray view
, and
Layer view
. The default is
Solid view
.
Solid view
will show a shaded representation of
the currently loaded or selected model. If your model is
positioned outside the printable area for your printer, the
model will be drawn with stripes going through it, as shown in
the lower right.
The
X-Ray view
can be used to check to see if there’s
any errors in the internal geometry of the model. Any errors
that Cura detects will be shown in red.
9
Mirror control points.
Invalid model location.


