Once you’ve chosen the new profile, Cura will slice your model based on these new
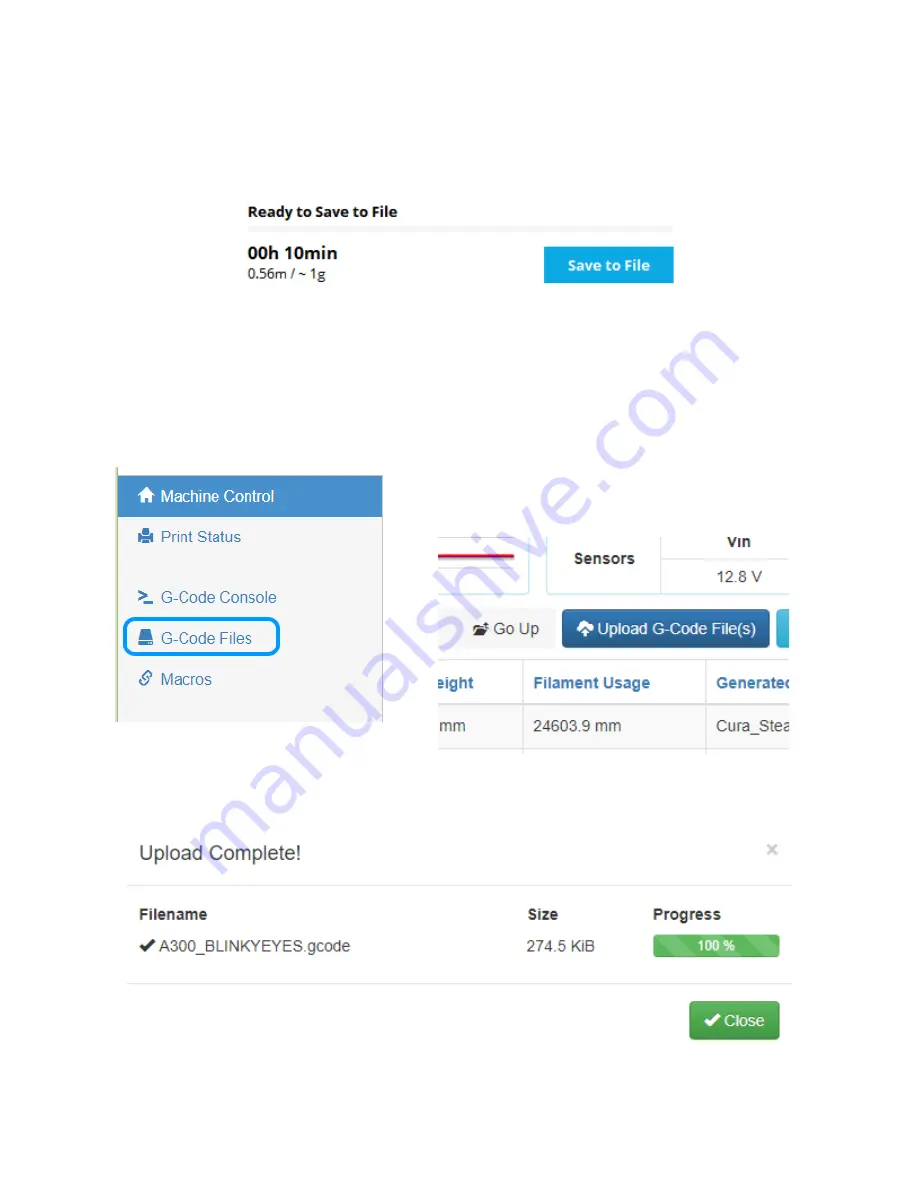
settings. When it’s done, you’ll see “Ready to Save to File” appear right above the estimated
print time. Your print time may not match the example below, that’s okay!
Click on the
Save to File
button in order to save the gcode that Cura generated when it
sliced the model. You’ll then have a file you can upload to your printer!
Open a web browser and open up the printer control page for your printer. Click the
G-
Code Files
link and then click the
Upload G-Code File(s)
” button in order to upload the file you
just saved to your printer. The button is going to be in the right side of your browser.
When your file is uploaded, you’ll be presented with a dialog that looks similar to the one
shown below. Click on the
Close
button to continue.
14
Ready to save!
G-Code Files link..
Upload File button.


