2 – Printing with Cura
For this section, make sure you’ve got the SeeMeCNC medallion model loaded and
scaled up so that the X axis is 25mm or more
One thing you’ll want to have handy is 91% Isopropyl Alcohol wipes – these are really
handy to get fingerprints off your bed glass with. No so much after you’ve put glue down, but
certainly before hand.
If you're printing on a regular glass surface, it's
recommended that you apply a thin layer of Elmer's
Disappearing Purple glue to the glass. You'll want to apply two
perpendicular layers of glue on to the heated bed. Follow the
simple pattern shown on the right. The green lines represent
the first layer and the red lines represent the second. The idea
is to lay down a thin, even layer with no spaces between each
“lane” of glue. Let the base layer completely dry before applying
the second layer. Let THAT layer dry before starting a print.
If you’re used to using other slicers, you’ll notice that
there’s no “slice” button. With Cura, if there’s a model loaded, it’s almost always already sliced.
Each time you load or adjust a model (position, scale, etc.) or change a printing parameter, Cura
will automatically re-slice the model. This ensures that as soon as you’re ready to print, you
don’t need to manually start a slicing process.
So let’s go ahead and print the SeeMeCNC Blinky Eye medallion using one of the
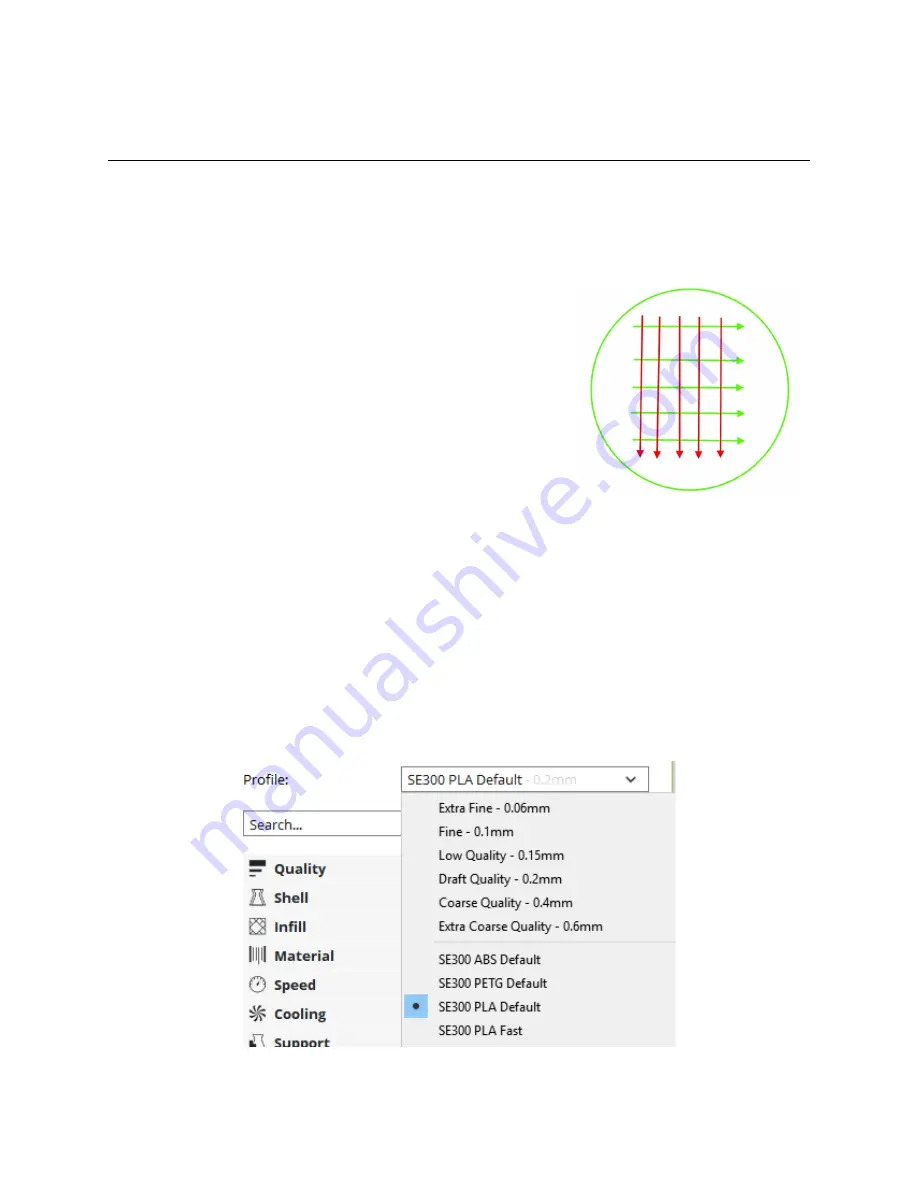
SeeMeCNC pre-defined configurations. In order to select a new profile, you’ll click on the
Custom
button and then chose the profile you want from the
Profile
drop-down. In my case, I’ll
chose the
SE300 PLA Default
profile because I’m using an Artemis 300 equipped with an
SE300 hot end. You’ll want to choose the profile that most closely matches the hot end you’ve
got installed on your printer.
13
Glue application example.
New profile selected.


