


62
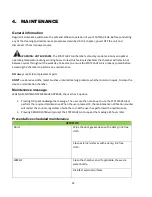
Annual service recommendations
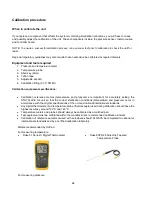
What to check
Clean reservoirs and reservoir filters
Check integrity of incoming and outgoing services (power, water supply, drain)
Check general condition of machine
Check bacteriological filter (replace if required)
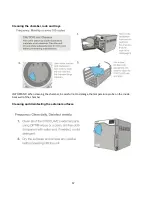
Inspect and clean right cover air filter
Check door seal (replace if required)
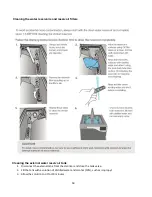
Inspect chamber filters (replace if required)
Review error history
Software upgrade (if required)
Check the pressure relief valve and power failure pressure/vacuum relief
Calibrate the unit if necessary (See Calibration section for details on when calibration is
needed) or in accordance to local guidelines
Содержание STATCLAVE G4
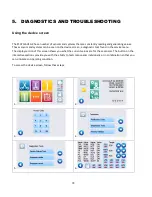
Страница 5: ...5 Diagram of key systems and components...
Страница 6: ...6...
Страница 17: ...17 Checking package contents...
Страница 18: ...18 Positioning a unit Unit dimensions and operating environment...
Страница 20: ...20 Direct to drain connection recommended...
Страница 21: ...21 Connecting to a waste bottle...
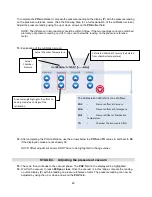
Страница 22: ...22 Connecting to the Internet Connecting to a wired network Connecting to a wireless network...
Страница 23: ...23...
Страница 25: ...25 Connecting an auxiliary pump...
Страница 28: ...28...
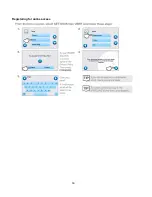
Страница 30: ...30 Starting and stopping a cycle...
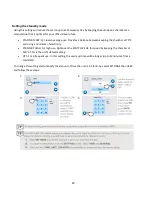
Страница 50: ...50 Registering for online access...
Страница 51: ...51 First start up...
Страница 52: ...52...
Страница 58: ...58 Draining the unit for cleaning and shipping...
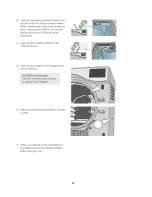
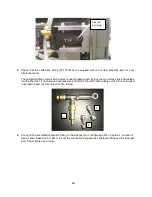
Страница 61: ...61 Replacing the bacteriological filter Replacing the door seal...
Страница 75: ...75...
Страница 107: ...107 APPENDIX A STATCLAVE G4 plumbing diagram...
Страница 108: ...108 APPENDIX B STATCLAVE G4 electrical schematic...