Click
SCHEDULE
in the configuration menu to display the SCHEDULE SETTINGS screen.
If you intend to record video on the SD memory card installed in the camera or on the external hard disk drive
connected to it, on this screen you can schedule the time periods during which recording is activated.
A
Configuring a Recording Schedule
B
Defining Your Holidays
Required operation privilege: admin, operator1
To directly display this screen, click
SCHEDULE
on the RECORDING screen.
Configure the alarm recording schedule and normal recording schedule individually.
1
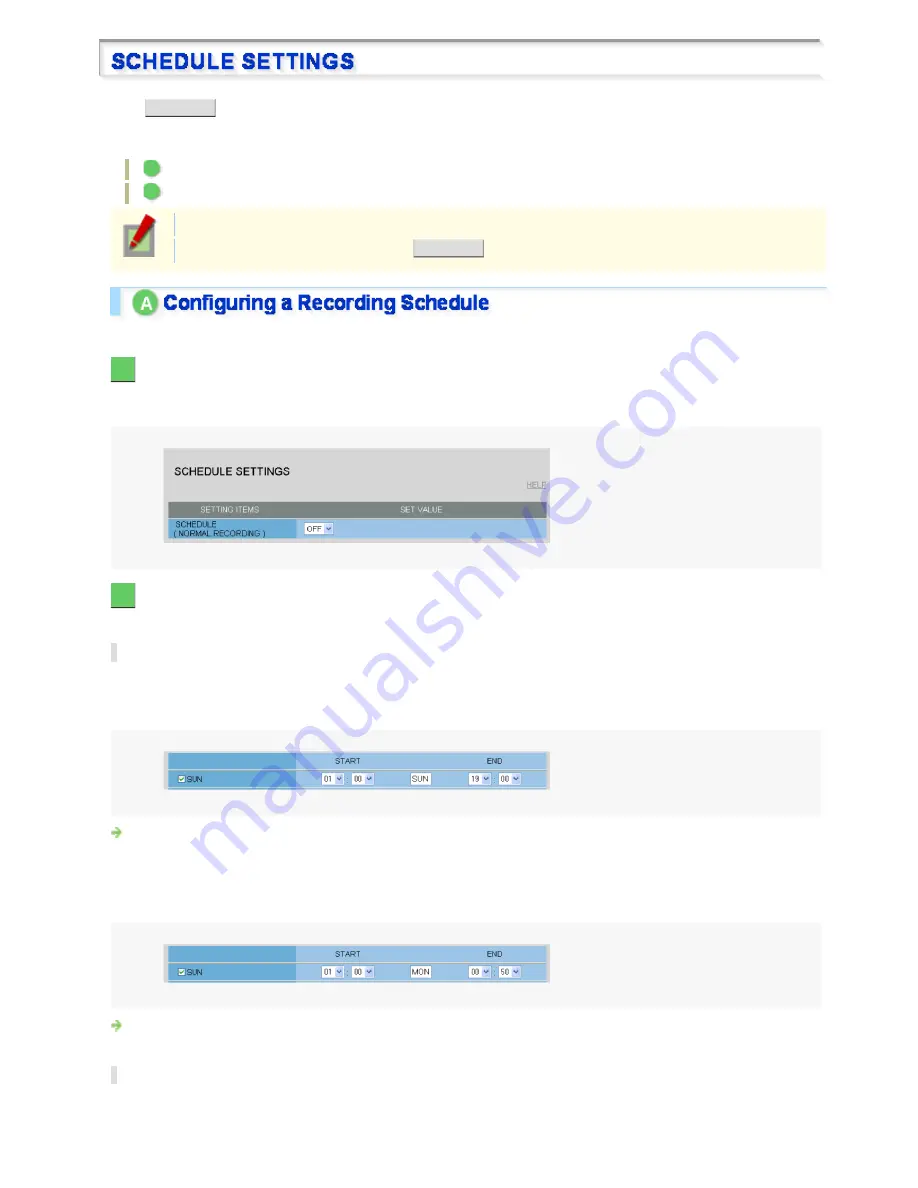
In [SCHEDULE], select “ON”.
To have normal recording seamlessly carried out at all times and have alarm recording ready to be triggered at
any moment, configure this to “OFF”.
2
Configure the recording periods.
You can define a recording period of up to 24 hours in each line.
Configuring the recording period for each day of the week
Select the check box for the desired day of the week and, in [START] and [END], specify the start and end time of
the recording.
<Example>
Configuring the camera to start recording at 1:00 and end recording at 19:00 every Sunday (18 hours)
<Example 2>
Select the desired day of the week and specify the start and end times of the recording. If the end time is before
the start time, the system considers that the period extends to the next day and thus changes the day of the week
indication in the [END] column to the next day.
Configuring the camera to start recording at 1:00 every Sunday and end recording at 0:50 on next Monday (23
hours 50 minutes)
Configuring the same recording period every day
Select the [DAILY] check box in the lowest line and, in [START] and [END], specify the start and end times of the
recording.
Working with Administrator Configuration Screens 74/79


