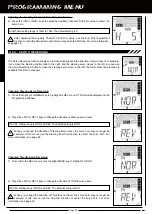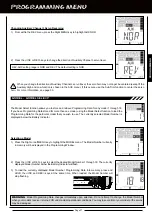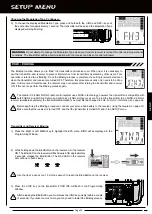
Page 38
SETUP MEnU
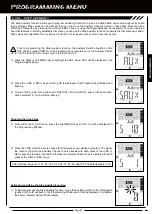
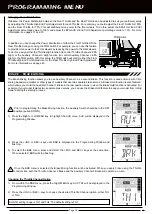
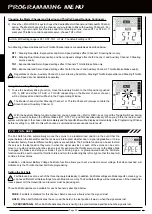
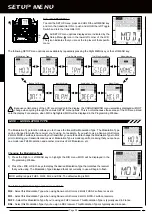
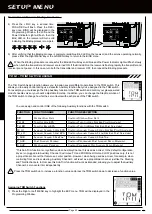
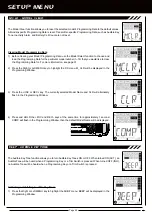
Because certain areas of the LCD are printed onto the display, the PROGRAMMING menu selections displayed will NOT
change when cycling through the various SETUP menu options. This is normal because those areas of the LCD are printed
onto the display. For example, when D/R is highlighted, MOD will be displayed in the Programming Window.
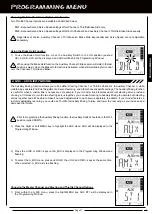
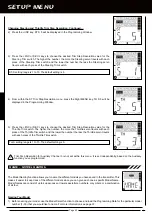
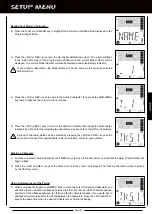
The following SETUP menu options are available by repeatedly pressing the Right MENU key or the Left MENU key:
The Modulation Type function allows you to choose the transmitter Modulation Type. The Modulation Type
can be changed to match the receiver you're using. For example, if you wish to use a Sanwa or Airtronics
2.4GHz FHSS-2 surface receiver with your transmitter, you would need to change the Modulation Type to FH2
prior to Binding your transmitter and receiver. Modulation Type is model-specific, meaning that you can have
one model use FH3 Modulation and another model use FH2 Modulation, etc.
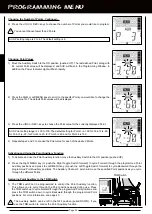
MOD - MODULaTiOn TYPE
Choosing the Modulation Type
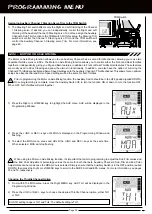
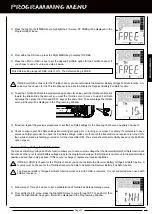
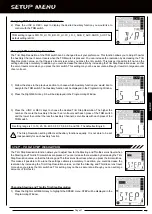
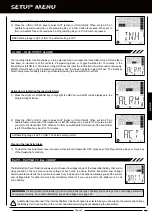
1) Press the Right or Left MENU key to highlight the D/R menu. MOD will be displayed in the
Programming Window.
2) Press the +/INC or DEC/- keys to display the desired Modulation Type that matches the receiver
that you're using. The Modulation Type displayed that's not currently in use will begin to flash.
MOD setting range is FHS3, FH3F, FH2, and DS2. The default setting is FH3.
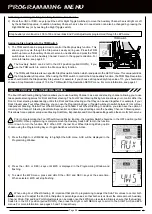
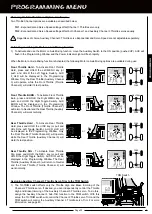
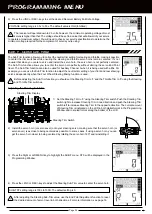
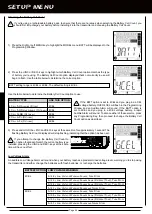
The following Modulation Type options are available:
FH2
- Select this Modulation Type when using Sanwa or Airtronics 2.4GHz FHSS-2 surface receivers.
FH3
- Select this Modulation Type when using Sanwa or Airtronics 2.4GHz FHSS-3 surface receivers.
FHF3
- Select this Modulation Type if you're using an FHF3 receiver. This Modulation Type is typically used in France.
DS2
- Select this Modulation Type if you're usign a DS2 receiver. This Modulation Type is typically used in Japan.
Modulation Type
Binding
Trim Switch Assign
Trim Step Resolution
Model Naming
Model Clear
Audible Key Tone
Inactivity Alarm
Battery Cell Count
ON
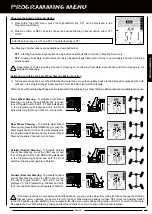
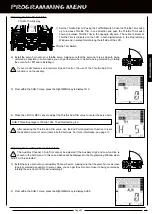
All SETUP menu options displayed are indicated by the
Setup Menu icon in the lower left corner of the LCD.
The icon indicates that you are at the top level of that specific
menu.
Enter the SETuP Menu
To enter the SETUP menu, press and HOLD the Left MENU key
and turn the transmitter ON or push and HOLD the left Toggle
Switch and turn the transmitter ON.
Содержание Gemini X
Страница 1: ...Page 1 ...
Страница 55: ...Page 55 NOTES ...

