Chapter 4 Setting Up Your Cash Register - the Basics
27 TS1200MW User’s Guide
Printing Picture Logos on Receipts
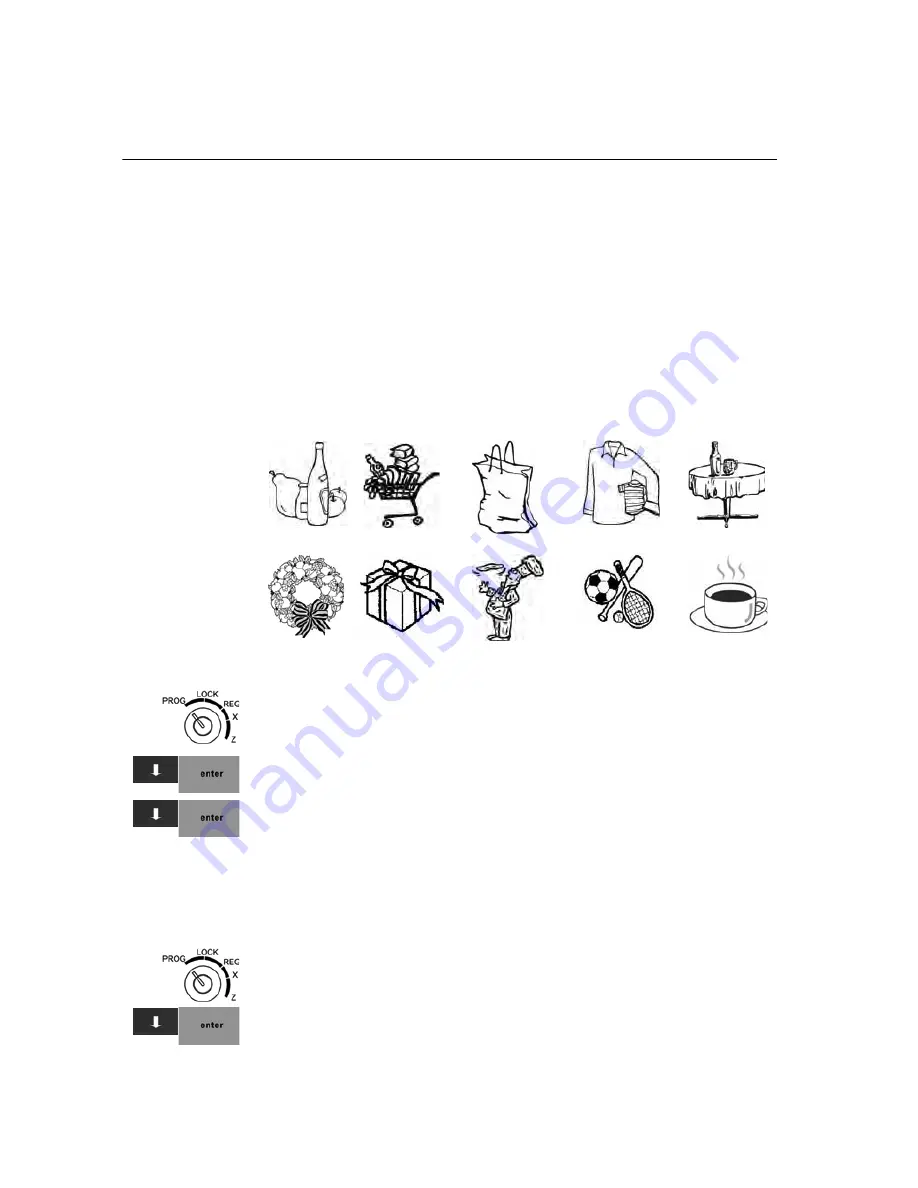
You can specify that a logo print on your cash register. You can also create
your own logo. The cash register has 10 logos already installed for you to
use. You can specify these logos print at the top of the receipt before the
header message or at the bottom of the receipt after the footer message.
Logos are not set to print by default.
NOTE : You also see a choice for RAM LOGO. The RAM LOGO is a
downloadable customer logo that you can set. To do so, you need a PC
connection and the software tool included with this shipment. If the
software was lost or not included, contact Royal.
Logos selections are:
To specify to use a logo
407 -- Others
421 -- Picture Logo Choice
1
Put the MGR key in the Mode key slot and turn it to the PROG
position. If prompted, enter the Manager passcode and press
Enter
.
2
Press the
Arrow Down
key to select 407 -- Others. Press
Enter
.
3
Press the
Arrow Down
key to select 421 -- Picture Logo Choice. Press
Enter
.
4
A list of numbers appears. Using the list, select the number of the logo
you want.
5
Now you can specify where you want the logo to print on the receipt.
printing at the top of the receipt is the default.
To specify the location of the logo
406 -- Options
Printing Parameters Settings
1
Put the MGR key in the Mode key slot and turn it to the PROG
position.
2
Press the
Arrow Down
key to select 406 -- Options. Press
Enter
.
Logo 1
Logo 2
Logo 3
Logo 4
Logo 5
Logo 6
Logo 7
Logo 8
Logo 9
Logo 10
Содержание ts1200mw
Страница 139: ...TS1200MW User s Guide Memo 132 ...
Страница 150: ......
Страница 154: ...5 Select the USB SERIAL CH341A COMx and Right click the USB SERIAL CH341A COMx select the Properties ...
Страница 155: ...6 Open the USB SERIAL CH341A setting interface and Select the Port setting 7 Select the Advanced ...


