16
May 2013
IMO_294_EN_v0
Roto E-Tec DoorDrive
Subject to change.
Installation
Installation steps overview
1.
Preparing profiles (milling, drilling)
2.
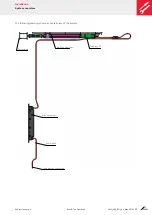
Routing lines in profile
3.
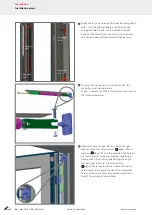
Installing swing door drive
4.
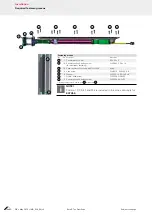
Installing control electronics
5.
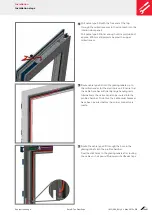
Installing door
6.
Conducting function test
7.
Connecting power supply unit and additional peripherals / house wiring
(electrician)
Steps 1 to 4 are conducted at the factory. Steps 5 to 7 are conducted at the
building site or the door installation location.
Preparation
When installing and positioning the door drive and its components in the
door system, process the door profiles in line with the drilling and milling
drawing available from Roto.
If the dimensions and tolerances in the drilling and milling drawing are not
complied with, fault-free operation of the door drive cannot be guaranteed.
Installation problems may also occur.
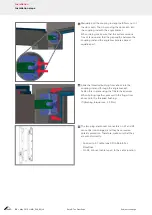
Mill out corner connector as far as required only. Make a corresponding
corner bracket for reinforcement in the clearance.
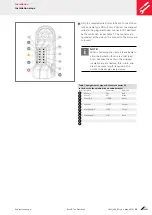
Set the control to match the Roto configuration. (Refer to page 31).
This programming step is best performed in advance, e.g. at the factory.
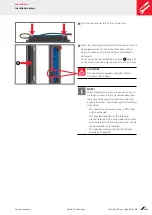
NOTE!
Installation sequence
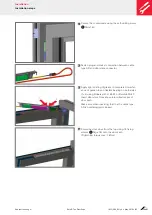
Install the wiring harness in the door sash before inserting the
door panel.
The drill holes and milling must be conducted in accordance with
the DIN ISO 2768-mK general tolerance.
NOTE!
Precautions should be taken when installing the door to ensure
that any inadvertent opening beyond the maximum opening width
is avoided, as otherwise the swing door drive could be damaged.
An end stop must be fitted for the maximum opening position on
site to ensure that the maximum opening angle (< 105° system
specific) is not exceeded.
NOTE!
Sufficient clearance must be given between the frame and the
sash at each point, as otherwise reliable closing and opening of
the sash cannot be assured.
NOTE!
The sealing systems used must be capable of being sufficiently
compressed to ensure that the sash is reliably closed.


