7-4
7
Set up following items in reference to the Setup Guide [3.Assembling and Installing] to [7. Network Settings].
Assemble the Stand
Attach the Shafts
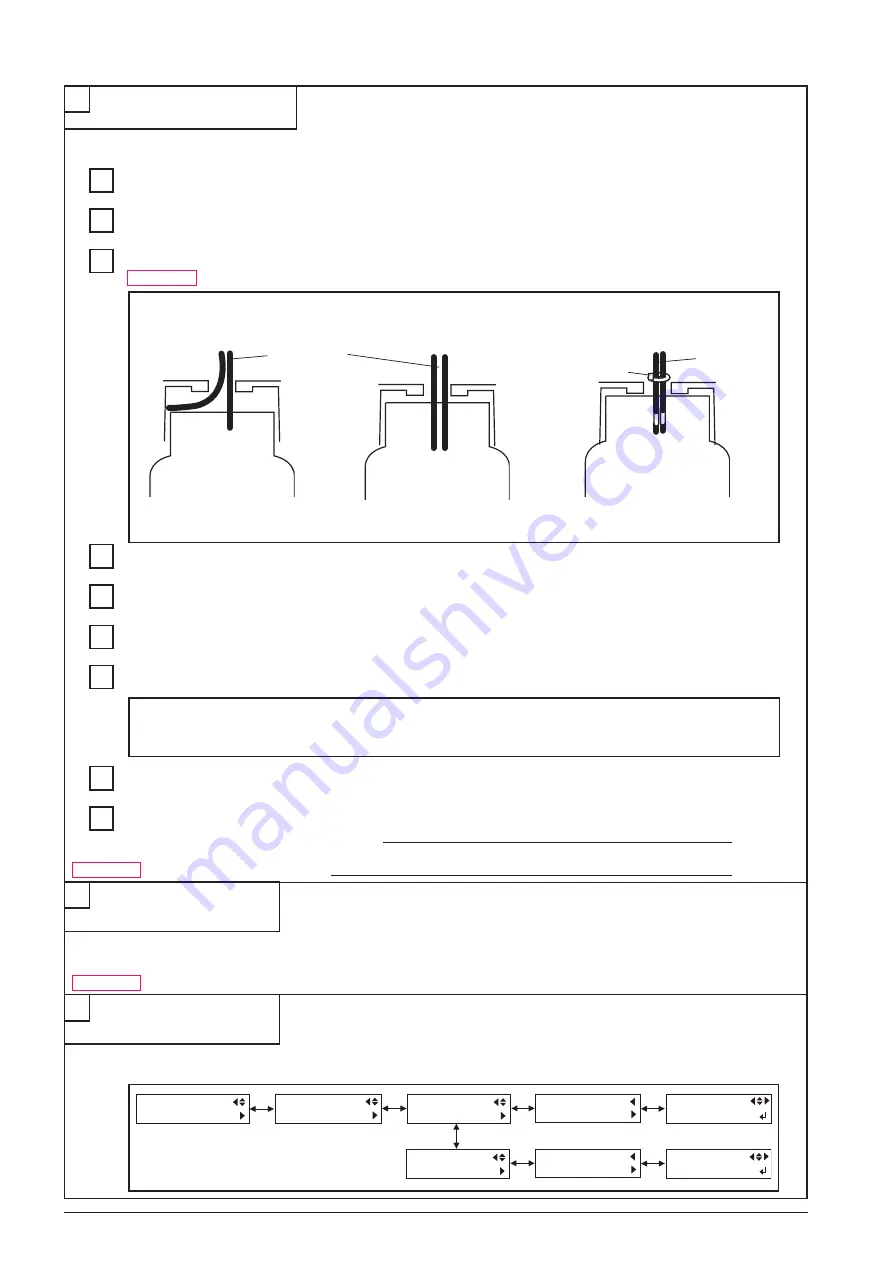
Install the Drain Bottle
Attach the Ink-cartridge Tray
Remove the Packing Materials
Connect the Cables
Install the Ink Cartridges
Install the Blade
Make the Network Settings
Installation and Preparation
!! IMPORTANT !!
Shake the Ink Cartridge a few times gently before installing to the machine.
IP address of PC
IP address of VP-540/300
!! IMPORTANT !!
Be careful not to pinch the drain tube.
Upgrade the firmware to the latest version.
Upgrading the Firmware
Revised 1
Revised 1
Drain Bottle
Drain Tube
NG)
VP-540 : ZV71196 and below
VP-300 : ZV70554 and below
Drain Tube
Drain Bottle
Drain Bottle
Cable tie
OK)
OK)
VP-540 : ZV71197 and above
VP-300 : ZV70555 and above
Go to SERVICE MENU > SUB MENU > CLOCK and set date and time to the local time.
Setting Date and Time
Revised 5
SUB MENU
CLOCK
CLOCK
DATE
DATE
05/09/10
DATE
05/09/10
CLOCK
TIME
TIME
01:01:59
TIME
01:01:59
[Year/Month/Day]
[Year/Month/Day]
SERVICE MENU
SUB MENU
Содержание VersaCamm VP-300
Страница 39: ...2 4 2 MAIN BOARD_Arrangement Diagram Soldering Side ...
Страница 50: ...2 15 2 SERVO BOARD_Arrangement Diagram Soldering Side ...
Страница 58: ...2 23 2 2 5 SUB BOARD It indicates the version of the Board SUB BOARD_Arrangement Diagram Component Side ...
Страница 102: ...3 39 Move the Head Carriage by hand to the lock position HEADCARRIAGE Fix the I S Cover SCREW I SCOVER HOOK 20 21 ...
Страница 222: ...7 2 7 Unpacking Manual etc CD ROM etc ...


