Montage- und BedienungsanleitungAssembly and operating instructionsIstruzioni di installazione ed uso
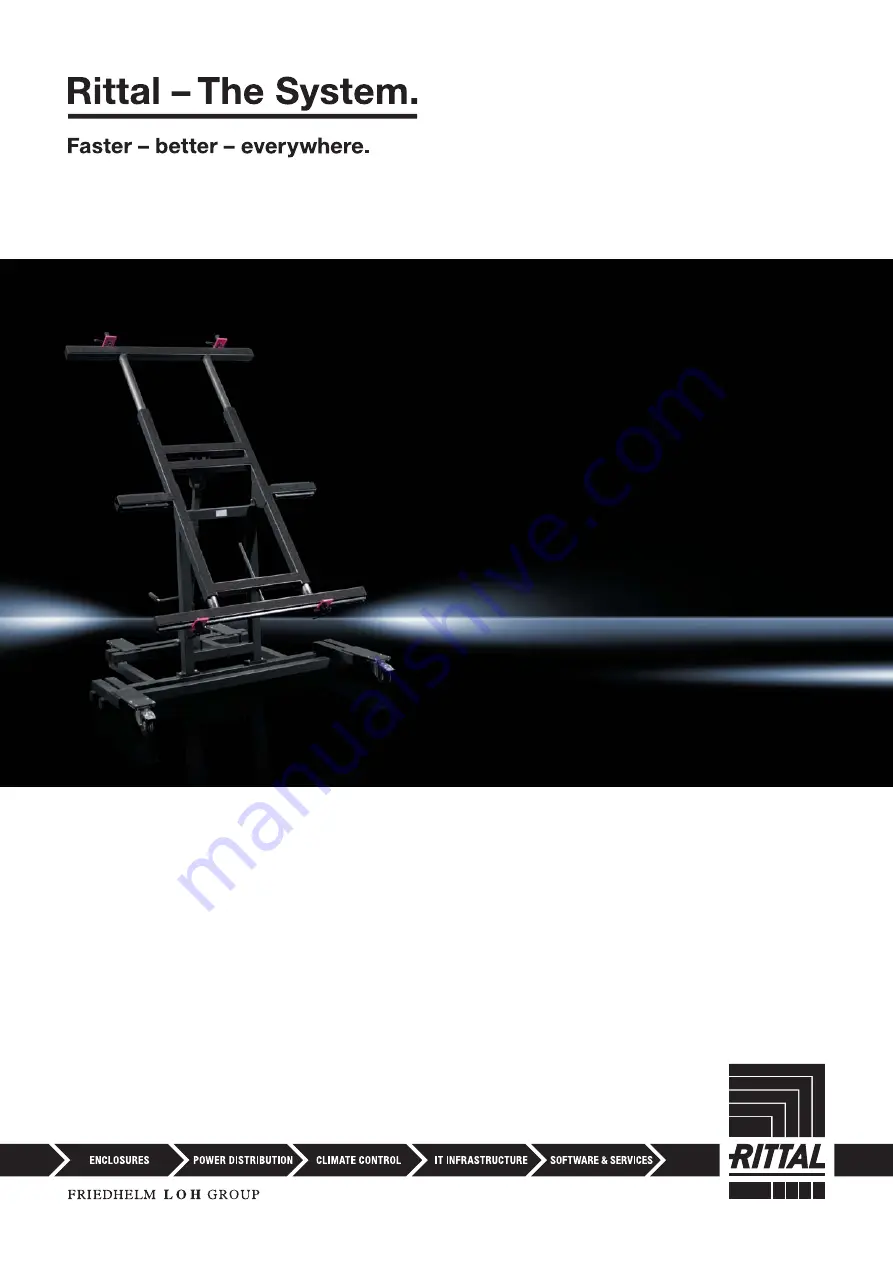
Montagetisch 300 ENH
Assembly frame 300 ENH
Tavolo di montaggio 300 ENH
4050.300
Страница 1: ...Montage und Bedienungsanleitung Assembly and operating instructions Istruzioni di installazione ed uso Montagetisch 300 ENH Assembly frame 300 ENH Tavolo di montaggio 300 ENH 4050 300 ...
Страница 2: ...he power pack 17 Deep discharge protection 18 Function of the CONTROL AC 4 5 18 Maintenance repair Maintenance of the ACCU AC 4 5 19 Troubleshooting table 20 Maintenance care and safety instructions Maintenance instructions 21 Safety information 21 Care instructions 22 Cleaning 22 Disposal 22 Notes on environmental directives and legislation 22 Pagina Parti incluse nella fornitura 2 3 Note relativ...
Страница 3: ...o 2 Adapterplatte Adaptor plate Piastra di adattamento 2 Adapterplatte Adaptor plate Piastra di adattamento 1 Filzband Felt tape Nastro in feltro 7 m 2 Filzband Felt tape Nastro in feltro 1 Akkucontroller für 2 Achsen Power pack controller for 2 axes Controllo batteria per 2 assi 1 Stecker für Ladestation Plug for charging station Connettore per stazione di ricarica 1 Ladestation für Akku Charging...
Страница 4: ...icurezza per usi futuri Prima di utilizzare il tavolo di montaggio 300 ENH leggere attentamente tutte le istruzioni di sicurezza e le istruzioni d uso fornite Conservare tutti i documenti forniti e assicurarsi che tutti i documenti pertinenti siano sempre trasmessi insieme al tavolo di montaggio 300 ENH Bestimmungsgemäße Verwendung Proper use Impiego conforme alle norme Montagetisch 300 ENH Der Mo...
Страница 5: ...rame is designed for flat solid subsurfaces and is therefore unsuit able for use on sloping uneven ground The assembly frame must only be loaded and unloaded in a horizontal position The assembly frame is designed for indoor use and should not be used outdoors The assembly frame 300 ENH is not intended for use in an environment where flammable or explosive gases or vapours are likely to occur by chi...
Страница 6: ...hta Ní mór an treoirleabhar a léamh Tá cosc ar dhreapadh ar an dromchla Uwaga na zamykające się części mecha niczne maszyny lub urządzenia Uwaga na ruchome części mechaniczne Przeczytać instrukcję Zakaz wchodzenia na powierzchnię Výstraha před rizikem úrazu ruky Výstraha Rozmačkání Odkaz na instrukce návodu k použití brožury Nešlapat na povrh Предупреждение за движение от затварящи се механични ча...
Страница 7: ...carico Druck Zug Compression tension Pressione trazione Hub Stroke Corsa 425 mm Verstellgeschwindigkeit Adjustment speed Velocità di regolazione ca 8 0 mm s je nach Ausführung approx 8 0 mm s depending on variant c a 8 0 mm s a seconda della versione Schutzart Protection category Grado di protezione IP 20 CONTROL AC 4 5 Eingangsspannung Input voltage Tensione in ingresso 24 V DC Eingangsstrom Inpu...
Страница 8: ...ease fasteners or lock bolts are used to secure the assembly frame For mounting plates with a U fold experience has shown that lock bolts are more suitable than quick release fasteners because quick release fasteners often interfere with cable ducts or components in the top section of the mounting plate The lock bolts secure the mounting plate to the grooves enabling the entire surface to be config...
Страница 9: ... pressione del tasto Funktions LED leuchtet permanent grün oder leuchtet nicht Es liegt ein Fehler vor Function LED is permanently green or does not light up A malfunction has occurred Il LED di funzionamento è permanentemente verde o non si accende si è verificato un errore Der NOT AUS Schalter am Akkucontroller setzt alle Funktionen außer Betrieb The EMERGENCY OFF button on the battery controller...
Страница 10: ... is still possible verde Batteria completamente carica verde giallo Batteria carica ca giallo Batteria carica ca giallo rosso Attenzione Batteria in esaurimento deve essere ricaricata rosso Batteria scarica ricaricarla immediatamente altrimenti si può ridurre il suo ciclo di vita Luce rossa e segnale acustico alla pressione del tasto Un ciclo di regolazione completo è ancora possibile rot Bei rot ...
Страница 11: ...ocking screws on the upper extension piece and adjust to the required length Then re tighten the locking screws and the work surface is now adjusted to the length of the mounting plate Now place the mounting plate on the work surface Regolazione della superficie di lavoro Regolazione della lunghezza della piastra di montaggio Per regolare il tavolo di montaggio in base alla lunghezza della piastra ...
Страница 12: ...he inside of the mounting plate U profile After adjusting the width re tighten the clamping lever To secure the mounting plate into position pull the locking bolts back and twist the lever to the left The locking bolt is now retracted Then insert the mounting plate and screw the locking bolt back into position The locking bolts are extended and the mounting plate is secured The work surface can now...
Страница 13: ...en very large mounting plates may be wired whilst seated The frame extension consists of a left hand and a right hand extension piece in a T shape each of which are inserted into the central upright of the assembly frame 300 ENH They are secured to the assembly frame with the knurled screws included with the set Take a T section and push it into the central upright on the left Then take the other ...
Страница 14: ... parallel to the punched rail 1 onto the CONTROL AC 4 5 5 until the lock of the ACCU AC 4 5 engages with the punched rail see below Take care to ensure that the punched rail 1 is enclosed by the enclosure guides 9 Check that the ACCU AC 4 5 4 is correctly seated on the punched rail Next connect the additional drives and the manual switch to the CONTROL AC 4 5 Inserimento della batteria Inserire l ...
Страница 15: ...tt betätigen Sie sofort den Not Aus Schalter trennen Sie dann ACCU AC 4 5 von CONTROL AC 4 5 und setzen Sie das Antriebssystem außer Betrieb EN Operation and use Powerful mechanical impacts and shocks e g during transportation may lead to electrical defects under unfavourable circumstances To enhance operational safety before commissioning for the first time or follow ing extreme mechanical pressur...
Страница 16: ...on 9 until the lock of the ACCU AC 4 5 engages with the punched rail 1 Check that the ACCU AC 4 5 4 is correctly seated on the punched rail Connect the PLUG IN CHARGER PB 4 5 8 or alternatively PLUG IN CHARGER PB to the charging station 9 and the ACCU AC 4 5 4 Next connect the PLUG IN CHARGER PB 4 5 8 or alternatively PLUG IN CHARGER PB to the mains supply The charging status of the AC 4 5 battery...
Страница 17: ...rging discharging cycles When charging take care to ensure that the ventilation holes of the ACCU AC 4 5 are not covered see below Never lie the power pack on its side while charging see page 18 For an optimum service life of the ACCU AC 4 5 it should be left to rest for around 1 hour after charging Slide the ACCU AC 4 5 into the CONTROL AC 4 5 until it latches into place The system is now operati...
Страница 18: ...on of the CONTROL AC 4 5 The functions of the adjustment keys are only available provided the emergency off button blocking device has not been pressed Protezione scarica completa Se la tensione della batteria raggiunge la soglia di disattivazione il sistema di azionamento viene completamente disattivato La prote zione di scarica completa preserva la batteria da possibili danni derivanti dal manca...
Страница 19: ... mente ogni 6 mesi A intervalli più brevi controllare anche Controlli visivi regolari per individuare danni di ogni genere Controllare la presenza di crepe o rotture dei contenitori control lare che il cavo di connessione di rete del comando manuale i cavi degli azionamenti ecc non siano schiacciati o tranciati così come il dispositivo di scarico della torsione specialmente dopo ogni stress meccan...
Страница 20: ...ds the charging display on the CONTROL AC 4 5 is red ACCU AC 4 5 has discharged to the warning threshold Recharge the ACCU AC 4 5 Problema Possibile causa Soluzione Comando manuale o sistema di azionamento non funzionano Impossibile effettuare alcun movimento spostamento Comando manuale sistema di azionamento o batterie difettosi Nessuna tensione nella batteria ARRESTO DI EMERGENZA è bloccato Cont...
Страница 21: ...o Effettuare il seguente controllo prima di ogni utilizzo Le diverse parti del tavolo di montaggio non devono essere piegate o incurvate Provare sei freni funzionano correttamente e verificare se ci sono segni di usura nelle ruote Lubrificare le parti mobili e soggette a usura prima dell utilizzo In caso di difetti le riparazioni devono essere eseguite immediatamente Le guide tubolari devono essere ...
Страница 22: ...and a damp cloth Please follow the manufacturer s instructions for the detergent Never clean the drive controller in an auto mated washing system or with a high pres sure cleaner and never direct jets of water at it otherwise damage to the unit cannot be excluded Never use solvents such as petrol alcohol etc Disposal ACCUCONTROL 4 5 contains electronic components cables metals plastics etc ACCUCON...
Страница 23: ...23 Montagetisch 300 ENH Montage und Bedienungsanleitung Assembly and operating instructions Istruzioni di installazione ed uso Notizen Notes Appunti ...
Страница 24: ...tware Services www rittal com contact You can find the contact details of all Rittal companies throughout the world here RITTAL GmbH Co KG Postfach 1662 D 35726 Herborn Phone 49 0 2772 505 0 Fax 49 0 2772 505 2319 E mail info rittal de www rittal com 1st edition 06 2016 ...