5
5-42
Setting up the E-820 from a Windows Computer
4.
In the Password field, enter a password for the group, and reenter the password in
the Verify Password field.
5.
Click Add to move the new group into the window.
T
O
CHANGE
PRINTING
GROUPS
AND
PASSWORDS
1.
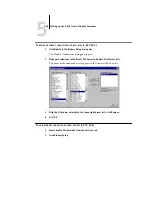
Select Printing Groups from the Command WorkStation Server menu.
2.
Select the printing group name in the Printing Groups Setup dialog box, and
click Modify.
3.
Make the necessary changes.
4.
Click OK.
T
O
REMOVE
PRINTING
GROUPS
AND
PASSWORDS
1.
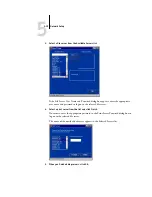
Select Printing Groups from the Command WorkStation Server menu.
2.
Select the printing group name in the Printing Groups Setup dialog box, and
click Remove.
3.
Click OK.
Exiting Setup
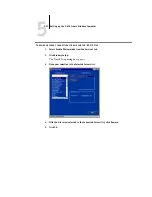
When you have finished specifying Setup options, click OK and close the Setup dialog
box. You are notified that the E-820 must be restarted for the new settings to take
effect. You can restart now or later. If Command WorkStation is running, the
connection to the E-820 is lost and you must log on again when the server has
restarted.
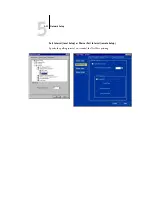
If you changed the network configuration or other settings affecting Windows NT
Workstation, you must restart Windows NT 4.0 for those changes to take effect.
After you have completed Setup and restarted the E-820 for the first time, install the
user software for printing on remote workstations, as described in the
. To confirm the network connection and your Setup, print a test job
from a remote workstation.

