Beijing RichAuto S&T Co., Ltd.
22
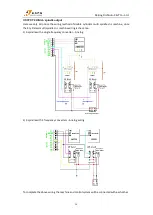
Without auto tool touch-off plate
Firstly, set tool setting type in to “
Manual
” under
System Setup – Function Confi –ToolSet
(means tool setting method)
;
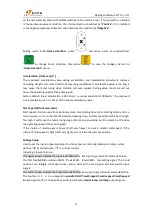
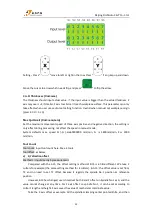
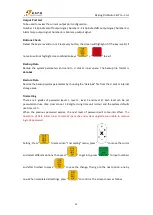
Then double press “
”, flip up the arrow of Y5 under
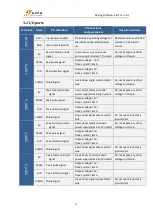
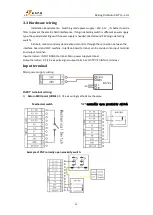
the I/O ports control interface, manual switch the current tool to T1, press “
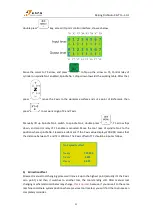
” move
Z axis to the measuring workpiece surface. At this time, the mechanical coordinate value of Z
is the Z axis offset value of T1. Press combination keys “
” + “
”, the Z offset
value will be automatically saved and shows on screen.
T2 offset measurement method is the same to T1, to be measured by I/O ports switching.
Equipped with an auto tool touch-off plate
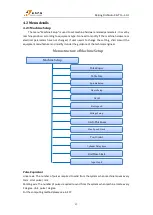
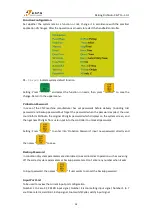
Firstly, set tool setting type into “Auto” under System Setup – Function Confi–ToolSet, this
operation can be carried out independently on different cutter heads, but A15 must handle all of
the tool heads simultaneously.
For B15, switch to the corresponding cutter head which needs offset value setting, and then
manually move down Z axis to reference surface for measuring (Note: All cutter heads must use
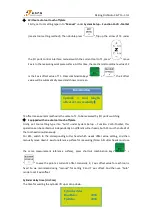
the same measurement reference surface), press shortcut combination keys“
” +
“
” to save the point as current Z offset. Generally, X, Y axis offset value for each tool is
fixed. So we recommend using “manual” for setting X and Y axis offset. And then use “Auto”
mode to set Z axis offset.
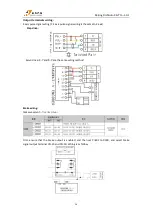
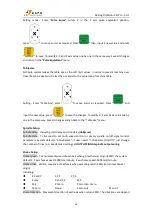
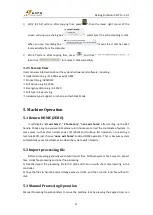
Cylinder delay time (Unit: ms)
The time for waiting the cylinder lift up or drop down.
Cylinder delay
DwnDelay
4000
UpDelay
4000
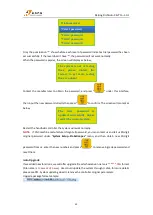
Spindle 1 tool length
offset set successfully
!
Information


